
Don’t glue PVC pipes? You risk leaks, structural failure, and costly repairs. Proper cementing ensures a watertight, durable system, preventing common DIY disasters.
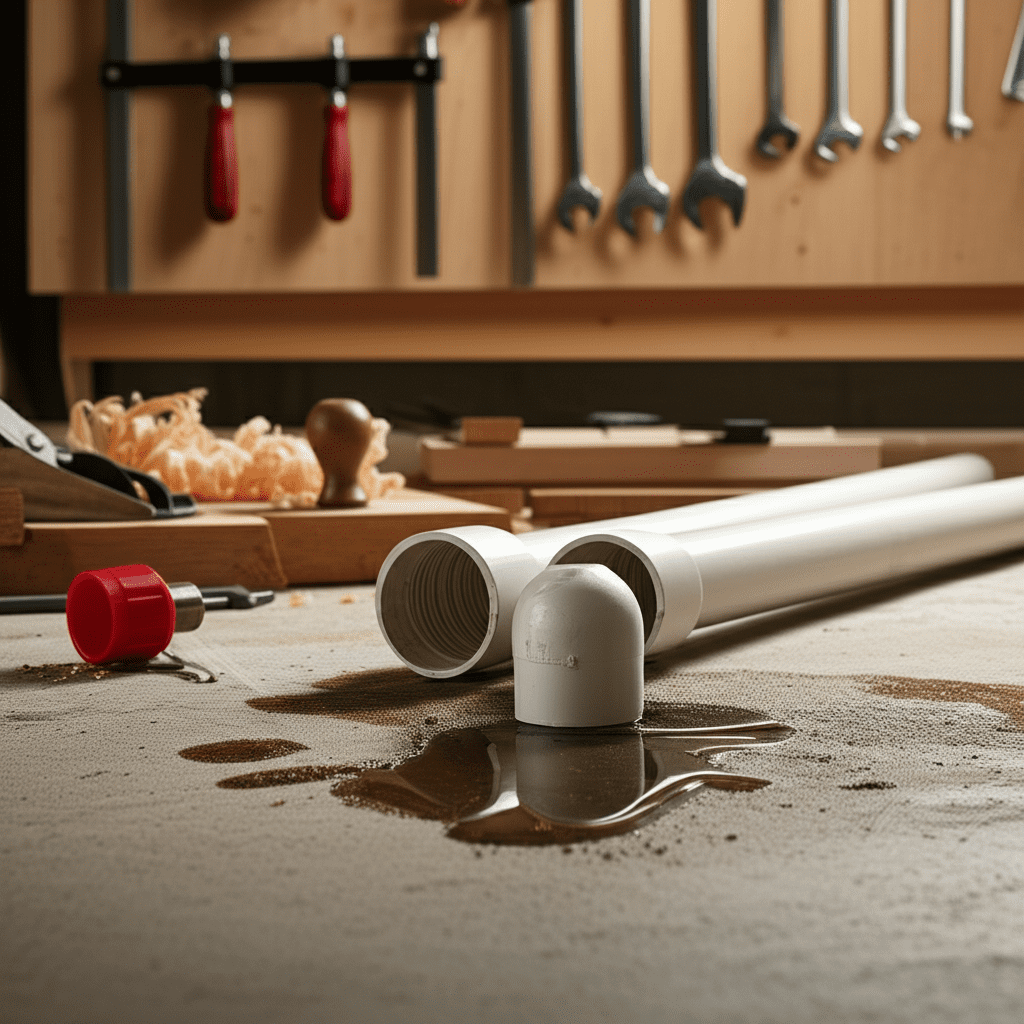
Hey there, fellow builders! Ever looked at a pile of PVC pipes and fittings, ready to assemble that new irrigation system or plumbing project, and thought, “Do I really need to glue all this?” It’s a question many of us have pondered, especially when you’re eager to get things done. You might think a snug fit is enough, but trust me, skipping the glue on PVC is a recipe for some serious headaches down the line. It’s like building a beautiful wooden shelf and forgetting the screws – it just won’t hold up! But don’t worry, I’m here to walk you through exactly why gluing PVC is so crucial and what happens when you skip this vital step. We’ll make sure your projects are built to last, leak-free, and strong.
Why PVC Needs Glue: The Science Behind the Bond
PVC, or Polyvinyl Chloride, is a fantastic material for many projects due to its durability, affordability, and ease of use. However, when it comes to joining PVC pipes and fittings, a simple push or friction fit just won’t cut it. PVC cement, often called solvent cement, isn’t like typical glue you might use for wood or paper. It’s a special chemical concoction that actually softens and fuses the PVC surfaces together, creating a molecular bond that’s stronger than the pipe itself. Think of it as welding plastic! This chemical fusion is what makes PVC systems, like drainage or irrigation, reliable and leak-proof. Without this proper joining method, you’re leaving your project vulnerable to leaks and failures.
The Disasters: What Happens If You Don’t Glue PVC?
Skipping the PVC cement can lead to a cascade of problems, turning your successful DIY project into a leaky, shaky mess. It’s a classic case of “penny wise, pound foolish,” where a small attempt to save time or money results in much larger costs and frustrations later on. Let’s break down the most common “disasters” you can expect.
Leaks, Leaks Everywhere!
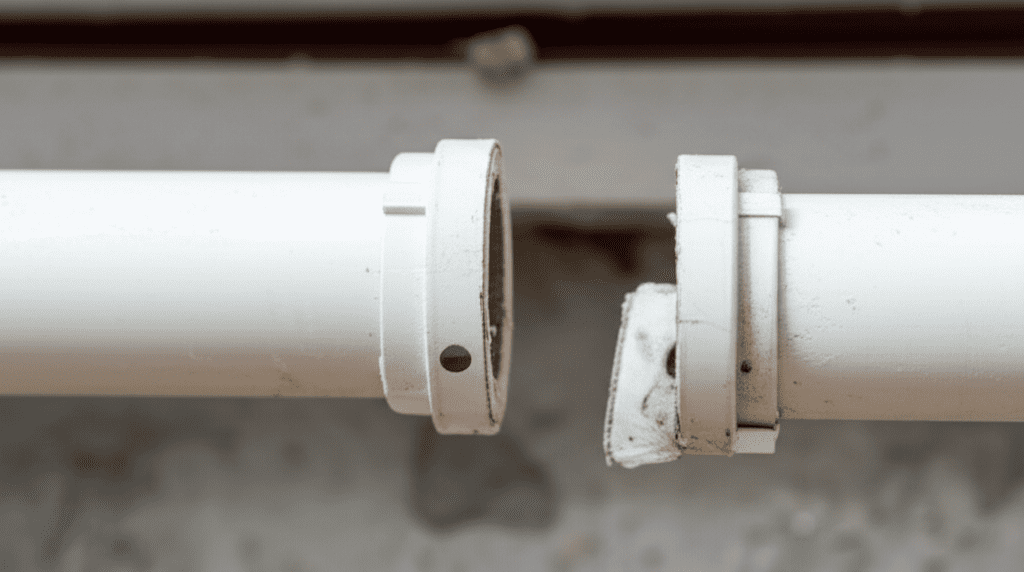
This is the most immediate and obvious consequence. When PVC pipes aren’t properly joined, water or whatever substance is flowing through them will find the weakest points – the gaps between the un-cemented fittings.
- Slow Drips: Even a small, slow drip can go unnoticed for a while, but it can cause water damage to surrounding materials, like drywall, subflooring, or even your garden soil. This can lead to mold growth and structural weakening.
- Major Bursts: Under pressure, especially in pressurized water systems or during heavy rainfall in drainage, un-cemented joints can simply pop apart, leading to sudden, significant water releases. Imagine a burst pipe under your sink or in your garden bed – it’s a mess!
- Contamination: In potable water systems, leaks can allow soil or other contaminants to enter the pipes, compromising the safety of your drinking water.
Structural Weakness and System Failure
Beyond just leaks, un-glued joints lack the structural integrity needed for a robust system.
- Joint Separation: Vibration, ground movement, or even the weight of the system itself can cause un-glued pipes to shift and separate over time. This is particularly problematic for underground systems or anything subjected to stress.
- Inability to Withstand Pressure: PVC pipes are often designed to handle specific pressures. Without a proper bond, they can’t reliably withstand these pressures, leading to joints blowing apart unexpectedly.
- System Inefficiency: In irrigation or fluid transfer systems, leaks mean lost water and reduced pressure. Your sprinklers won’t spray effectively, or your pump might struggle to maintain flow, making the whole system inefficient and potentially damaging to the pump itself due to cavitation.
Costly Repairs and Wasted Materials
The financial implications of not gluing PVC can be substantial.
- Replacement Costs: You’ll likely have to cut out the failed section, purchase new pipes and fittings, and re-do the work. This doubles your material cost.
- Damage Remediation: If leaks cause water damage, you’ll be looking at costs for drying, mold remediation, replacing damaged flooring, drywall, or even structural elements.
- Labor Costs: If you hired a professional, you’ll be paying for them to come back and fix your mistakes, or potentially for them to redo the entire job correctly.
Safety Hazards
Depending on the application, not properly securing PVC joints can pose safety risks.
- Electrical Conduit: If PVC is used as electrical conduit, a joint separation could expose wiring, creating an electrocution hazard.
- Structural Collapse: In larger DIY structures that utilize PVC for support (though not recommended for critical structural elements), a failure could lead to collapse.
When Does It Seem Okay (But Still Isn’t)?
Sometimes, you might get away with not gluing PVC for a short period, especially in low-pressure, gravity-fed systems where leaks aren’t immediately catastrophic.
- Temporary Setups: For a very short-term, non-critical setup, like a temporary garden watering system that you plan to dismantle soon, a snug fit might hold for a little while.
- Low-Flow Drainage: A simple downspout extension that just directs rainwater away from a foundation might not immediately fail if not glued, especially if it’s not under much pressure.
However, even in these scenarios, the risk of failure is always present. Weather changes, ground settling, or even just the continuous flow of water can eventually compromise these loosely fitted joints. It’s never worth the gamble. For any system that needs to be reliable and long-lasting, proper cementing is non-negotiable.
The Right Way: How to Glue PVC Properly
Now that you know why you must glue PVC, let’s talk about doing it right. It’s a straightforward process that, when followed correctly, ensures a strong, leak-proof bond.
Gather Your Supplies
Before you start, make sure you have everything you need.
- PVC Pipe and Fittings: Ensure they are the same schedule and diameter for a proper fit.
- PVC Primer: This is crucial! It cleans and softens the PVC surface, preparing it for the cement.
- PVC Cement: Choose the right type for your application (e.g., regular, heavy-duty, hot-weather). Look for products that meet standards like ASTM D2564.
- Applicator: Most cement cans come with a brush.
- Deburring Tool or Knife: To clean up pipe ends.
- Clean Cloths or Paper Towels: For wiping excess primer and cement.
- Gloves: To protect your hands from primer and cement.
- Safety Glasses: To protect your eyes.
Step-by-Step Gluing Guide
Follow these steps for a reliable PVC connection:
- Dry Fit: Always assemble your project without glue first to ensure everything fits correctly and you have the right angles. Mark the pipe and fitting so you can reassemble them in the exact same position.
- Cut the Pipe: Make sure your cuts are square and clean. Use a ratcheting PVC cutter or a fine-toothed saw. A square cut ensures the pipe seats fully into the fitting.
- Deburr and Clean: Remove any burrs or rough edges from the cut end of the pipe using a deburring tool or a knife. Also, clean the outside of the pipe end and the inside of the fitting socket with a clean cloth. This removes dirt and moisture that could interfere with the bond.
- Apply Primer: Shake the primer can well. Apply a liberal coat of primer to the outside of the pipe end (about 1/3 of the socket depth) and to the inside of the fitting socket. The primer should slightly soften the PVC, giving it a dull appearance. Work quickly, as primer evaporates fast.
- Apply Cement: Immediately after priming (while the primer is still wet), apply a medium, even coat of PVC cement to the outside of the pipe end. Then, apply a thinner, even coat of cement to the inside of the fitting socket.
- Join the Pipes: Quickly push the pipe firmly into the fitting socket until it bottoms out.
- Quart er-Turn Twist: Give the pipe a quarter-turn twist as you push it in. This helps to spread the cement evenly and ensure a good bond. Hold the joint together for about 30 seconds to prevent the pipes from pushing back out as the cement sets.
- Wipe Excess: Wipe away any excess cement that squeezes out with a clean cloth.
- Allow to Cure: Let the joint cure for the time recommended by the cement manufacturer. This is critical! Rushing to pressurize or stress the system before it’s fully cured can break the bond. Curing times vary based on temperature, humidity, and pipe size. For low-pressure systems, a few hours might be enough, but for pressurized lines, wait at least 24 hours. You can find detailed curing schedules on the Engineering Toolbox, which offers valuable insights into pipe pressure ratings and material properties.
Choosing the Right PVC Cement and Primer
Not all PVC cements are created equal, and using the wrong one can also lead to problems. The key is to match the cement to your specific project needs and environmental conditions.
Types of PVC Cement
PVC cements are categorized by their viscosity (thickness) and application.
| Type of Cement | Description | Best For |
|---|---|---|
| Regular Duty | Thin-bodied, fast-setting. | Smaller diameter pipes (up to 2 inches), cold weather, gravity flow systems. |
| Medium Duty | Medium-bodied, medium-setting. | Most common applications, pipes up to 6 inches, general plumbing, moderate temperatures. |
| Heavy Duty / Extra Heavy Duty | Thick-bodied, slow-setting. | Larger diameter pipes (over 6 inches), hot weather, pressurized systems, situations requiring more working time. |
| Clear Cement | Similar to regular duty but without pigments. | Applications where appearance is important, like visible plumbing or decorative projects. |
| Specialty Cements (e.g., for DWV, Schedule 80) | Formulated for specific pipe types and pressure ratings. | Always check the label to ensure it’s suitable for your pipe type (e.g., DWV – Drain, Waste, Vent; Schedule 80 – thicker walled pipe). |
The Importance of Primer
Primer is often overlooked but is absolutely essential for a strong PVC bond.
- Cleans the Surface: It removes dirt, grease, and other contaminants that could prevent the cement from bonding effectively.
- Softens the PVC: Primer contains solvents that slightly soften and melt the surface layers of the PVC pipe and fitting. This molecular softening allows the cement to fuse the two pieces together.
- Ensures Watertightness: Without proper priming, even if you use cement, the joint might not be completely sealed, leading to micro-leaks over time.
Always use a primer specifically designed for PVC. For potable water systems, ensure you use a primer that meets NSF/ANSI Standard 61 for drinking water system components. The Plastic Pipe Institute (PPI) is an excellent resource for understanding the standards and best practices in PVC piping.
Troubleshooting Common PVC Gluing Issues
Even with the best intentions, sometimes things don’t go perfectly. Here are a few common issues and how to fix them.
- Joint Won’t Seat Fully: This could be due to burrs on the pipe end, a dirty fitting socket, or the pipe not being cut square. Re-cut and clean the pipe end, and ensure the fitting is clean.
- Cement Dries Too Quickly: In hot weather or when using thin-bodied cement, the primer and cement can dry before you can make the joint. Switch to a medium or heavy-duty cement and work more quickly.
- Joint Leaks After Curing: This usually means the joint wasn’t primed or cemented properly, or it was disturbed before it fully cured. The best solution is to cut out the faulty joint and re-do it correctly.
- Visible Gaps: If you can see gaps after joining, it means the pipe didn’t seat fully or there wasn’t enough cement. Again, cutting out and re-doing is the most reliable fix.
Remember, practice makes perfect. If you’re new to this, it’s a good idea to practice on some scrap pieces first to get a feel for the process and the working time of the cement.
Frequently Asked Questions (FAQ)
Here are some common questions beginners have about gluing PVC:
-
Q: Can I use regular household glue for PVC pipes?
A: No, absolutely not. Household glues like wood glue or super glue will not create the necessary chemical bond to fuse PVC. You must use a specialized PVC primer and PVC cement (solvent cement) designed for plumbing applications.
-
Q: How long does PVC cement need to cure before I can use the pipe?
A: Curing times vary greatly depending on the type of cement, pipe size, temperature, and humidity. For low-pressure, gravity-fed systems, a few hours might suffice. However, for pressurized water lines, it’s recommended to wait at least 24 hours, and sometimes up to 48 hours, especially in cooler or humid conditions. Always check the cement manufacturer’s instructions and curing charts.
-
Q: Do I really need primer, or can I just use the cement?
A: Yes, you absolutely need primer. Primer cleans the PVC surface and softens it, allowing the cement to create a strong, molecular bond. Skipping primer will result in weak joints that are prone to leaks and failure.
-
Q: What’s the difference between PVC cement and ABS cement?
A: PVC cement is formulated for PVC pipes, while ABS cement is for ABS pipes. They are chemically different and not interchangeable. Using the wrong cement can lead to poor bonding or even damage to the pipes. Always use the cement specified for the type of plastic you are joining.
-
Q: Can I reuse a fitting if I only dry-fit it?
A: It’s generally not recommended. Once you apply primer and cement, the surfaces are chemically altered. If you tried to reuse a fitting that was previously primed or cemented (even if it wasn’t fully joined), the bond might be compromised, leading to potential leaks. It’s best to use new fittings for each cemented joint.
-
Q: How do I clean up PVC cement from my hands or tools?
A: PVC primer and cement are solvent-based and can be tough to remove once dried. While wearing gloves is the best prevention, if you get some on your hands, try washing with soap and water immediately. For dried-on cement, you might need a solvent like mineral spirits or denatured alcohol, but test on an inconspicuous area first. For tools, clean them with the appropriate primer or a designated cleaner before the cement hardens.
Conclusion: Glue It for Longevity and Peace of Mind
So, there you have it! While the temptation to skip the glue on PVC might be strong, the consequences are almost always a guaranteed disaster. Leaks, structural weaknesses, and costly repairs are the unfortunate outcomes of neglecting this crucial step. By understanding why PVC needs solvent cement – its ability to chemically fuse pipes into a single, strong unit – you can confidently approach your projects.
Remember to always dry-fit, cut cleanly, use both primer and the correct type of cement, and give your joints ample time to cure. These simple steps will ensure your PVC projects, whether it’s a simple drainage line or a more complex irrigation system, are robust, reliable, and leak-free for years to come. It’s that extra bit of care and attention that separates a DIY fix from a lasting, quality build. Now go forth and build with confidence, knowing your PVC connections are as strong as they need to be!