
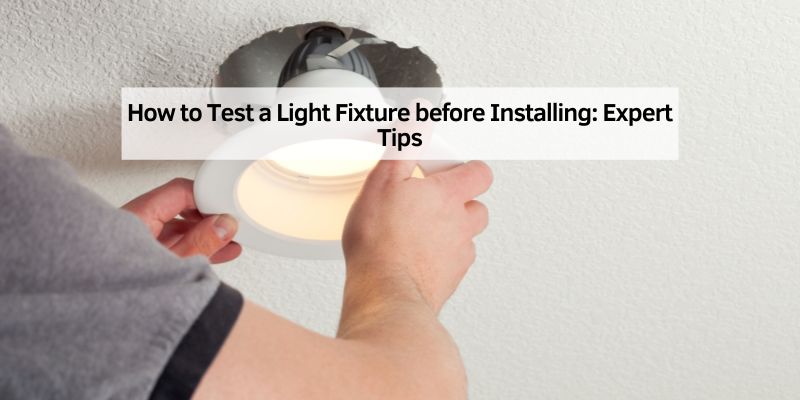
Testing a light fixture before installing it is crucial. It ensures safety and proper functionality.
To test a light fixture, connect it to a power source carefully. Check for any flickering or unusual noises. This simple step can save you time and prevent potential hazards. Light fixtures can be tricky. A faulty one can cause inconvenience.
Imagine installing it, only to find it doesn’t work. Frustrating, right? Testing beforehand is a smart move. It helps identify any issues early. This way, you avoid unnecessary hassle. You also ensure the fixture fits your needs. In this guide, we’ll explore easy steps to test a light fixture. From basic connections to essential checks. You’ll learn how to ensure everything is in perfect working order. So, let’s dive in and make your installation a breeze!
Credit: magnifyelectric.com
Preparation Essentials
Gathering the right tools is crucial. You’ll need a multimeter and a screwdriver. A voltage tester might help. Have a ladder if the fixture is high. Ensure you have the light bulbs ready. Keep everything close to you.
Always put safety first. Turn off the electricity before starting. Use a voltage tester to check wires. Wear rubber gloves for safety. Avoid touching live wires. Keep children away from the area. Ensure your workspace is dry and clear.
Understanding Fixture Components
Every light fixture has different parts. These parts work together to light up your room. The main components include the base, bulb, wires, and shade. Each part has a role in making the fixture work well. Careful identification of these parts is important. It helps you understand the fixture better. Recognizing each piece can prevent mistakes.
The base holds the fixture. It connects to the ceiling or wall. The bulb creates the light. It is inserted into the base. Wires carry electricity to the bulb. They are usually hidden inside the fixture. The shade covers the bulb. It softens the light and adds style. Every piece has a job in the fixture. Knowing these roles helps in testing.
Testing Equipment Required
A multimeter is a handy tool. It checks electrical circuits.
To test a light fixture, set it to the continuity mode.
This mode checks if electricity flows through the light fixture.
Connect the probes to the light fixture wires.
If the multimeter beeps, the circuit is complete.
This means the light fixture is good.
Ensure the multimeter reads zero or close to zero.
This reading means no resistance.
A voltage tester checks for live wires.
Turn off the power before testing.
Touch the voltage tester to the wires.
If it lights up, the wire is live.
Always stay safe.
Use the tester on all wires.
The tester should not light up.
This ensures the power is off.
Safety first, always double-check.
Inspecting The Fixture
Start by looking closely at the light fixture. Check for any cracks or broken parts. Make sure the wires are not frayed. Frayed wires can be dangerous. Examine the screws to see if any are missing. Missing screws might make the fixture loose.
Look at the surface of the light fixture. Ensure there are no dents or scratches. Dents can affect how the light works. Inspect the glass cover for chips. Chips can cause the glass to shatter. Feel the fixture to check for any heat marks. Heat marks might show a problem with the wiring.
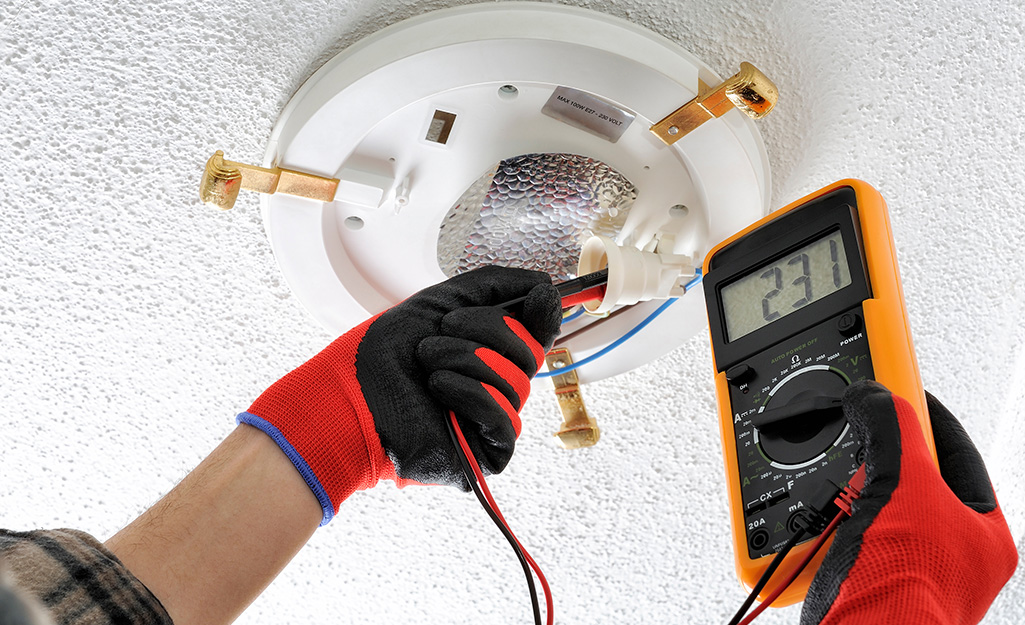
Electrical Testing Process
Use a multimeter to test continuity. Set it to the continuity setting. Touch the probes to the light fixture’s wires. Listen for a beep. This sound means electricity can flow. No beep means a problem. Check all connections again.
Set the multimeter to the voltage setting. Use AC voltage for home fixtures. Touch the probes to the wiring points. Read the voltage on the display. It should match the fixture’s rating. Mismatched readings mean an issue. Fix any wiring errors before installing the fixture.
Credit: www.homedepot.com
Ensuring Proper Wiring
Check wire connections for safety. Loose wires can cause problems. Use a wire stripper to expose wires. Twist the wires together firmly. Secure with wire nuts. Tight connections are safe. Check each wire carefully. Look for any damaged wires. Replace damaged wires immediately. Safety first!
Identify wire types before installation. There are three main colors. Black wire is hot. White wire is neutral. Green wire is ground. Look for color marks on wires. Use correct wire for each purpose. Safety depends on proper identification. Knowing wire types prevents accidents. Always double-check colors. Proper identification ensures safe installation.
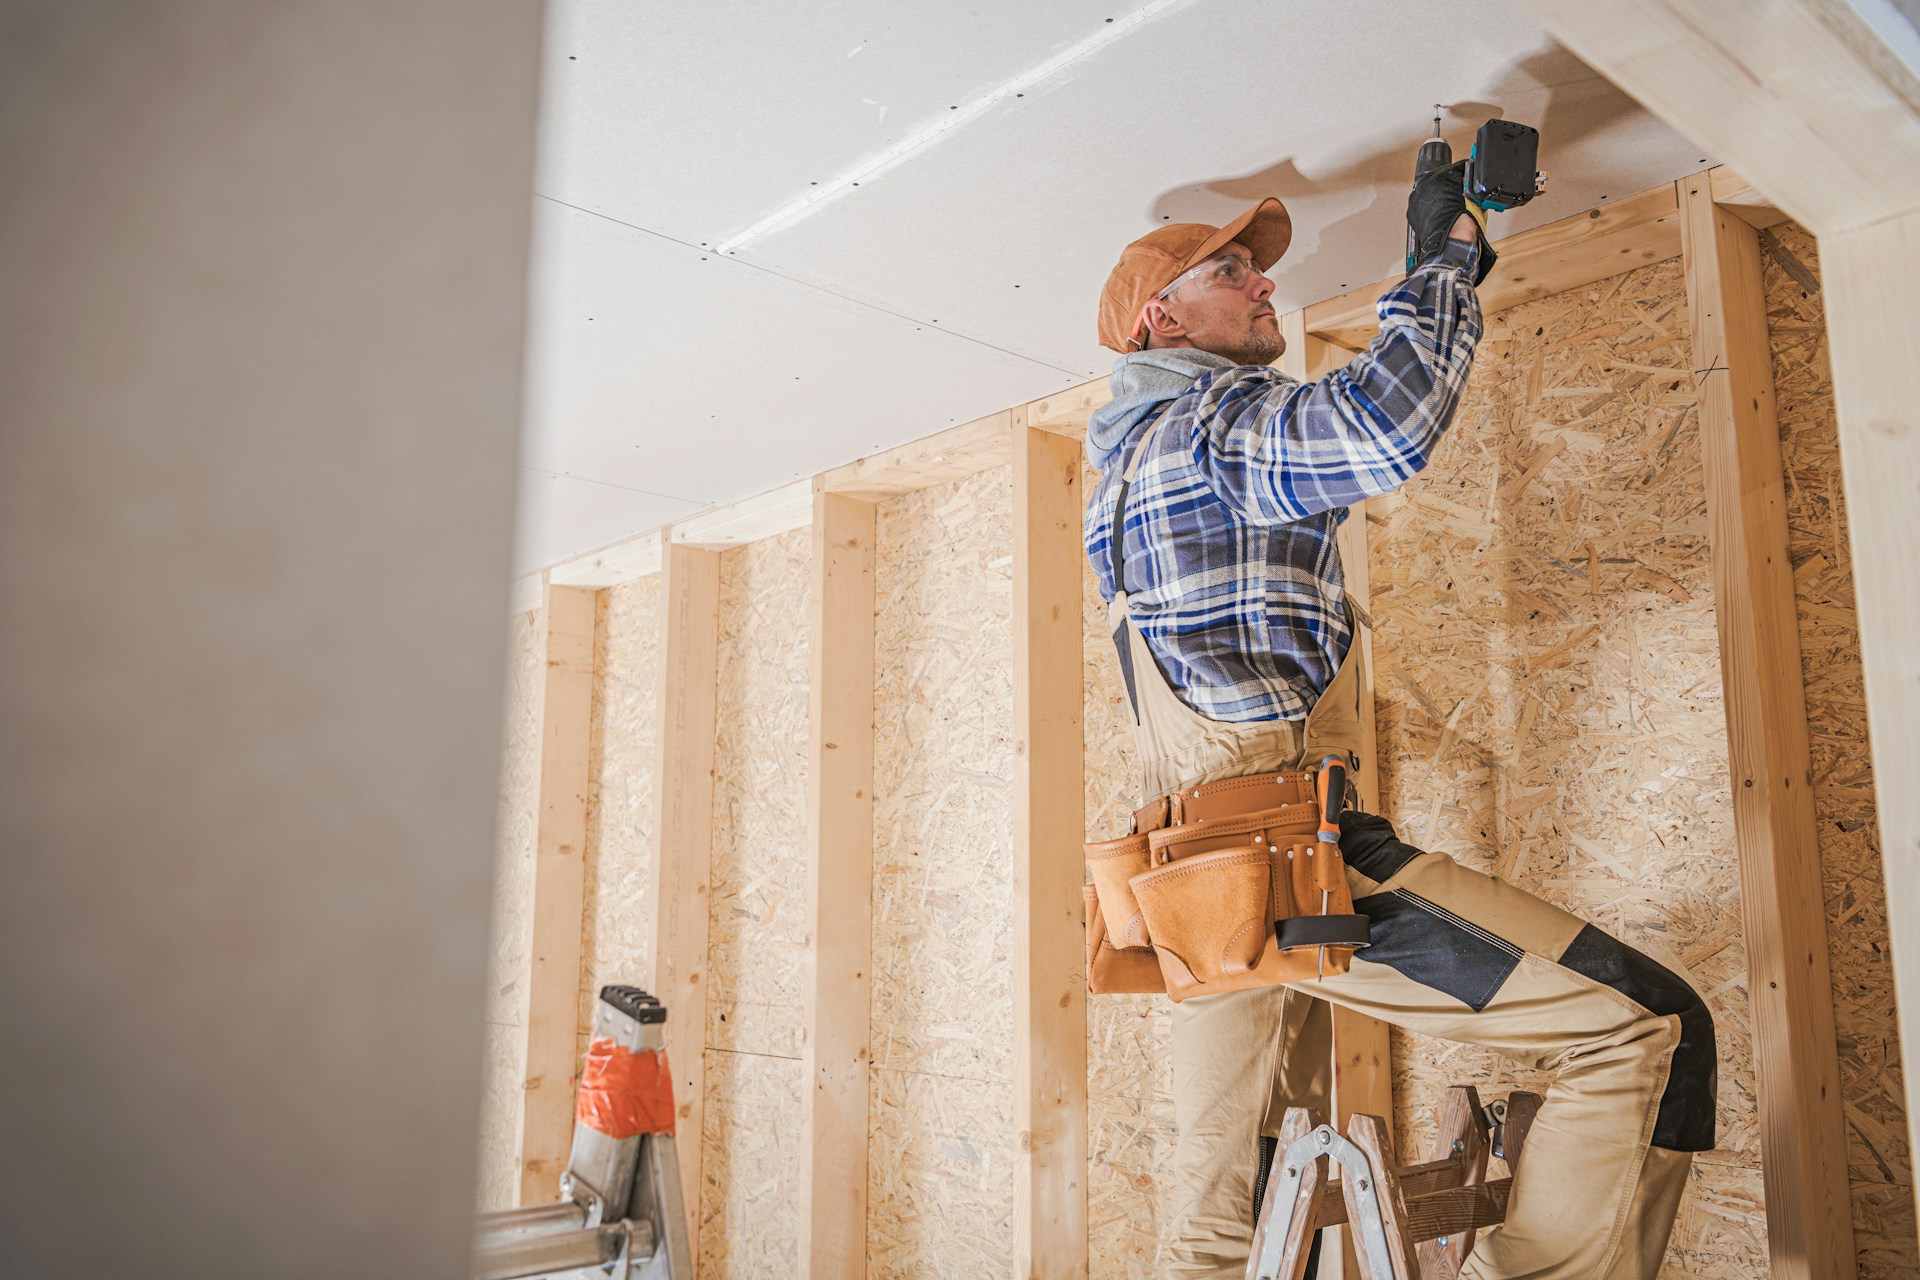
Simulating Installation
Create a temporary setup to test your light fixture. Gather all necessary tools like wires and a power source. Connect the fixture to the power source using the wires. Ensure the connections are secure. This setup helps check for any faults. It also ensures the light works properly before fixing it permanently.
Turn on the light and observe its performance. Check the brightness and color. Make sure it is as expected. Listen for any unusual noises. Check if the fixture heats up too much. If everything is fine, your fixture is ready. If not, make adjustments or choose another fixture. Testing helps you avoid future problems.

Credit: magnifyelectric.com
Troubleshooting Common Issues
Testing a light fixture before installation helps ensure safety and functionality. Use a multimeter to check voltage and continuity. Confirm all connections are secure and wires are intact to avoid electrical issues.
Identifying Faults
A light fixture might not work due to faulty wiring. Check the wires for any breaks. Broken wires can stop the light from working. Sometimes, a damaged bulb is the problem. Replace it with a new one to see if it lights up. A blown fuse can also stop electricity from reaching the fixture. Check the fuse box and replace any bad fuses.
Solutions For Problems
Fix loose wires by tightening them with a screwdriver. Use a voltage tester to ensure electricity flows properly. If the fixture still fails, call an electrician. They can check complex problems safely. Safety first. Always turn off the power before working on fixtures.
Final Steps Before Installation
Ensure the light fixture works properly before installation. Check connections and test bulbs for functionality. Confirm the fixture’s compatibility with your electrical system for a smooth installation process.
Reviewing Test Results
Make sure the light fixture works correctly. Check the bulb and wiring. Look for any loose parts. Ensure all connections are tight. If something seems wrong, fix it first. Good test results mean the fixture is safe.
Preparing For Installation
Gather all needed tools and parts. Have a screwdriver and pliers ready. Turn off the power at the breaker. Safety is very important. Keep a step ladder nearby if needed. Ensure you have adequate lighting to see. Make sure everything is within reach. Being ready makes the job easier and safer.
Frequently Asked Questions
Is There A Way To Test A Light Fixture Before Installing?
Yes, you can test a light fixture using a multimeter. Connect the fixture to a power source and check for proper voltage and functionality. Ensure all connections are secure and test the switch for operation. This confirms the fixture works before installation.
How Do You Test A Ceiling Light Without Installing It?
Connect the ceiling light wires to a plug. Then, plug it into a wall socket. Check its functionality using the switch. Use a multimeter to test for voltage and continuity. Ensure all connections are secure and insulated before testing. Confirm that the light functions correctly in different settings.
How To Use A Multimeter To Test Wires In A Light Fixture?
Set the multimeter to voltage or continuity mode. Touch probes to wire connections. Verify voltage presence or check continuity. Follow safety guidelines. Ensure power is off before testing continuity.
How To Test If A Light Fixture Is Properly Grounded?
Use a multimeter to test grounding. Set it to continuity mode. Touch one probe to the fixture’s metal part, another to the ground wire. If it beeps, it’s grounded. Ensure the fixture is switched off before testing. Proper grounding prevents electrical hazards.
Conclusion
Testing a light fixture before installing ensures safety and functionality. Simple checks save time and prevent future issues. Use a voltage tester to confirm power flow. Inspect wires and connections for damage. Replace any faulty parts immediately. This proactive approach avoids unnecessary risks.
Achieve peace of mind knowing your fixture is ready. Installation becomes smoother and worry-free. Always prioritize safety when dealing with electricity. Remember, a little testing goes a long way. Keep these steps in mind for every fixture you handle. Happy and safe lighting installation awaits!