
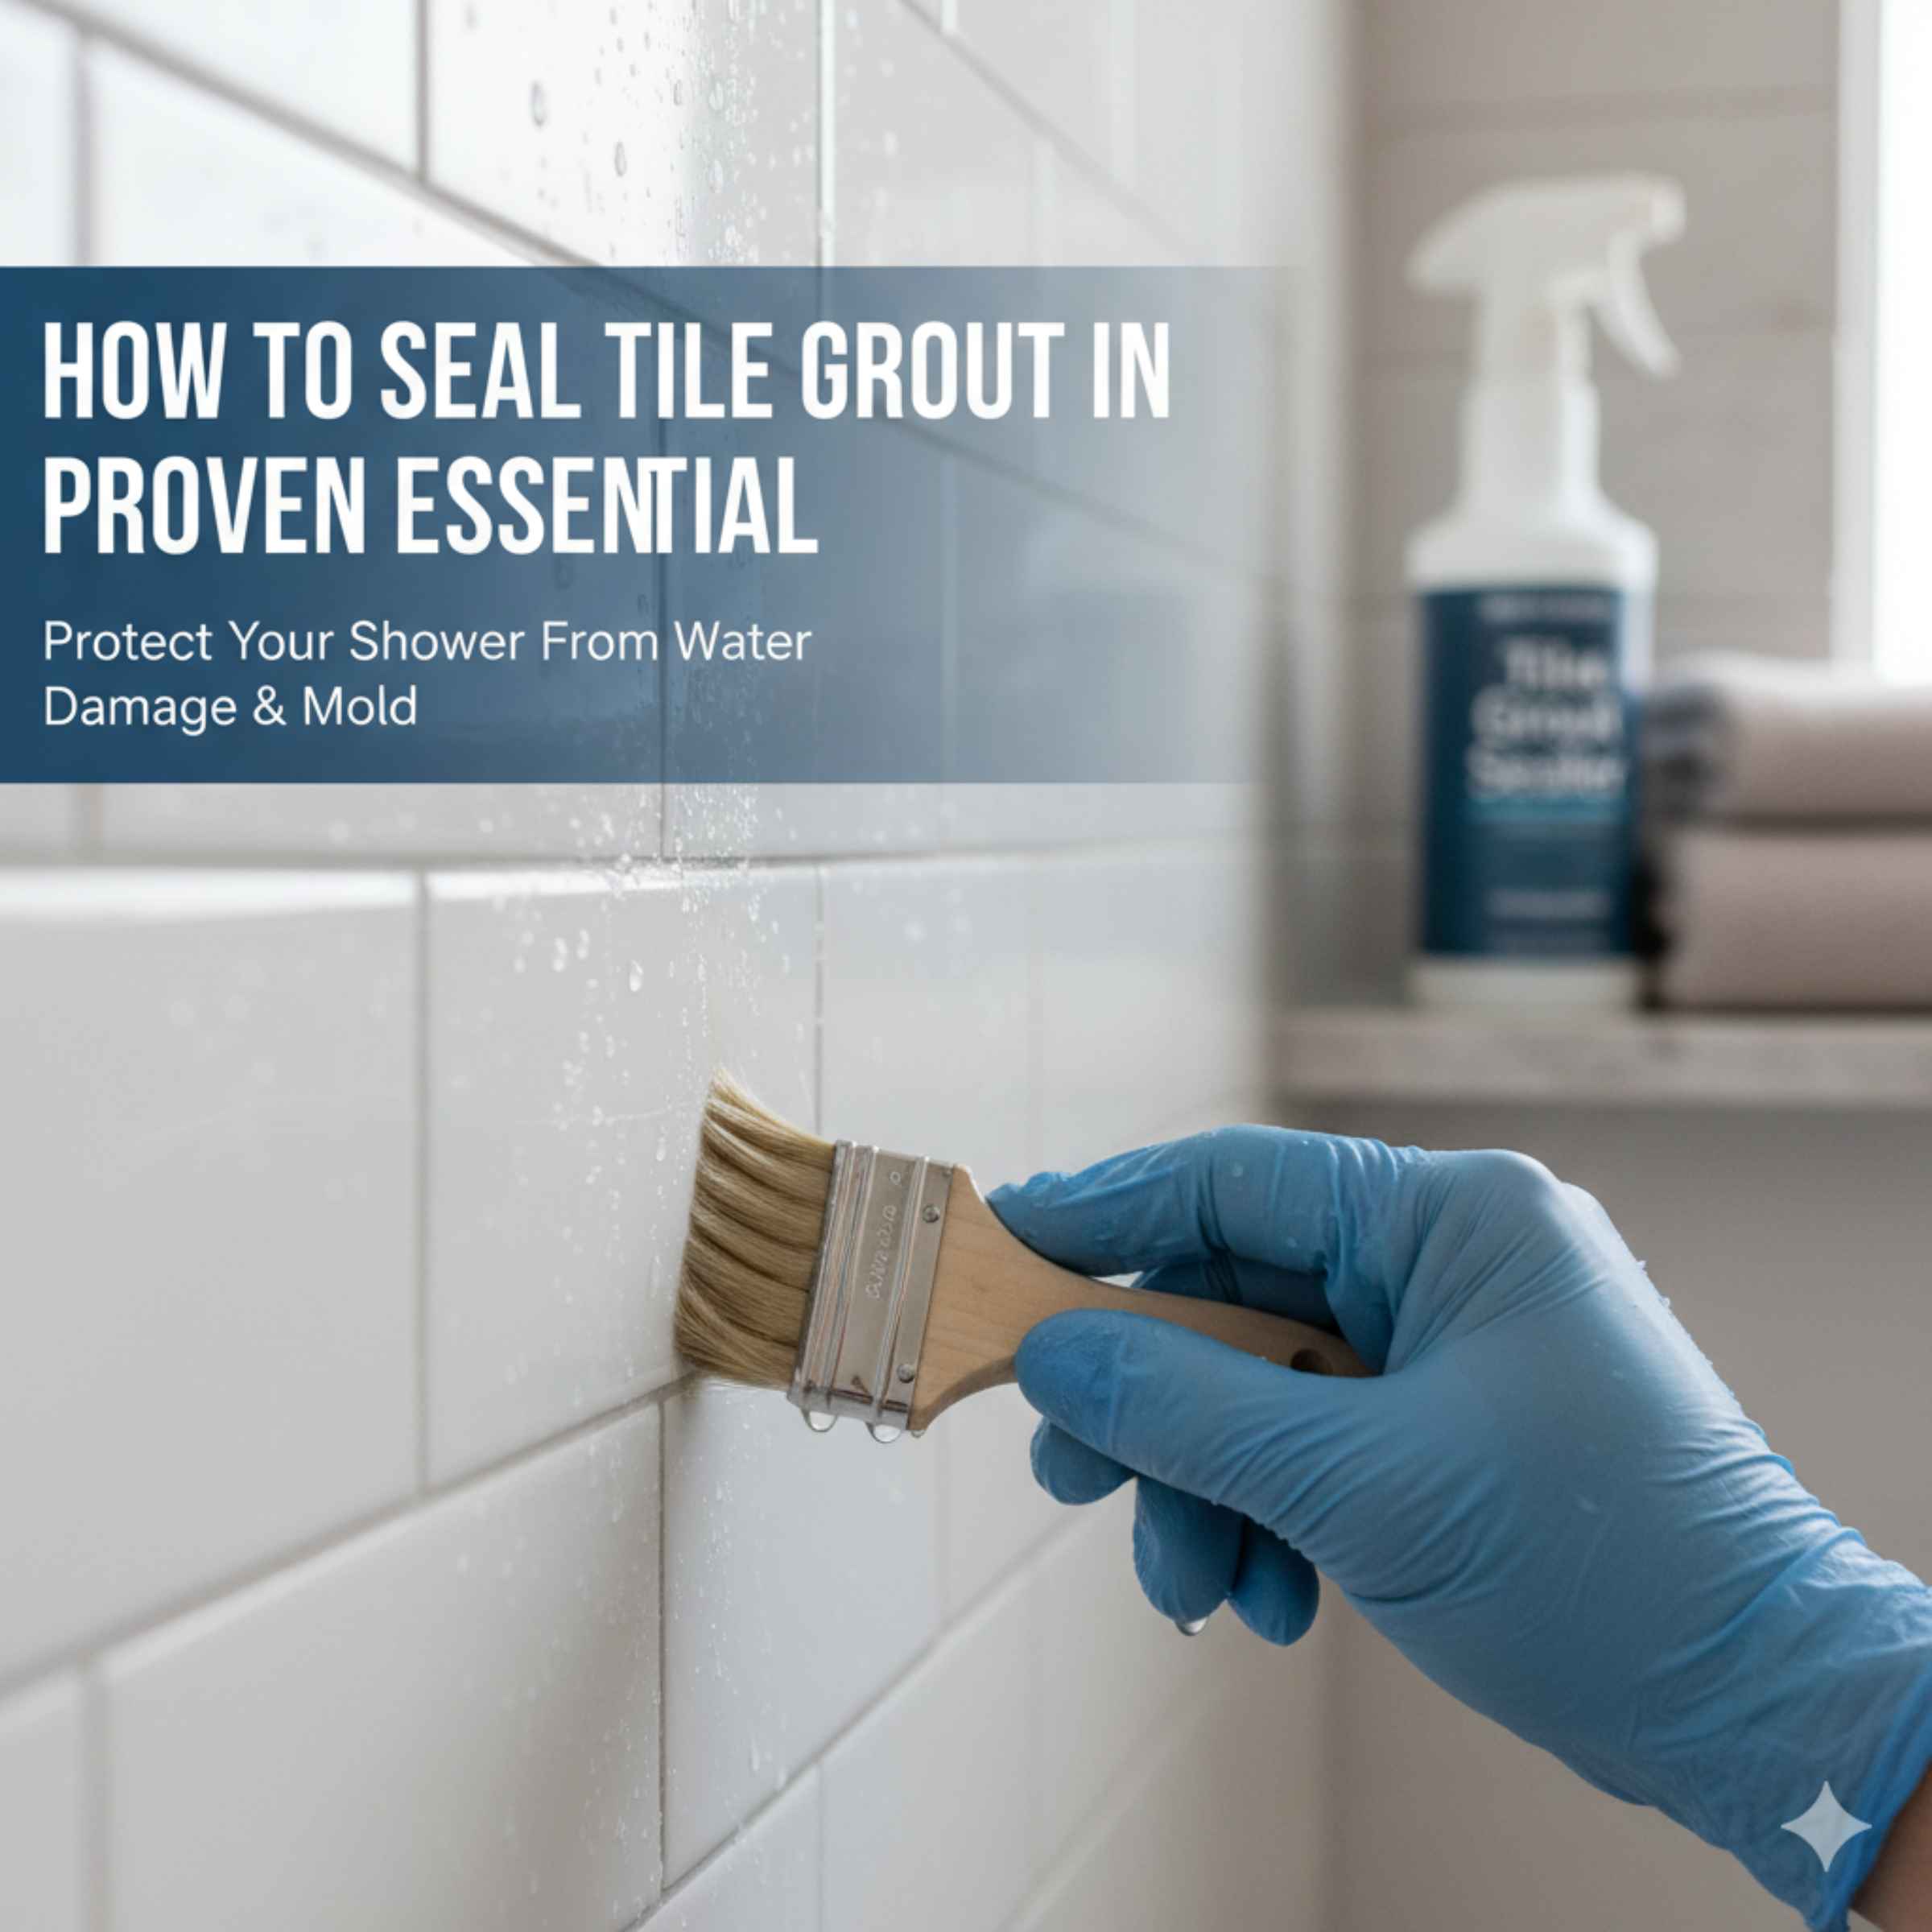
Seal your shower tile grout easily by thoroughly cleaning the area first, applying a high-quality penetrating sealer using a small brush or foam applicator, and allowing it to cure completely. This essential step protects porous grout from water damage, stains, and mildew, extending the life of your beautiful tile work.
If you have ever looked closely at your shower grout, you might have noticed it looking a little dingy, damp, or even slightly cracked after years of use. That porous material between your tiles—the grout—is the first line of defense against moisture getting behind your tiles. When grout soaks up water, it invites mold, mildew, and eventual deterioration. It can feel like a big, complicated job, but I promise you, sealing shower grout is one of the most straightforward, high-impact DIY tasks you can tackle. With the right tools and a little patience, you can lock out water and keep your shower looking fantastic for years. We are going to walk through every simple step together, making sure you feel confident before you even open the sealer bottle. Let’s get that shower waterproofed!
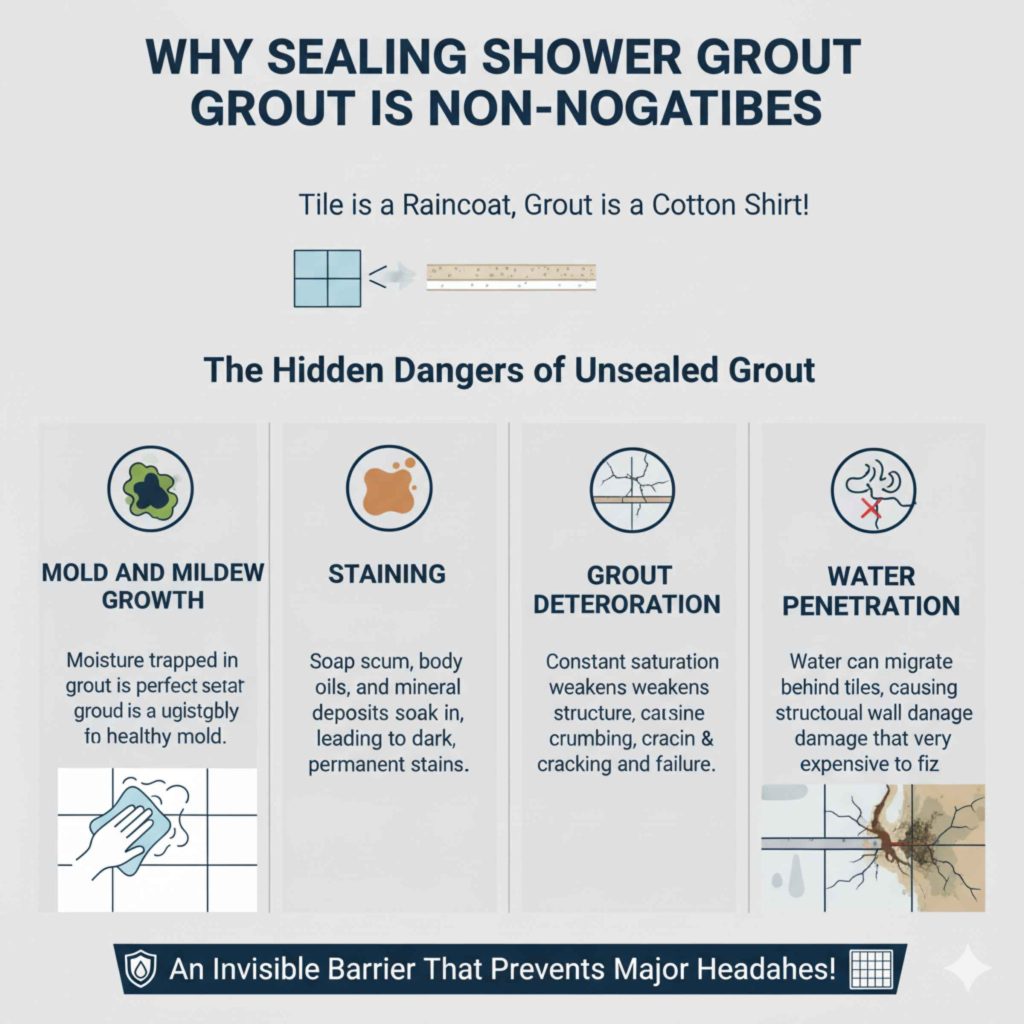
Why Sealing Shower Grout is Non-Negotiable
When we install tile, the grout fills the gaps. While tile itself is usually waterproof (especially ceramic or porcelain), grout is often porous, meaning it has tiny holes that act like sponges.
Think of it this way: your tile is a raincoat, but the grout is a cotton shirt underneath. If water soaks through the shirt, you still get wet!
Sealing the grout creates an invisible barrier that repels water and stains, preventing deep saturation. This simple maintenance step saves you major headaches later on.
The Hidden Dangers of Unsealed Grout
Ignoring this step leads to several common shower problems that homeowners face:
- Mold and Mildew Growth: Moisture trapped in the grout is a perfect breeding ground for unsightly and unhealthy mold.
- Staining: Soap scum, body oils, shampoo residue, and mineral deposits soak in easily, leading to dark, permanent stains.
- Grout Deterioration: Constant saturation weakens the cement structure of the grout, leading to crumbling, cracking, and eventual failure of the tile setting.
- Water Penetration: In severe cases, water can migrate through compromised grout lines to the wallboard behind the tile, causing structural damage that is very expensive to fix.
Gathering Your Essential Tools and Materials
Before we start, let’s make sure you have everything ready. Having all your supplies lined up makes the process smooth and fast. Remember, safety first—we are dealing with cleaners and chemicals.
The Shopping List for Success
Here are the must-haves for sealing your shower grout effectively:
- Grout Cleaner: Use a dedicated, pH-neutral grout cleaner. Avoid harsh acids unless you are dealing with extreme mineral buildup (and only use those if you are an experienced user, as they can etch the tile).
- Stiff Scrub Brush: A dedicated grout brush (often small and rectangular) or a stiff nylon bristle brush works best. Avoid wire brushes, as they can scratch the tile glaze.
- Protective Gear: Rubber gloves and safety glasses are essential to protect your skin and eyes from cleaning agents.
- Rags and Sponges: Plenty of clean, lint-free rags and a few sponges for rinsing.
- Grout Sealer: This is the star! For showers, you want a high-quality, penetrating, solvent-based or water-based sealer designed for wet areas.
- Applicator: A small foam craft brush, a specialized grout brush, or a clean, dedicated paintbrush (1/2 inch or 1 inch works well).
- Painter’s Tape (Optional): Useful for protecting adjacent surfaces if you are using a strong solvent-based sealer.
Choosing the Right Sealer: A Quick Guide
Not all sealers are created equal, especially in a high-moisture environment like a shower.
| Sealer Type | Pros | Cons | Best For |
|---|---|---|---|
| Water-Based Sealer | Low odor, easy cleanup, fast drying. | May require more frequent reapplication (every 1–2 years). | Beginners, light-use showers, low ventilation areas. |
| Solvent-Based Sealer | Deep penetration, excellent long-term protection (3–5 years). | Strong odor, requires good ventilation, longer cure time. | High-traffic showers, deep cleaning required beforehand. |
When shopping, look for terms like “penetrating sealer” or “impregnating sealer.” These soak into the grout rather than just coating the top, offering much better protection. For more technical guidance on building material protection, resources like the National Park Service technical guide on grout preservation offer excellent background on material science.
Step 1: Deep Cleaning the Grout (The Most Important Part!)
You cannot effectively seal dirty or mildewed grout. The sealer needs direct contact with the porous grout surface to penetrate properly. This cleaning step is crucial for a long-lasting seal.
Preparation and Safety Check
Put on your gloves and safety glasses now. Open a window or turn on the bathroom fan. If using a solvent-based sealer or cleaner, ensure good airflow.
The Cleaning Process
Follow these steps to strip away soap scum and mildew:
- Wet the Area: Lightly mist the entire tiled area with warm water. This helps the cleaner work and prevents it from drying out too quickly.
- Apply Cleaner: Apply your chosen grout cleaner directly onto the grout lines. Follow the manufacturer’s instructions for dilution if necessary. Don’t just spray the tile; focus on the grout lines.
- Dwell Time: Let the cleaner sit for the recommended time (usually 5–15 minutes). This allows the chemical action to break down the grime. Do not let it dry completely.
- Scrub Vigorously: Using your stiff grout brush, scrub the grout lines with firm, focused pressure. You are trying to physically lift the dirt out of the pores. Scrub in small sections.
- Rinse Thoroughly: This step is vital. Use clean, warm water and a sponge or a handheld shower sprayer to rinse away every trace of the cleaner and lifted dirt. Any cleaner residue left behind will block the sealer from sticking. Rinse, rinse, and rinse again.
- Dry Completely: This is where patience comes in. The grout must be bone dry before sealing. Use an old towel to wick up excess moisture. For best results, let the shower air dry for at least 12 to 24 hours. If you can run a fan in the bathroom overnight, that speeds up the process.
Pro Tip from Meraj: If you have tough soap scum or hard water stains, consider using a mild oxygen bleach solution after the initial cleaning, scrubbing, rinsing, and drying. This whitens the grout, giving the sealer a clean surface to bond to.
Step 2: Applying the Grout Sealer
Once the area is completely dry—and I mean dry—you are ready for the magic step. Applying sealer is like painting, but the goal is to soak the product in, not lay it on top.
Tool Selection for Application
For beginners, I highly recommend using a small foam brush or a dedicated grout brush. These tools allow you to “paint” the sealer directly onto the grout line with minimal splatter onto the surrounding tile face. If you use a larger brush, you will spend more time wiping up excess sealer from the tile.
The Sealing Technique
Work in small, manageable sections—perhaps a 3-foot by 3-foot area at a time. This prevents the sealer from flashing (drying too fast) before you can work it in.
- Prepare the Sealer: If using a solvent-based sealer, shake the can well according to the directions. If using a water-based sealer, stir gently.
- Apply Liberally to Grout: Dip your brush into the sealer. Apply a generous amount directly onto the grout line. You want the grout to absorb it. Don’t be afraid to use enough product.
- Work It In: Use your brush to work the sealer into the grout line. If you notice any pooling on the tile surface, wipe it up immediately with a clean, dry cloth.
- The Wipe Down (Crucial Timing): Most penetrating sealers are designed to soak in. After about 3 to 5 minutes (check your product’s instructions!), take a clean, dry, lint-free rag and wipe off any excess sealer that is sitting on the tile surface. If you leave puddles or residue on the tile face, it will cure into a hazy, shiny film that is difficult to remove later.
- Reapply (If Necessary): Very porous, old grout might soak up the first coat completely and look dry almost instantly. If this happens, wait about 15 minutes and apply a second, lighter coat, repeating the immediate wipe-down step.
- Move On: Once you have finished wiping the excess from your first section, move to the next section and repeat steps 2 through 4.
Step 3: Curing and Finalizing
The job isn’t done until the sealer has fully cured. Curing is the chemical process where the sealer hardens and achieves its maximum protective qualities.
Understanding Cure Times
Cure times vary significantly between water-based and solvent-based products. Always default to the manufacturer’s label, but here is a general guideline:
- Dry to Touch: Usually 1–2 hours.
- Water Exposure (Light Use): Most sealers require 24 hours before they can handle light water exposure (like a quick rinse).
- Full Cure: For full waterproofing power, most sealers need 48 to 72 hours before the shower is used heavily or subjected to prolonged soaking.
Resist the urge to hop in the shower after just a few hours! Allowing the full cure time ensures you get the maximum protection you worked so hard to apply. You can check the effectiveness later by sprinkling a few drops of water on the grout line—if it beads up, you did a fantastic job!
Maintenance: Keeping Your Seal Strong
Sealing grout is not a one-and-done lifetime fix. It’s a maintenance task, much like waxing your car. The harsh environment of a shower—steam, heat, acidic soaps, and scrubbing—will slowly wear down the protective layer.
When to Reseal
As a general rule of thumb for a busy shower:
- Water-Based Sealers: Plan to clean and reseal every 12 to 18 months.
- Solvent-Based Sealers: Plan to clean and reseal every 3 to 5 years.
The easiest way to tell if you need to reseal is the “water test.” Sprinkle a few drops of water onto the grout. If the water beads up nicely, your seal is strong. If the water soaks in and darkens the grout color within a minute, it’s time to clean and reseal!
Cleaning Between Seals
To preserve your sealer, use gentle cleaning methods. Avoid harsh, abrasive scrub pads or highly acidic cleaners (like some heavy-duty toilet bowl cleaners or vinegar solutions) on a daily basis, as these eat away at the sealer and the grout itself. Stick to pH-neutral bathroom cleaners.
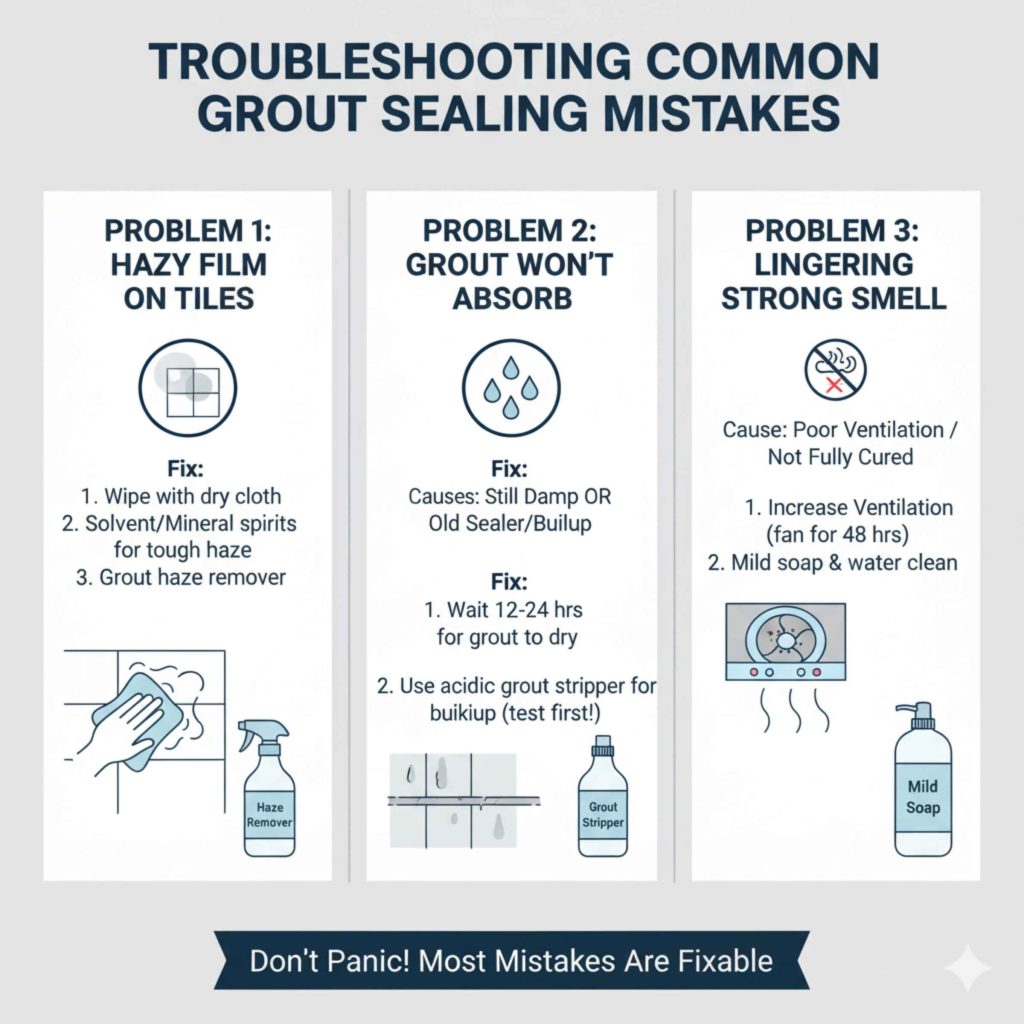
Troubleshooting Common Sealing Mistakes
Even with the best intentions, sometimes things don’t go perfectly. Here are quick fixes for beginner hiccups.
Problem 1: Hazy or Cloudy Film on the Tile Surface
This is the most common issue. It means you left excess sealer on the tile face and it cured there. Don’t panic! This is usually fixable.
The Fix:
- Try wiping the area again with a clean, dry cloth. Sometimes a firm scrub will remove uncured product.
- If that fails, use a small amount of the sealer solvent (if it was solvent-based) or mineral spirits on a rag to gently rub the haze away. Work in small circles.
- If the haze is stubborn and the sealer has fully cured, you might need a specialized grout haze remover, available at most home improvement stores.
Problem 2: Grout Won’t Absorb the Sealer
If you apply the sealer and it just sits on top of the grout without soaking in, it means one of two things:
- The grout is still damp from the cleaning process.
- The grout is already completely saturated with old sealer, soap scum, or wax buildup.
The Fix:
If it’s dampness, wait several more hours. If you suspect buildup, you must go back to Step 1. You may need a stronger, acidic grout stripper (use with extreme caution and test in a hidden area first) to strip the old layer before attempting to reseal.
Problem 3: Sealer Smells Strong Days Later
If you used a solvent-based sealer, a lingering odor is common, especially in small bathrooms with poor ventilation. This usually means the product hasn’t fully off-gassed (cured).
The Fix:
Increase ventilation immediately. Run exhaust fans constantly for 48 hours. If the smell persists beyond 72 hours, the product may not have cured correctly, or you may have used too much product. You may need to try to gently clean the surface with mild soap and water to encourage further off-gassing.
Frequently Asked Questions (FAQ) About Shower Grout Sealing
Q1: Can I seal the grout if the tile is already sealed?
A: Yes, you absolutely should! Most commercial tile sealers protect the tile face, but they do not penetrate deep into the porous grout lines between the tiles. You must seal the grout separately.
Q2: How long do I have to wait after re-grouting before I can seal?
A: For standard cementitious grout, you must wait until it is completely dry and cured, which is typically 48 to 72 hours. Some manufacturers recommend waiting up to 7 days for the full moisture to evaporate from the new grout.
Q3: Does sealing the grout stop mold growth completely?
A: Sealing dramatically helps by repelling water that mold needs to thrive. However, it is not a mold killer. You must clean all existing mold thoroughly before sealing, or you will seal the mold in place.
Q4: Can I use a roller or a sponge to apply the sealer?
A: While you can use a large sponge, using a small brush is highly recommended. Rollers or large sponges tend to spread the sealer everywhere, leading to excess on the tile face that needs immediate, difficult wiping.
Q5: My grout is dark gray, but the sealer made it look slightly darker. Is this normal?
A: Yes, this is often normal, especially with solvent-based sealers. Many sealers will slightly darken the color of the grout, giving it a richer, deeper look. Always test in a small, inconspicuous area first to confirm you like the final appearance.
Q6: What if I have epoxy grout instead of cement grout?
A: Epoxy grout is non-porous and typically does not require sealing. If you have epoxy grout, focus your efforts on cleaning the tile surface, as the grout itself is naturally stain-resistant.
A Final Word of Encouragement
Sealing your shower grout might seem like just another chore, but view it as preventative maintenance that pays dividends. By taking the time to clean deeply and apply the sealer correctly—making sure it soaks into those hungry grout lines—you are actively protecting your bathroom investment against water damage, stains, and the dreaded mildew. You have the tools, you know the steps, and you are now equipped to handle this project like a pro. Go ahead, give your shower the waterproof shield it deserves. You’ll be amazed at how easy it was and how much better it looks!