
Resetting the emission control system warning light is often possible by simply completing a drive cycle after fixing the underlying issue, or by temporarily disconnecting the car battery. For a lasting fix, however, you must address the root cause, usually involving a loose gas cap or a failing sensor, which requires using an OBD-II scanner for diagnosis.
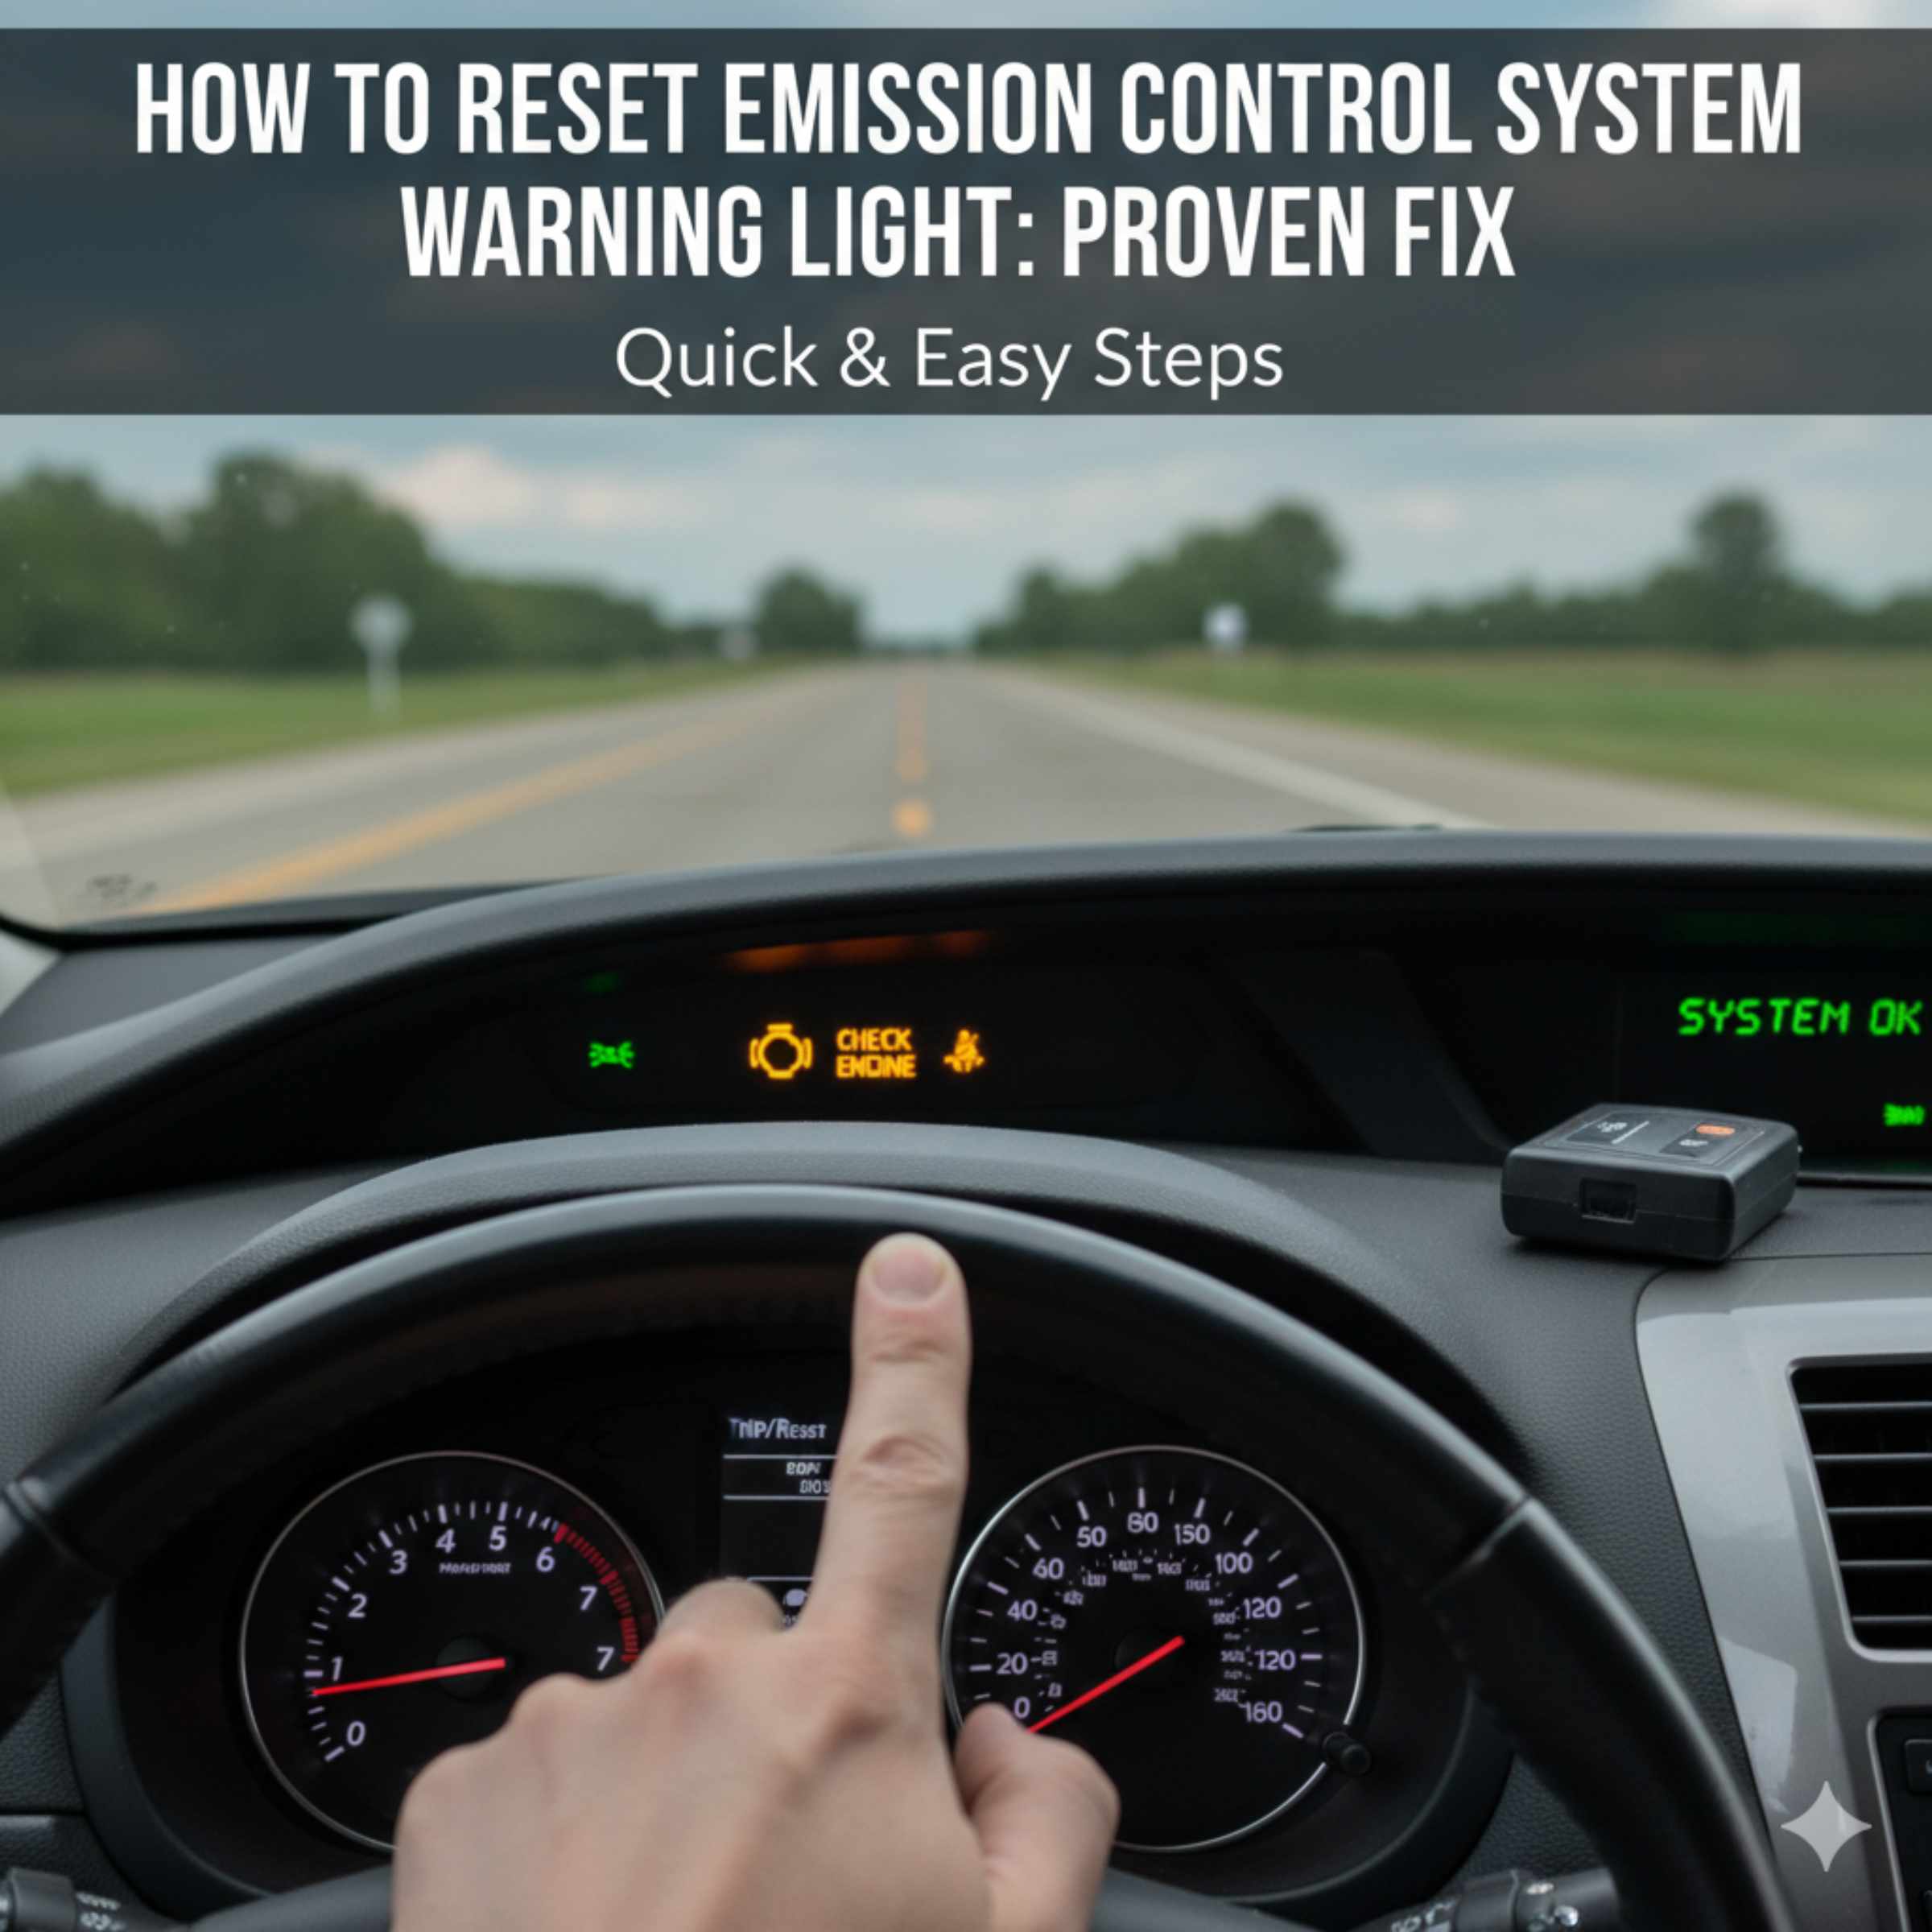
When that bright yellow light pops up on your dashboard—the one related to emissions—it can feel like a big, expensive problem is brewing. Don’t panic! Many times, this light, often called the Check Engine Light (CEL) or Malfunction Indicator Lamp (MIL), is triggered by something small, like a loose gas cap. If you’ve already tightened that cap or fixed a minor issue, you might wonder how to turn the light off. As a DIY guide, I’ll show you the safe, proven ways to clear that light so you can drive with confidence again. We will cover the easy, quick tricks and the necessary steps for a real, lasting reset.
Understanding the Emission Control System Light
Before we reset anything, let’s briefly look at what this light means. It’s your car’s way of telling you that something in the system designed to reduce harmful exhaust fumes isn’t working perfectly.
What Triggers the Light?
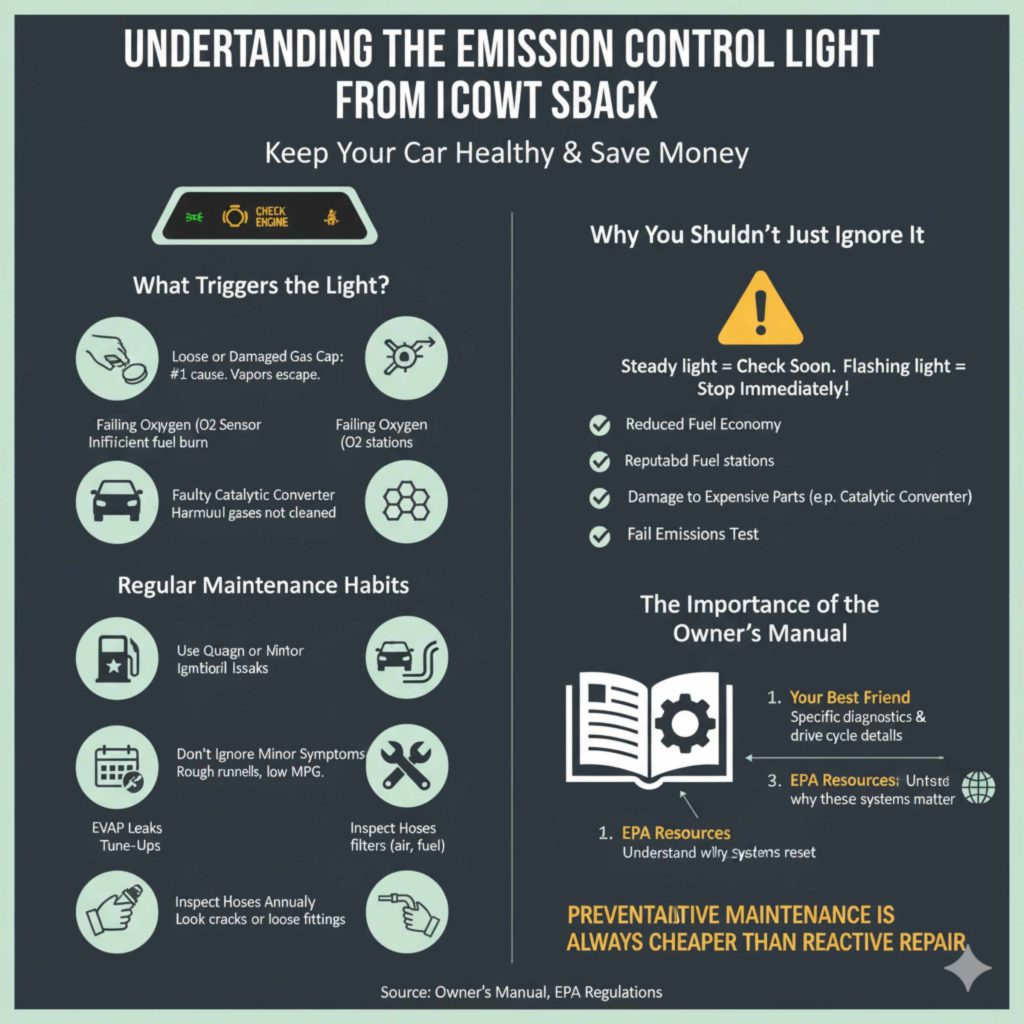
The emission control system is complex, but the common culprits for triggering the light are usually simple to understand:
- Loose or Damaged Gas Cap: This is the #1 cause. A loose cap lets fuel vapors escape, tripping the system’s sensor.
- Failing Oxygen (O2) Sensor: These sensors measure how much unburned oxygen is in the exhaust. If they fail, your car burns fuel inefficiently.
- Faulty Catalytic Converter: This is more serious, as the converter cleans up harmful gases.
- Spark Plug or Ignition Coil Issues: Misfires lead to incomplete combustion, which spikes emissions.
- EVAP Leaks: The Evaporative Emission Control System (EVAP) manages fuel vapors; leaks here are common triggers.
Why You Shouldn’t Just Ignore It
While a flashing light usually means “stop driving immediately,” a steady emission light means you should get it checked soon. Ignoring it won’t make the problem disappear, and it can lead to worse issues, like reduced fuel economy or damage to expensive parts like the catalytic converter. Plus, you might fail an emissions test if your state requires one.
Method 1: The Easiest Fix – The Drive Cycle
If you’ve fixed the underlying problem (like tightening that gas cap), the computer needs confirmation that the fix worked. It does this by running a series of checks called a “drive cycle.” This is the most natural and manufacturer-approved way to clear the light.
What is a Drive Cycle?
A drive cycle is a specific pattern of driving—including acceleration, cruising at highway speed, idling, and braking—that allows the car’s onboard computer (the ECU) to test every part of the emission system.
Steps to Complete a Drive Cycle
This process can take anywhere from one to three trips, depending on how long it’s been since the issue occurred.
- Fix the Problem First: Ensure the basic issue is resolved (e.g., tighten the gas cap until it clicks several times).
- Start Cold: Begin your drive when the engine is completely cold (parked overnight).
- Initial Warm-up: Drive normally for about 5 minutes, allowing the engine to warm up slightly.
- Cruising Phase: Drive at a steady speed (around 50–60 mph) for about 15–20 minutes without stopping or heavy acceleration.
- Deceleration and Idle: Slow down gradually (coast or brake gently) and then let the car idle for about 3 minutes.
- Repeat if Necessary: Drive the car normally for a few days. If the light doesn’t go off after two or three full drive cycles, the issue might be more complex, or the code needs to be manually cleared.
Tip from Meraj: Patience is key here. The car won’t clear the code instantly after one good drive. It needs to complete the full diagnostic sequence.
Method 2: The Quick Reset – Battery Disconnect
If you’re in a hurry or you know for sure the problem is solved (like after replacing a faulty sensor), you can manually force the computer to reboot by disconnecting the battery. This clears the computer’s short-term memory, including the stored error codes.
Safety First: Tools and Precautions
Since we are dealing with electrical systems, safety is paramount. Remember, we treat electricity with respect, just like we respect a sharp saw blade!
Tools You Will Need:
- Wrench or socket set (usually 10mm or 13mm)
- Safety glasses
- Gloves (optional, but recommended)
- A piece of cardboard or a rag to keep tools from touching metal parts
The Battery Disconnect Procedure:
- Turn Everything Off: Make sure the car is completely off, the parking brake is set, and the key is out of the ignition.
- Locate the Battery: Open the hood and find your car battery.
- Identify Terminals: The negative terminal is always marked with a minus sign (-) and usually has a black cable. The positive terminal is marked with a plus sign (+) and has a red cable.
- Disconnect the Negative Terminal FIRST: Using your wrench, loosen the nut on the negative (-) terminal clamp. Once loose, gently wiggle and pull the cable clamp completely off the battery post. Tuck the cable away safely so it cannot accidentally touch the battery post.
- Wait Patiently: Wait for at least 15 to 30 minutes. This allows the capacitors in the car’s computer system to fully drain, ensuring the memory is wiped clean.
- Reconnect the Negative Terminal: After the waiting period, securely place the negative cable back onto the post and tighten the nut firmly. Wiggle it to ensure it’s snug.
- Check the Light: Start the car. If the fix was successful, the emission control warning light should be off!
Important Caveats of the Battery Reset
Disconnecting the battery is fast, but it has side effects, just like using a power tool without a safety guard has risks.
| Consequence | What It Means for You |
|---|---|
| Loss of Radio Presets | You will need to re-enter saved radio stations. |
| Idle/Performance Issues (Temporary) | The car’s computer will need to “relearn” its optimal settings. The first few minutes of driving might be slightly rough or idle high. |
| Loss of Learned Data | If your car has specific settings for window auto-up/down or transmission shift points, these might need to be reset according to your owner’s manual. |
A Word of Caution: If the light comes back on shortly after the battery reset, it means the underlying problem was not fixed, and you must move on to diagnosis.
Method 3: The Professional Approach – Using an OBD-II Scanner
For a guaranteed, accurate, and long-lasting reset, you need to read the Diagnostic Trouble Code (DTC) stored in the car’s computer. This requires an OBD-II (On-Board Diagnostics, second generation) scanner. Think of this tool like a multimeter for your car’s brain—it tells you exactly what’s wrong.
Getting Your Own Scanner
You don’t need the most expensive tool to start. Basic code readers are affordable and a fantastic investment for any DIY homeowner.
You can often borrow or rent these scanners from large auto parts stores for free or a small deposit. However, owning one lets you check codes anytime. For excellent, reliable scanners, look at trusted brands known for durability and clear readings.
How to Read and Clear Codes
- Locate the Port: The OBD-II port is usually located under the dashboard on the driver’s side, often near the steering column or the fuse box panel.
- Plug In the Scanner: Plug your scanner firmly into the port. Turn the ignition key to the “ON” position, but do not start the engine.
- Read the Codes: Follow your scanner’s instructions to “Read Codes.” The scanner will display codes, usually starting with a “P” (for Powertrain), like P0420 (Catalyst System Efficiency Below Threshold).
- Diagnose the Code: Look up the specific code online or in the scanner’s manual. This tells you exactly which component is malfunctioning. The National Highway Traffic Safety Administration (NHTSA) provides general information on these standards.
- Fix the Root Cause: This is crucial. If you clear the code without fixing the issue (e.g., replacing a bad O2 sensor), the light will return quickly.
- Clear the Code: Once the repair is made, navigate the scanner menu to “Erase Codes” or “Clear DTCs.” Confirm the action.
When to Seek Professional Help
While many emission issues are DIY-friendly, some require specialized tools or expertise:
- Complex EVAP Leaks: These often require a smoke machine to find tiny vacuum leaks.
- Catalytic Converter Failure: Replacing this part is often expensive and requires careful welding or fitting.
- Intermittent Problems: If the light comes on and off seemingly randomly, it suggests a wiring issue or a sensor failing only under specific conditions, which can be tough to track down.
Troubleshooting Common Emission Codes
Understanding the code helps you know whether a simple reset is enough or if a repair is needed. Here are a few common codes related to emission control systems:
| DTC Code Example | What It Usually Means | DIY Reset Viable? |
|---|---|---|
| P0440 / P0455 | Evaporative Emission Control System Malfunction (Large Leak Detected) | Often just a loose gas cap. Reset after tightening. |
| P0420 / P0430 | Catalyst System Efficiency Below Threshold (Bank 1 or 2) | Usually requires repair (O2 sensor or converter). Reset confirms the repair. |
| P0300 Series (e.g., P0301) | Engine Misfire Detected (Cylinder 1) | Requires spark plug or coil replacement before resetting. |
| P0130 Series | O2 Sensor Circuit Malfunction | Requires sensor replacement. Reset confirms the new sensor works. |
Preventing the Light From Coming Back
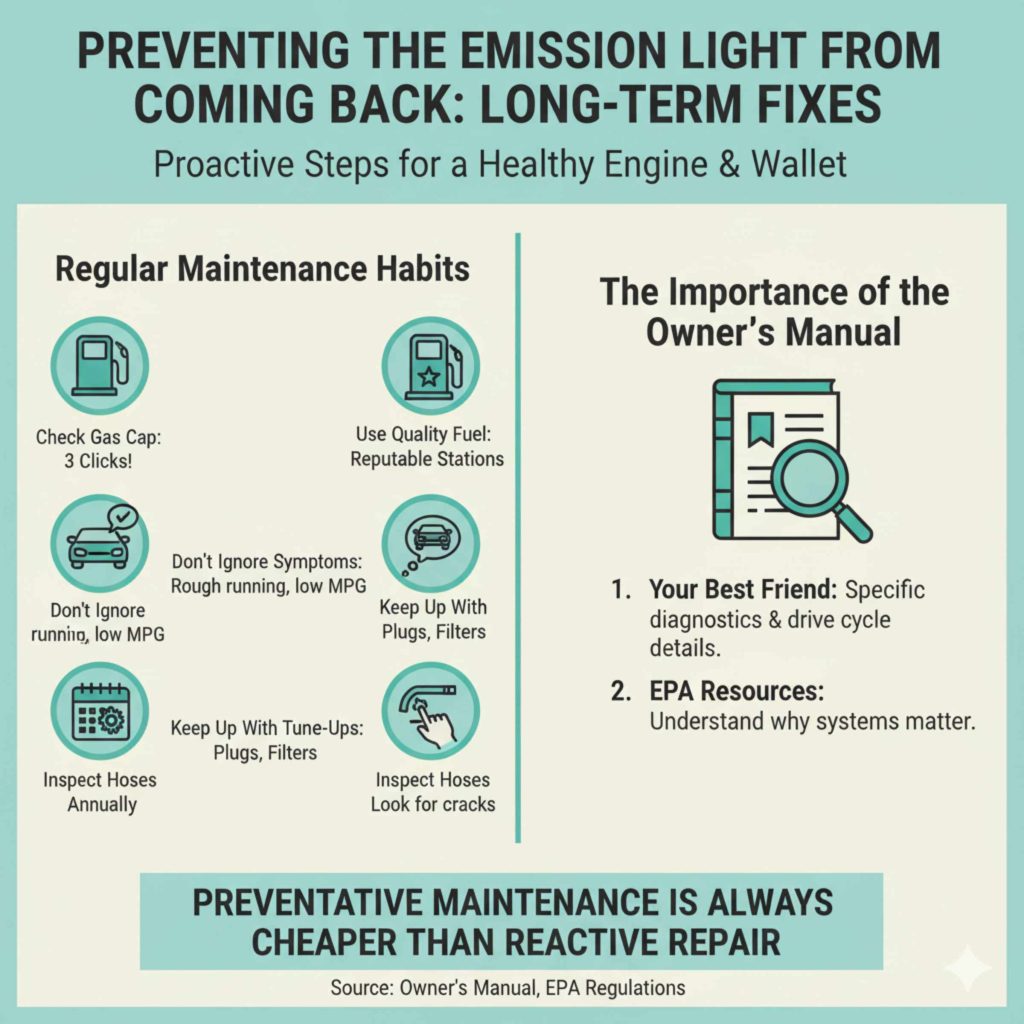
Resetting the light is only half the battle; keeping it off is what matters most for your wallet and peace of mind. My best advice comes from years of working on engines: preventative maintenance is always cheaper than reactive repair.
Regular Maintenance Habits
- Check the Gas Cap Every Time You Fuel Up: Make it a habit to twist that cap until you hear at least three solid clicks. This simple action prevents the most common emission trigger.
- Use Quality Fuel: Low-quality gasoline can lead to poor combustion, stressing the entire system. Stick to reputable gas stations.
- Don’t Ignore Minor Symptoms: If your car starts running rough, smells different, or gets slightly lower mileage, address it before the light comes on. A small misfire today can become a costly catalytic converter failure next year.
- Keep Up with Tune-Ups: Ensure spark plugs, air filters, and fuel filters are replaced according to your manufacturer’s schedule. A clean engine produces clean emissions.
- Inspect Hoses Annually: When you check your oil, take a quick look under the hood at the vacuum lines and hoses connected to the engine. Look for cracks, splits, or hoses that have slipped off their fittings. These small rubber parts dry out over time.
The Importance of the Owner’s Manual
Every vehicle manufacturer has specific requirements for emission system diagnostics and drive cycles. Your owner’s manual is your best friend here. It will detail exactly how long you should drive after a repair to ensure the system resets correctly without needing a manual code clear. Consulting resources like the Environmental Protection Agency (EPA) regulations regarding vehicle emissions can also give you context on why these systems are so important.
Frequently Asked Questions (FAQs)
Q1: Will disconnecting the battery damage my car computer?
A: No, disconnecting the battery for 15-30 minutes is a standard, safe procedure used by mechanics to reset volatile memory. It will not permanently damage the main ECU, though it might temporarily clear saved radio presets or learned driving habits.
Q2: How long does it take for the light to go off after I fix it?
A: If you fixed the issue (like tightening the gas cap), the light might turn off immediately, or it might take one or two full drive cycles (several days of normal driving) for the car to confirm the repair and reset itself automatically.
Q3: Can I reset the light if I don’t know the problem?
A: Yes, you can reset the light using the battery disconnect or an OBD-II scanner, but this is strongly discouraged. If you don’t know the problem, the light will return as soon as the system detects the fault again. Always scan for the code first!
Q4: Is it illegal to clear emission codes before an inspection?
A: Yes, in most places, clearing the codes immediately before an emissions test is illegal. When the inspection station plugs in their reader, they check the “Readiness Monitors.” If these monitors show “Not Ready” (because you just cleared the codes), you will automatically fail the test, as the car hasn’t had time to run its self-tests.
Q5: What if the light flashes instead of staying solid?
A: A flashing Check Engine Light is a serious warning! It usually indicates a severe engine misfire that is actively dumping raw fuel into the exhaust system. This can quickly overheat and destroy your expensive catalytic converter. If the light is flashing, stop driving immediately and have the car towed to a mechanic.
Q6: Do all cars have the same reset procedure?
A: The battery disconnect method is universal, but the exact drive cycle needed to trigger the self-reset varies by manufacturer (Ford, Honda, Toyota, etc.). Always check your specific model’s requirements if the simple battery disconnect doesn’t work.
Conclusion: Driving Forward with Confidence
Seeing that emission control warning light can certainly cause a knot in your stomach, but remember: you have the power to manage it! We’ve walked through the three main ways to reset that light—the natural drive cycle, the quick battery pull, and the definitive OBD-II scan.
For the DIY homeowner, the best approach is always diagnosis first. Grab that scanner, find out what code is triggering the alert, fix the physical problem—whether it’s a $10 gas cap or a $150 sensor—and then confirm the fix by either driving a proper cycle or clearing the code. By understanding these simple steps, you save a trip to the mechanic and build confidence in keeping your vehicle running smoothly and cleanly. Happy wrenching!