
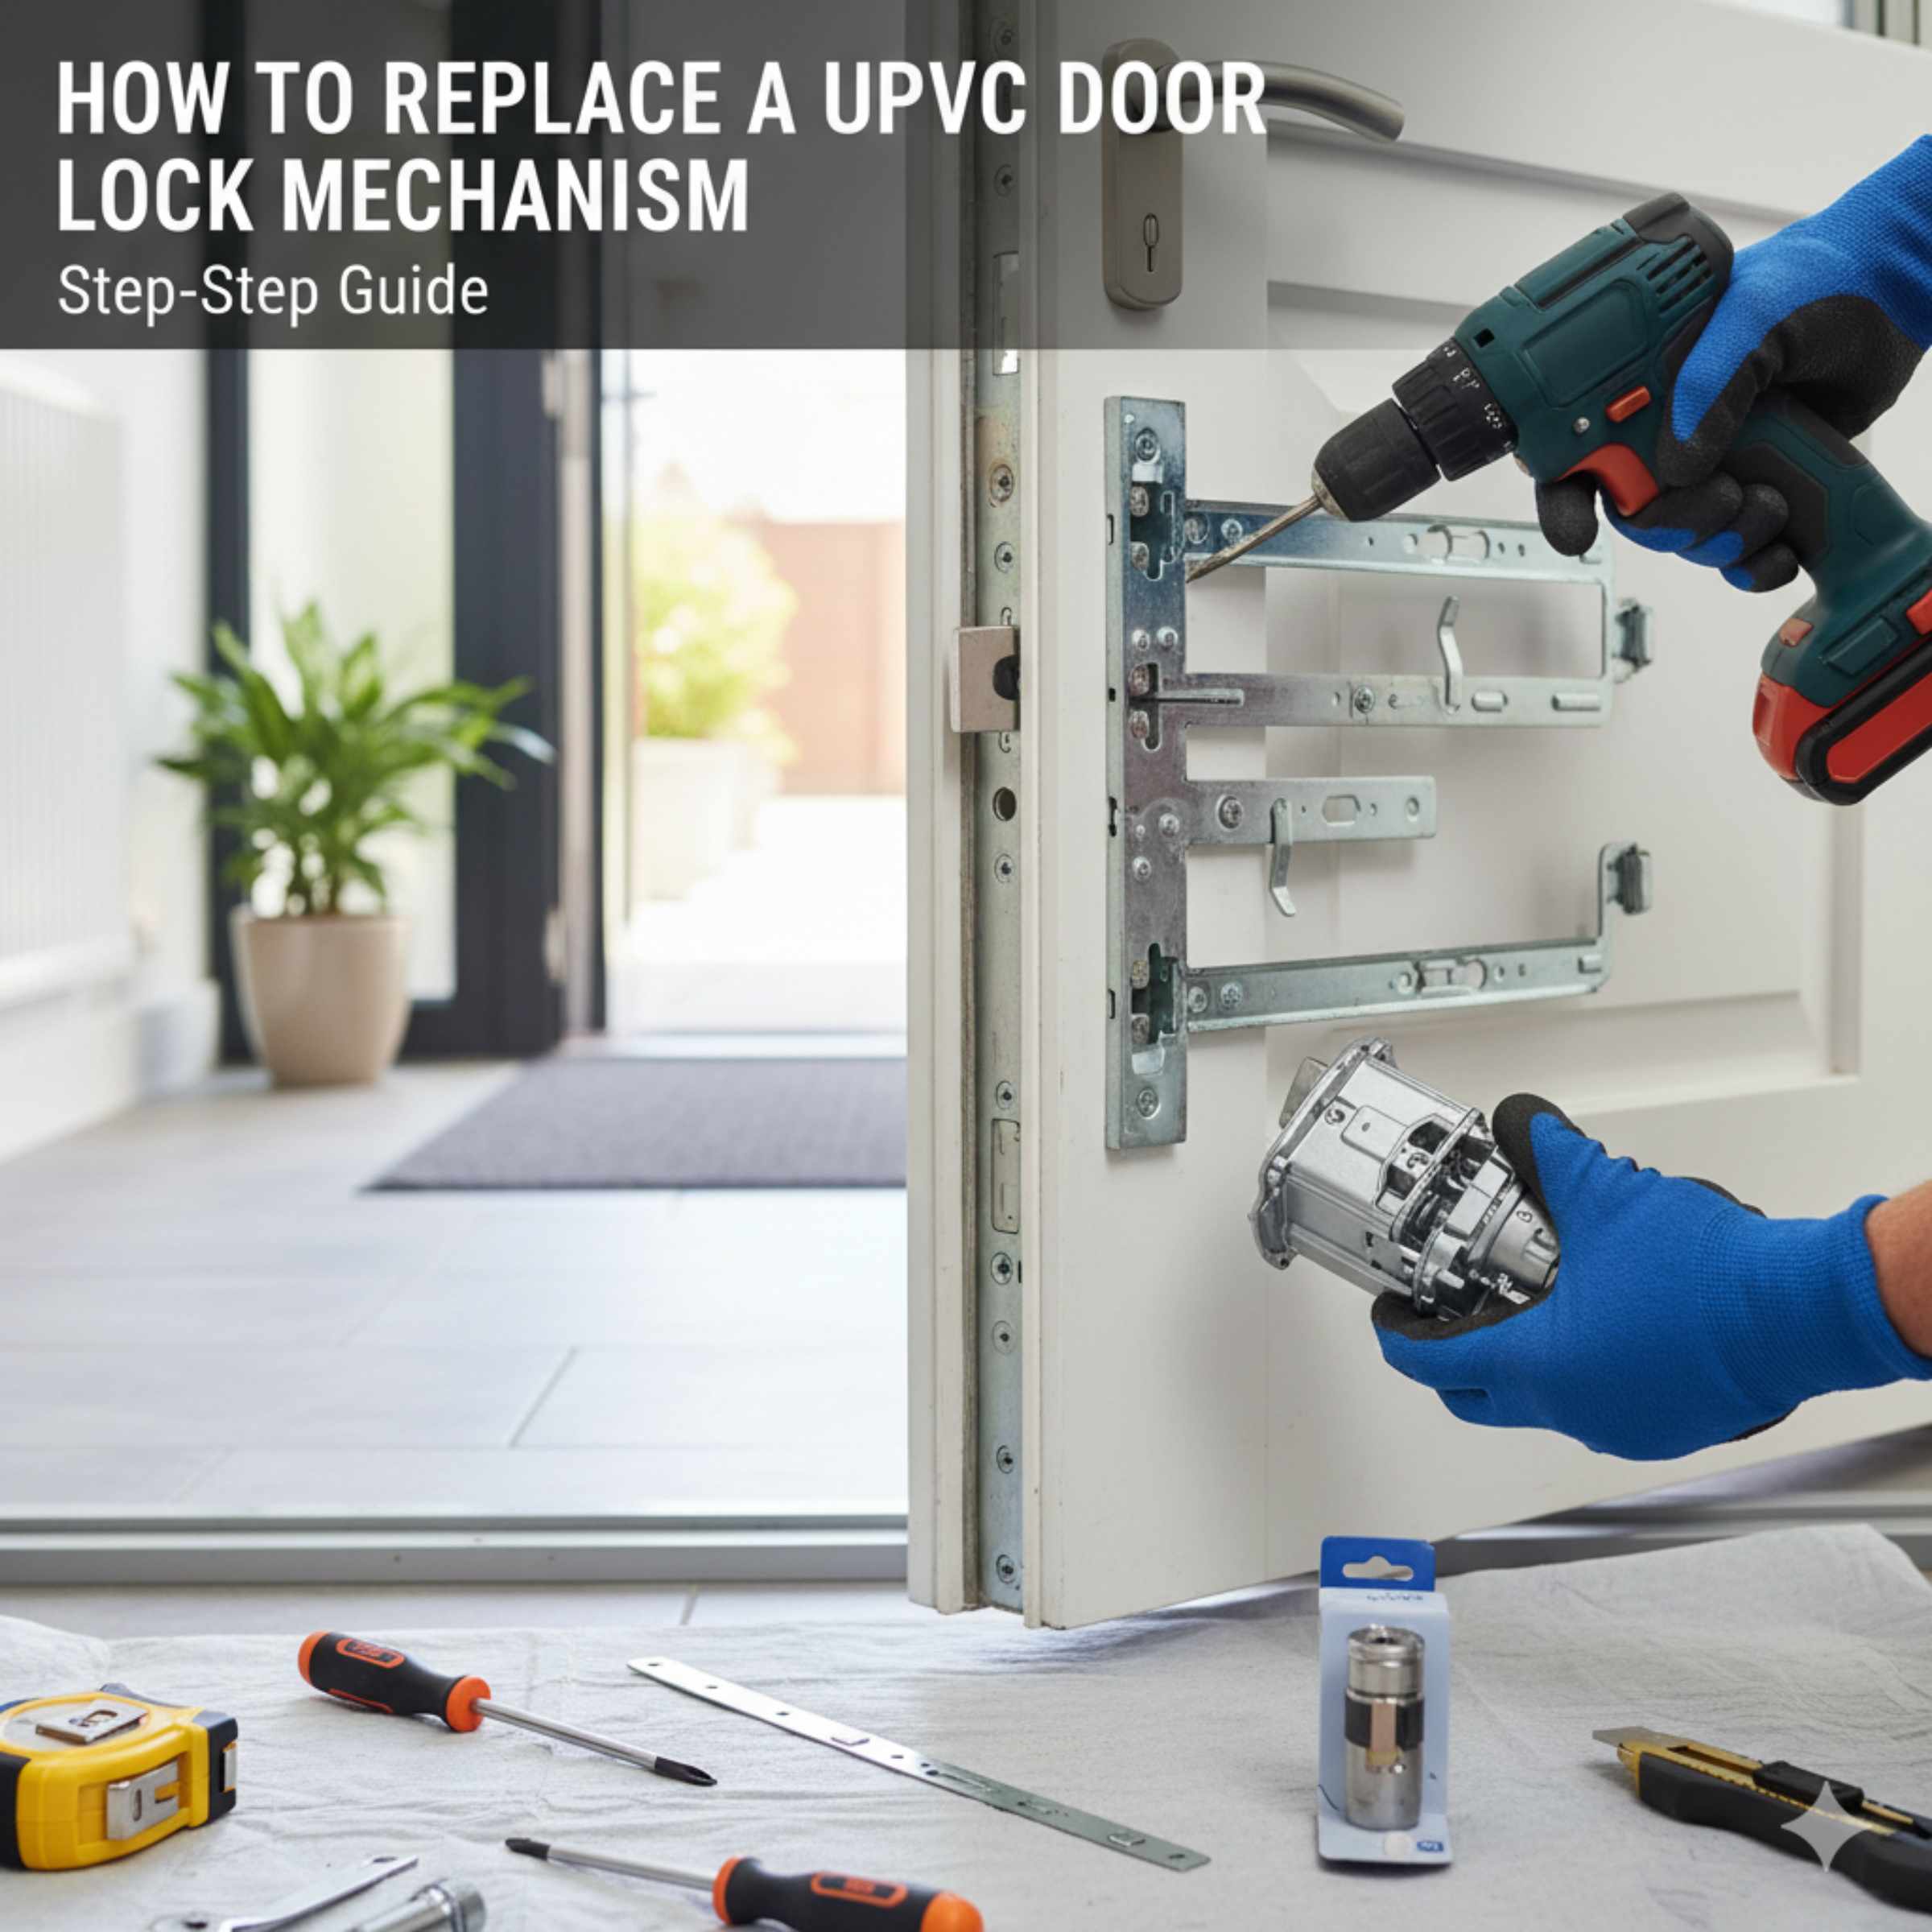
Quick Summary: Replacing a UPVC door lock mechanism is a manageable DIY task. Follow these steps: identify your lock type, gather tools, remove the door handle and then the lock mechanism by unscrewing the spindle and cylinder, install the new mechanism, and reassemble. This guide makes it simple and safe.
Is your UPVC door giving you trouble? Maybe the lock feels stiff, or perhaps it’s not engaging properly anymore. It’s a common issue that can leave you feeling a bit vulnerable and frustrated. But don’t worry! Replacing the lock mechanism in your UPVC door is a surprisingly straightforward DIY project that you can tackle yourself. With the right guidance and a few basic tools, you can restore your door’s security and smooth operation in no time. We’ll walk you through each step, making sure you feel confident and prepared.
Why Replace Your UPVC Door Lock Mechanism?
Over time, even the best UPVC door lock mechanisms can wear out. Several things can signal that it’s time for a replacement:
- Stiff Operation: If you have to jiggle the handle or push hard to lock or unlock the door, the internal parts might be worn or corroded.
- Difficulty Engaging Bolts: The deadbolts or latches might not extend or retract fully, compromising your door’s security.
- Key Won’t Turn Smoothly: A sticky or stubborn key is a clear sign that the lock cylinder or the mechanism behind it needs attention.
- Visible Damage: Any cracks, rust, or obvious damage to the mechanism itself means it’s time for a change.
- Security Upgrade: You might simply want to upgrade to a more secure or modern locking system for added peace of mind.
Ignoring these signs can lead to a door that’s difficult to operate or, worse, a security risk. Thankfully, replacing the mechanism is often more affordable than calling a locksmith for a simple repair.

Understanding Your UPVC Door Lock Mechanism
Before we dive into the replacement process, it’s helpful to understand what makes up your UPVC door lock. Most UPVC door locks are “multi-point locks.” This means they have a central gearbox (the main mechanism) and several locking points (often called “hooks” or “bolts”) that extend from the gearbox along the length of the door. When you lift the handle and turn the key, all these points engage simultaneously, providing excellent security.
The key components you’ll be working with are:
- The Gearbox: This is the central unit where the handle and the key operate. It’s the heart of the multi-point locking system.
- The Spindle: A square metal bar that connects the door handle to the gearbox.
- The Cylinder: This is where you insert the key. It’s often euro-profile cylinders.
- The Latch: The part that keeps the door closed when it’s not locked.
- The Deadbolts/Hooks: These are the locking points that extend into the door frame when you lift the handle and turn the key.
Knowing these parts will make the replacement process much clearer.
Essential Tools You’ll Need
You don’t need a professional toolkit for this job. Most of what you’ll need is likely already in your home toolbox. Having the right tools makes the job easier and prevents damage to your door.
| Tool | Purpose |
|---|---|
| Screwdrivers (Phillips and Flathead) | For removing screws holding the handles, cylinder, and the long faceplate. |
| Measuring Tape | Crucial for measuring the old lock to ensure you buy the correct replacement. |
| Pliers (optional) | May be helpful for gripping or removing stubborn parts. |
| Utility Knife or Scraper | To carefully remove any sealant or paint that might be around the lock. |
| Safety Glasses | Always protect your eyes, especially when working with tools. |
| Replacement Lock Mechanism | The most important item! Make sure it’s the correct size and type. |
| New Cylinder (optional, but recommended) | Often purchased with the mechanism, it’s good practice to replace both. |
Step-by-Step Guide to Replacing Your UPVC Door Lock Mechanism
Let’s get your door working like new again! Follow these steps carefully.
Step 1: Measure Your Existing Lock
This is the most critical step to ensure you buy the correct replacement. You need to measure your current lock mechanism accurately. Take your time here!
You’ll need to measure three key dimensions:
- Backset: This is the distance from the edge of the door (the front of the lock faceplate) to the center of the spindle hole. Measure from the front of the faceplate to the middle of the hole where the spindle goes through.
- Door Centre (PZ measurement): This is the distance from the center of the cylinder hole to the center of the spindle hole.
- Lock Length: Measure the length of the entire lock mechanism from the very end of the gearbox to the other end.
It’s also important to note the type of lock. Most UPVC doors use a Euro Profile cylinder lock, but there are other types. If you’re unsure, take photos of your current lock and mechanism to your local hardware store or a specialist locksmith supplier.
For more detailed guidance on measuring, you can refer to resources like IronmongeryDirect’s guide on measuring UPVC locks, a reputable source for hardware information.
Step 2: Purchase the Correct Replacement Lock Mechanism
Once you have your measurements, you can confidently purchase a new lock mechanism. It’s often best to buy a replacement that matches the brand and type of your old one if possible, but a compatible mechanism from another reputable manufacturer will also work. Many new mechanisms come bundled with a new Euro cylinder and keys, which is often a good idea to replace at the same time for optimal security.
Step 3: Remove the Door Handles
Start by removing the door handles. You’ll usually find screws on the inside of the door, directly opposite each other, holding the handles in place. Sometimes these screws are hidden behind a decorative cover or plate. You might need to gently pry these covers open with a flathead screwdriver or a utility knife.
- Locate the screws on the inside handle.
- Unscrew them completely.
- Once the screws are out, the handles should come apart easily.
Step 4: Remove the Door Cylinder
The cylinder is the part where you insert your key. You’ll usually find a larger screw on the edge of the door, on the same side as the lock mechanism’s faceplate, which helps secure the cylinder. This screw is typically located in line with the cylinder itself.
- Locate the large screw on the edge of the door that aligns with the cylinder.
- Unscrew this screw completely. You might need to wiggle the cylinder slightly to release it.
- Insert your key into the cylinder and turn it slightly (about a quarter turn) in either direction. This can help align the internal pins and allow the cylinder to slide out more easily.
- Pull the cylinder straight out. If it’s stuck, you might need to gently tap it with a rubber mallet or use pliers on the protruding end, but be careful not to damage the door.
Step 5: Unscrew the Lock Mechanism Faceplate
With the handles and cylinder removed, you can now see the long metal strip on the edge of the door – this is the lock mechanism’s faceplate. It will be held in place by several screws.
- Locate all the screws along the faceplate.
- Unscrew them all. Keep these screws safe, as you’ll need them for reassembly.
- Once all screws are removed, the lock mechanism should be free to be pulled out from the edge of the door. You might need to gently work it out, especially if it’s been in place for a long time.
Step 6: Remove the Old Lock Mechanism
Carefully slide the old lock mechanism out of the door. Be mindful of any connecting rods or parts that might be attached to the gearbox. Sometimes, these can be a bit stiff, so a gentle pull should suffice. If it’s very difficult, double-check that you’ve removed all screws and that the cylinder is completely out.
Step 7: Install the New Lock Mechanism
This is where you reverse the process. Take your new lock mechanism and carefully slide it into the opening in the edge of the door.
- Align the new mechanism so that the screw holes line up perfectly with the holes in the door.
- Ensure any connecting rods for the handles and cylinder are correctly positioned.
- Once it’s seated correctly, re-insert the screws that hold the faceplate to the door. Tighten them firmly, but don’t overtighten, as this can strip the threads or warp the mechanism.
Step 8: Reinstall the Door Cylinder
Now, slide the new (or your old, if you’re reusing it) Euro cylinder into the hole in the door. Ensure it’s oriented correctly and that the screw hole aligns with the corresponding hole in the mechanism and the door edge.
- Slide the cylinder into place.
- Re-insert the large screw on the edge of the door that secures the cylinder. Tighten it until the cylinder feels snug and secure.
Step 9: Reattach the Door Handles
Put the door handles back on. The spindle will need to pass through the center of the new lock mechanism. Align the handles and re-insert and tighten the screws from the inside.
- Slide the spindle through the center of the new mechanism.
- Align the two halves of the door handle and push them together.
- Insert and tighten the screws from the inside.
Step 10: Test the New Lock Mechanism
This is the moment of truth! Before closing the door, test the new mechanism thoroughly.
- Lift the handle: Ensure the bolts/hooks retract smoothly.
- Push the handle down: Ensure the bolts/hooks extend fully.
- Test the key: Insert the key and turn it to lock and unlock the door. Check that the key turns smoothly in both directions.
- Check the latch: Make sure the latch engages and disengages properly when you open and close the door.
It’s a good idea to test these functions with the door open first. Once you’re satisfied that everything is working correctly, close the door and test the lock again from both the inside and the outside.
If you encounter any issues, retrace your steps. Often, a screw might be slightly loose, or a part might not be perfectly aligned.
Troubleshooting Common Issues
Even with careful work, you might run into a few hiccups. Here are some common problems and how to solve them:
- New lock doesn’t work smoothly: Double-check that you purchased the correct size and type of lock mechanism. Ensure all screws are tightened properly but not excessively. The spindle might be misaligned with the handle.
- Key won’t turn: The cylinder might be misaligned, or the wrong cylinder might have been installed. Ensure the cylinder is pushed in fully and secured by its screw.
- Handles feel loose: The screws holding the handles might not be tight enough, or the spindle might not be seated correctly in the handle mechanism.
- Lock makes a grinding noise: This can indicate internal damage or misalignment within the gearbox. Ensure all components are clean and properly lubricated (use a graphite-based lubricant, not oil, as oil can attract dust).
For more in-depth troubleshooting, resources like Lock Doctor’s advice on sticky UPVC locks can offer further insights.
When to Call a Professional
While replacing a UPVC lock mechanism is a great DIY project, there are times when it’s best to call in an expert:
- If you can’t identify the lock type or size: It’s better to get professional help than to buy the wrong part.
- If the door frame is damaged: A damaged frame might require more than just a lock replacement.
- If you’re uncomfortable with any step: Your safety and security are paramount.
- If the lock is part of a complex security system: Some high-security or integrated systems might require specialized knowledge.
A qualified locksmith can quickly diagnose issues and ensure your door is secured properly.
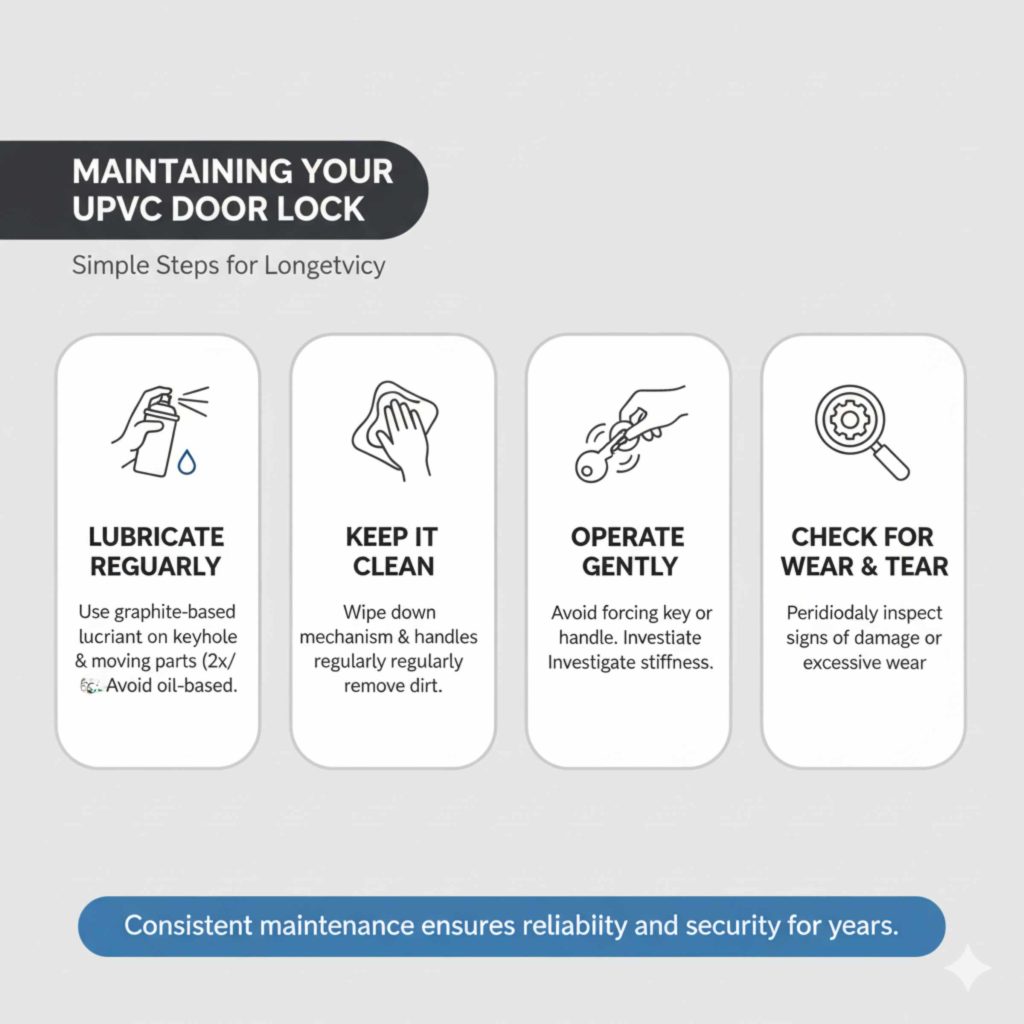
Maintaining Your UPVC Door Lock
Once your new lock mechanism is installed and working smoothly, a little maintenance can go a long way in preventing future problems:
- Lubricate regularly: Use a graphite-based lubricant (available at hardware stores) on the keyhole and the moving parts of the lock mechanism at least twice a year. This prevents corrosion and keeps things working smoothly. Avoid oil-based lubricants, as they can attract dust and make the lock stiff over time.
- Keep it clean: Wipe down the lock mechanism and handles regularly to remove dirt and grime.
- Operate gently: Avoid forcing the key or handle. If it feels stiff, investigate the cause rather than forcing it.
- Check for wear and tear: Periodically inspect the lock for any signs of damage or excessive wear.
Consistent maintenance ensures your UPVC door lock remains reliable and secure for years to come.
FAQ
Q1: How do I know if I need to replace the whole lock mechanism or just the cylinder?
A1: If the key is stiff or won’t turn, but the handle still operates the bolts smoothly, you might only need to replace the cylinder. However, if the handle is stiff, the bolts don’t move correctly, or the mechanism feels generally worn, it’s usually best to replace the entire lock mechanism.
Q2: Can I replace the lock mechanism myself?
A2: Yes, absolutely! With the right measurements and tools, it’s a very manageable DIY project for most homeowners. This guide provides the steps to help you do it successfully.
Q3: How much does a UPVC door lock mechanism cost?
A3: Prices vary depending on the brand, type, and quality, but you can typically expect to pay anywhere from £25 to £100 for a standard UPVC door lock mechanism. Replacement cylinders can range from £10 to £50.
Q4: What is the difference between a UPVC lock and a standard door lock?
A4: UPVC door locks are typically multi-point locking systems, meaning they have several locking points (bolts, hooks, or rollers) that engage along the length of the door when the handle is lifted and the key is turned. Standard door locks usually only have a single deadbolt or latch.
Q5: Do I need to remove the door to replace the lock mechanism?
A5: No, you do not need to remove the door. The lock mechanism is accessed and replaced from the edge of the door while it is still fitted in its frame.
Q6: What if my UPVC door has different types of locks (e.g., tilt and turn)?
A6: While this guide focuses on common multi-point locks, tilt and turn mechanisms are similar. The principles of removing handles, cylinders, and the main gearbox remain the same. You’ll still need to measure carefully to find the correct replacement part.
Conclusion
You’ve now got a comprehensive guide to replacing your UPVC door lock mechanism! It might seem like a daunting task at first, but by breaking it down into simple, manageable steps, you can achieve a professional-looking result. Remember to measure accurately, gather your tools, and work patiently. Not only will you save money by doing it yourself, but you’ll also gain the satisfaction and confidence that comes with mastering a new home improvement skill. Your newly secured and smoothly operating door will be a testament to your DIY efforts!