
Bolded Quick Summary (Top of Article)
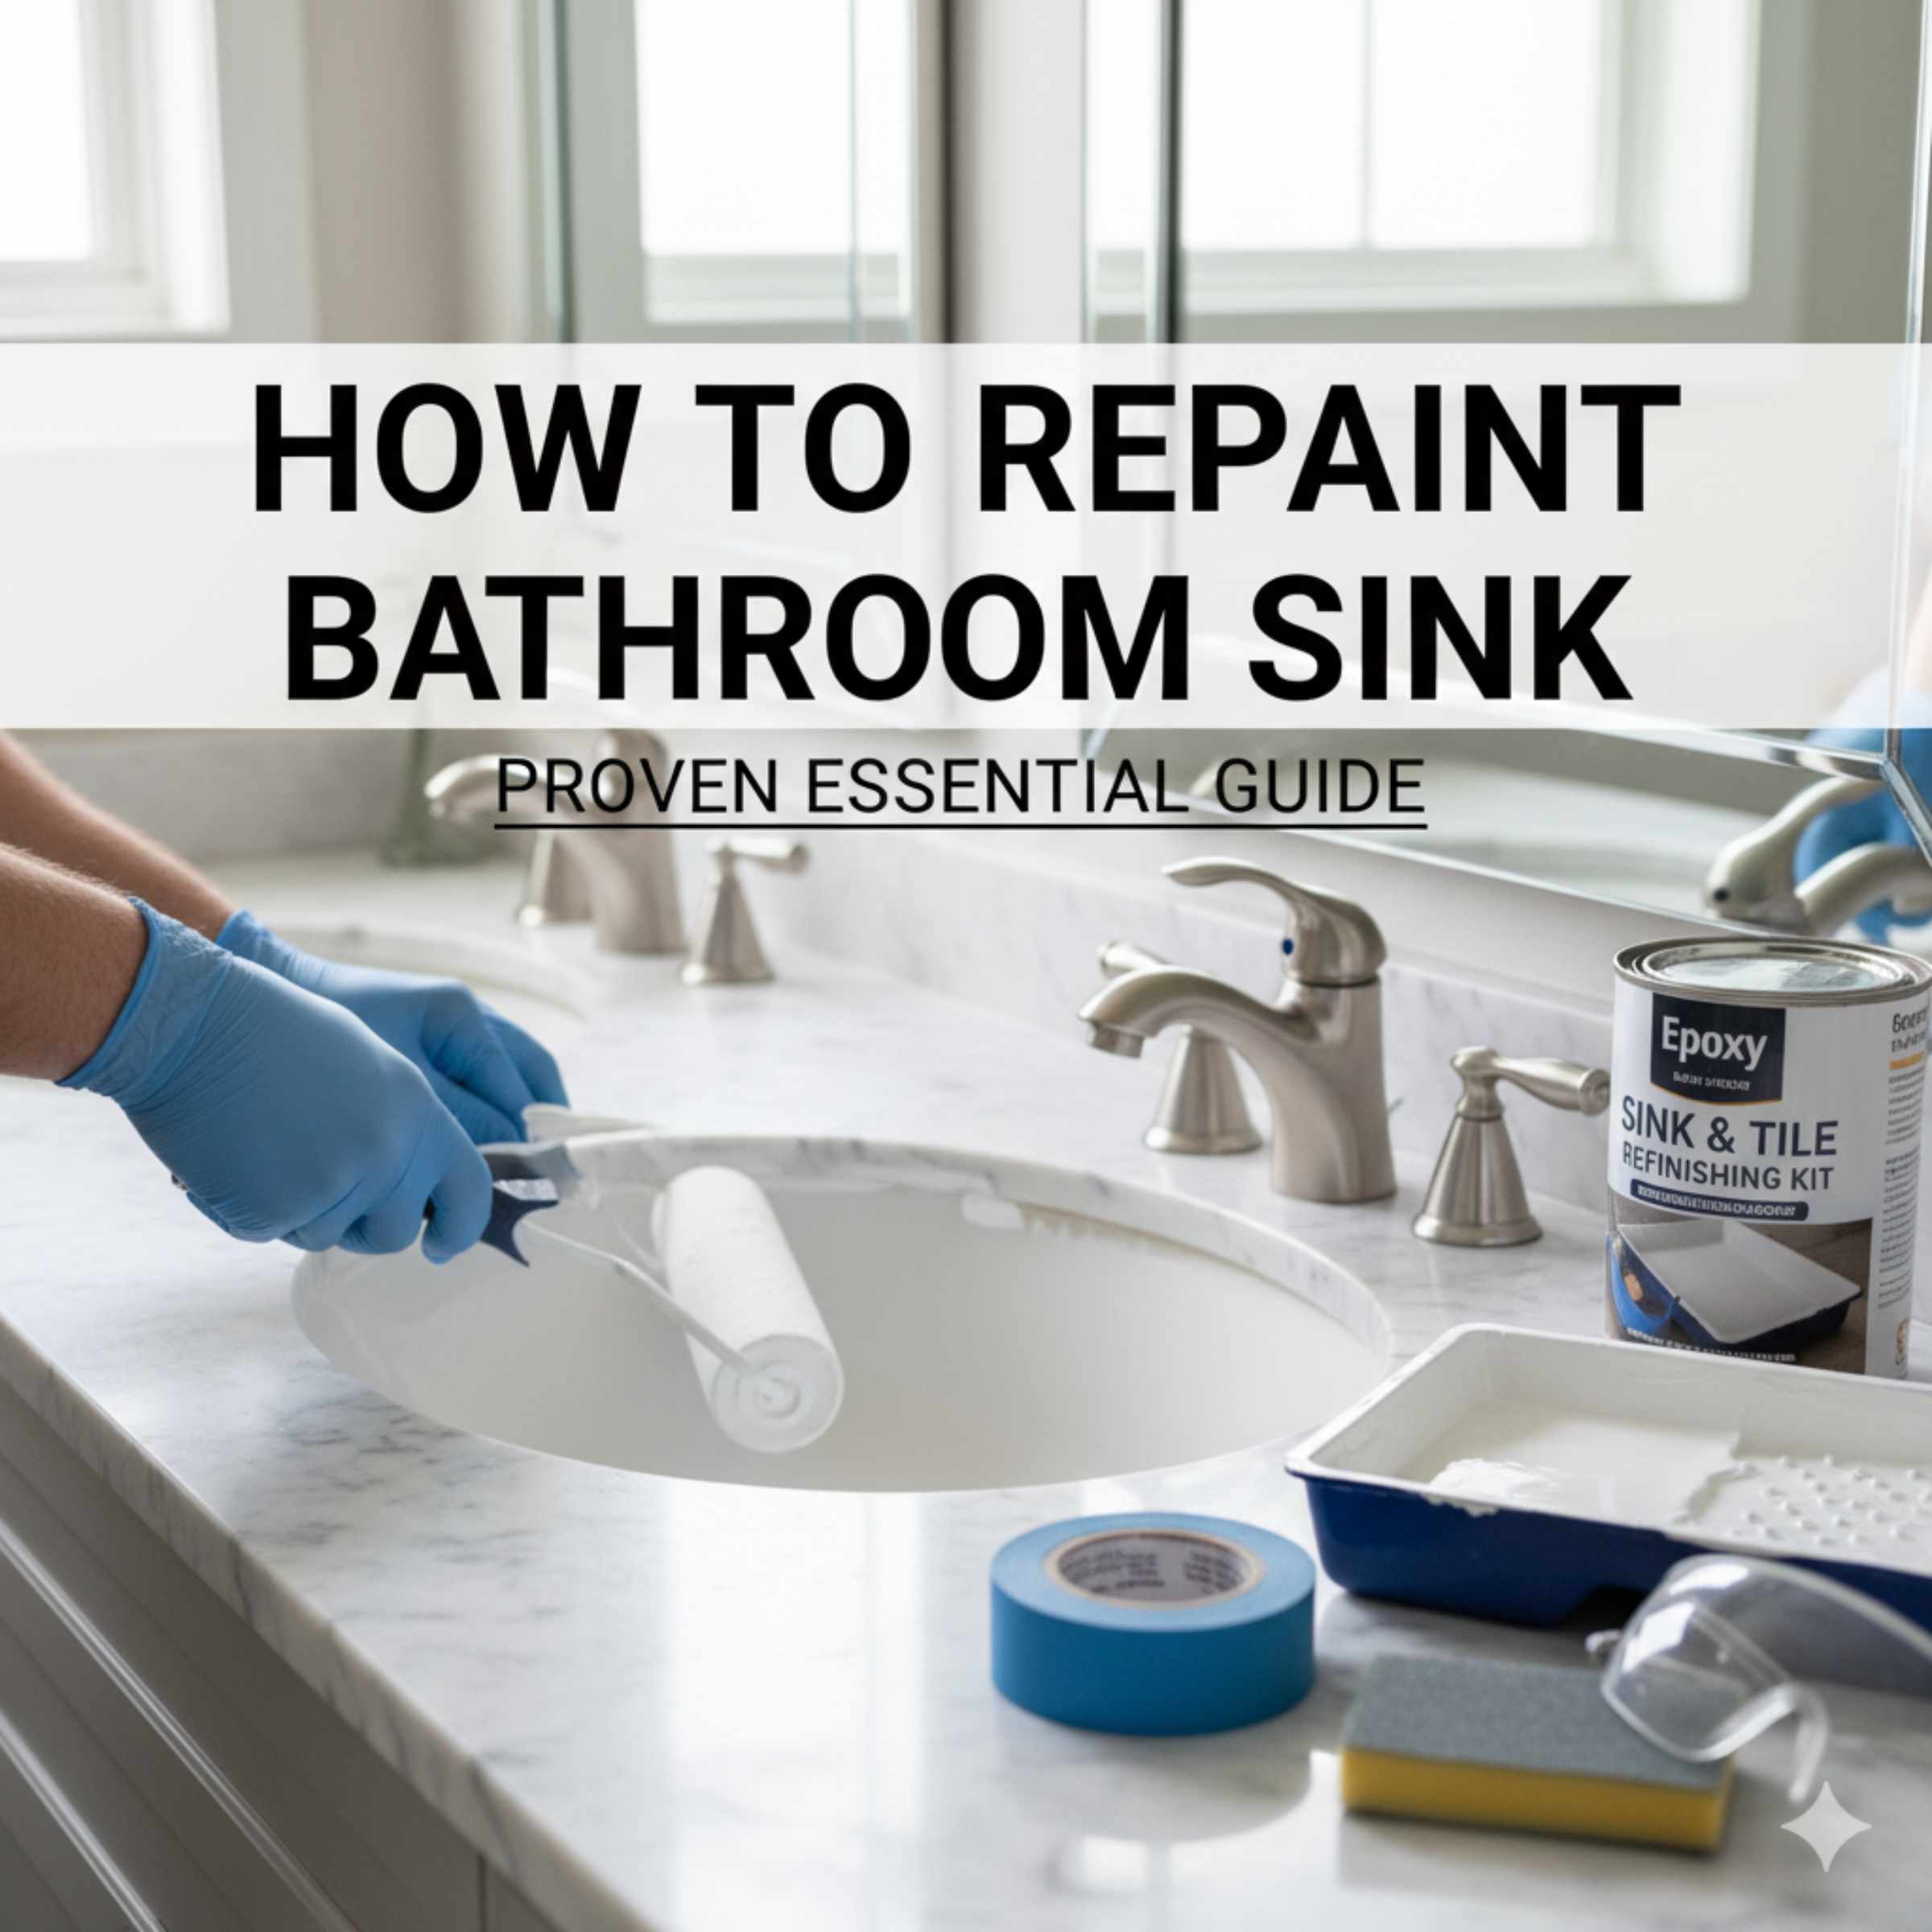
You can successfully repaint your bathroom sink by thoroughly cleaning, sanding the surface smooth, applying a high-quality epoxy or porcelain paint kit, and allowing adequate curing time. This guide breaks down the proven steps to give your old sink a fresh, durable, and beautiful new look without replacing it.
Does your bathroom sink look tired, stained, or just plain outdated? Replacing a sink can be expensive, messy, and time-consuming. But what if I told you that you could give that ceramic, porcelain, or fiberglass sink a stunning makeover right at home? You absolutely can! Repainting a bathroom sink is a fantastic DIY project that saves money and instantly boosts your bathroom’s look. Many homeowners worry about the paint peeling or not lasting. Don’t worry; with the right preparation and the correct type of paint, your new finish will be tough and shiny. We are going to walk through every single step, making this project simple and stress-free. Let’s dive into how to repaint bathroom sink surfaces like a pro!
Why Repaint Your Bathroom Sink Instead of Replacing It?
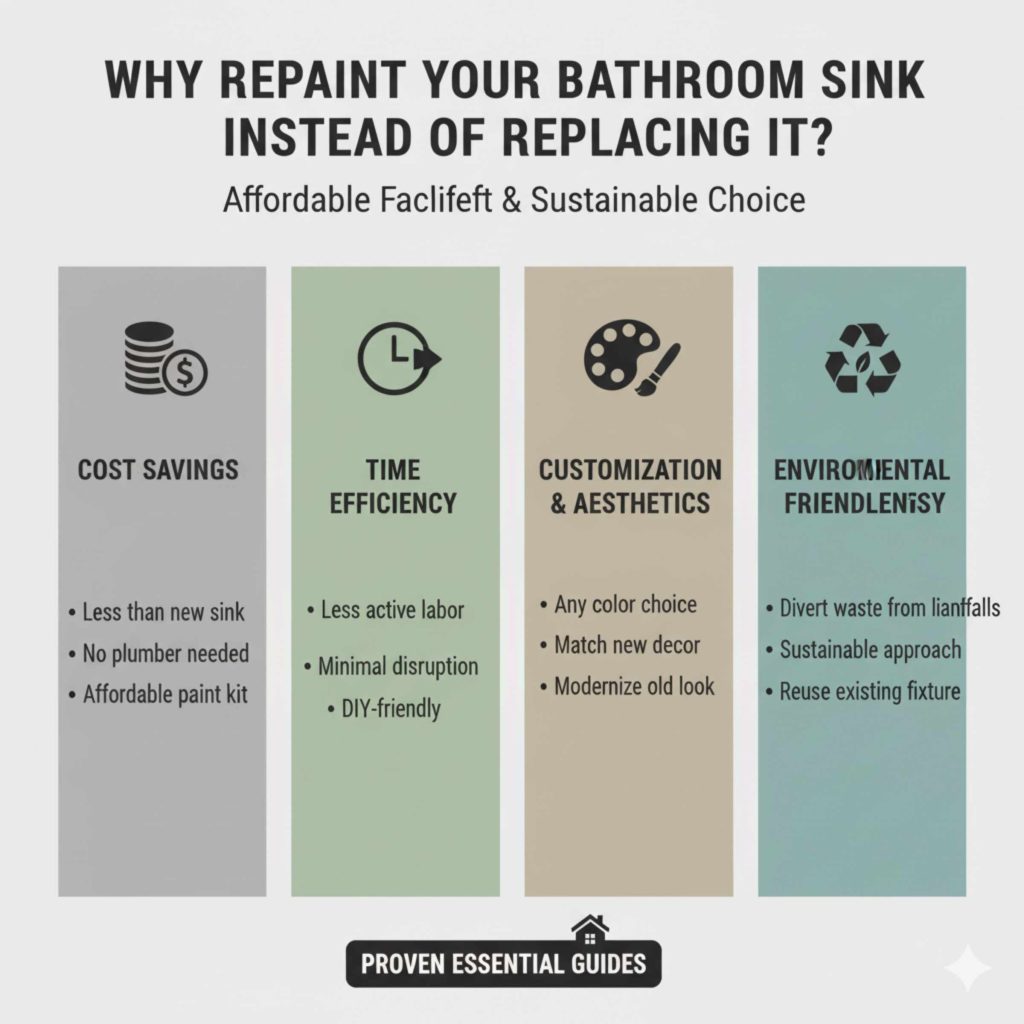
Before we grab the sandpaper, let’s talk about the benefits. Choosing to repaint your sink is often the smartest move for homeowners on a budget or those who appreciate the existing sink structure.
Cost Savings
Replacing a sink often means buying a new unit, paying for disposal, and potentially hiring a plumber if you have a complicated setup. Repainting costs significantly less—usually just the price of the paint kit and supplies. It’s an affordable facelift for your bathroom.
Time Efficiency
A full sink replacement can take a weekend, often requiring you to shut off the water supply for extended periods. Painting, while needing curing time, involves much less active labor and disruption to your daily routine.
Customization and Aesthetics
Do you want a modern matte black sink in a sea of white porcelain? Painting allows you to choose almost any color you desire, perfectly matching your new bathroom décor. It’s a level of customization you rarely get with standard fixtures.
Environmental Friendliness
By refinishing what you already have, you are diverting waste from landfills. This sustainable approach is a win for the planet and your wallet.
Understanding Sink Materials: What Can Be Painted?
Not all sinks are created equal, and knowing your material is the first step to ensuring the paint sticks properly. Most common bathroom sinks are made from materials that respond very well to specialized refinishing kits.
- Porcelain/Vitreous China: These are very hard, slick surfaces. They require the most rigorous cleaning and etching (sanding) to ensure adhesion.
- Ceramic: Similar to porcelain, ceramic needs excellent surface preparation.
- Fiberglass/Acrylic: These plastic-based sinks are lighter and slightly softer. They usually adhere paint very well, but you must use the correct type of paint that won’t damage the plastic base.
- Cast Iron (with Enamel Coating): The surface is usually porcelain enamel, so treat it like standard porcelain.
The key takeaway here is that for nearly all common bathroom sinks, the process is similar, but the preparation must be perfect.
Essential Tools and Materials Checklist
Gathering everything before you start means no mid-project scrambling. Think of this as setting up your workshop. Safety first—always ensure you have proper ventilation!
Safety Gear (Non-Negotiable)
Because we are dealing with strong cleaners and solvents, your safety is my top priority, just as it is when working with power tools.
- Respirator (rated for organic vapors—crucial for epoxy fumes)
- Chemical-resistant gloves (nitrile or heavy-duty rubber)
- Safety goggles or glasses
- Good ventilation (open windows, use fans exhausting air outside)
Preparation and Cleaning Supplies
This stage is 80% of the success of your project. Do not rush the cleaning!
- Heavy-duty degreaser or TSP (Trisodium Phosphate) substitute
- Acetone or denatured alcohol (for final wipe-down)
- Scrub pads, old rags, and clean sponges
- Painter’s tape (high quality, like FrogTape)
- Plastic sheeting or drop cloths
Sanding and Surface Prep Tools
We need to dull that slick shine so the paint has something to grip onto.
- Sanding blocks or an orbital sander (optional, but helpful for large areas)
- Sandpaper: Start with 180-grit for initial scuffing, finish with 320 or 400-grit for a smooth base.
- Tack cloth or vacuum with a brush attachment
The Painting System
You must use a product specifically designed for high-moisture, high-contact surfaces. Standard wall paint will fail quickly.
- Epoxy-Based Refinishing Kit: These are often two-part systems (a resin and a hardener) that cure into a very hard, durable shell. Brands like Rust-Oleum Tub & Tile or specialized bathtub/sink refinishing kits are excellent choices.
- High-quality paint brushes (natural bristles work well for oil-based epoxies)
- Foam rollers (if the kit instructions allow for rolling)
- Stir sticks
For further guidance on selecting appropriate chemical-resistant coatings, you can often find detailed specifications through resources like the Occupational Safety and Health Administration (OSHA) regarding proper chemical handling, which reinforces the need for respirators.
Step-by-Step Guide: How to Repaint Bathroom Sink
Follow these steps precisely. Remember, preparation is the secret handshake for a professional-looking finish.
Phase 1: Total Surface Preparation (The Most Important Part)
Step 1: Remove Fixtures and Seal Off the Area
Take everything off the sink that you don’t want painted. This includes the faucet, drain stopper, overflow plate, and handles. If you aren’t comfortable removing the faucet, use high-quality painter’s tape and plastic sheeting to cover it completely. Tape off the surrounding countertop and walls meticulously. Any area you miss will end up being the new color!
Step 2: Deep Clean and Degrease
Soap scum, body oils, and hard water deposits must vanish. Mix your TSP substitute or strong degreaser with hot water. Scrub every inch of the sink basin, paying extra attention to the overflow drain and edges. Rinse thoroughly with clean water. Let it dry completely. You can speed this up with a hairdryer on a low setting.
Step 3: Etch the Surface (Sanding)
This step creates a “tooth” for the paint to grab onto. If the surface is glossy, the paint will slide off eventually.
- Put on your safety gear!
- Using 180 or 220-grit sandpaper, lightly sand the entire sink surface. You are not trying to remove the original finish; you are just dulling the shine. It should look uniformly dull, not scratched deeply.
- For tight corners or around the drain, use a sanding block wrapped with sandpaper.
- If you have any chips or deep scratches, you might need to use a small amount of two-part automotive body filler, sand it smooth, and then proceed with the light scuff sanding.
Step 4: Final Cleaning and Dust Removal
This is critical. Any dust left behind will be trapped under your beautiful new paint job.
- Vacuum the entire area thoroughly, using a brush attachment to get dust from crevices.
- Wipe down the entire sink surface with a rag dampened with acetone or denatured alcohol. This removes any oils, sanding dust, or residue the cleaner might have left behind. Let this final solvent flash off (evaporate) completely—usually just a few minutes.
Phase 2: Mixing and Applying the Primer (If Required)
Some high-end kits or specific materials (like painting over old acrylic) may require a bonding primer. Check your specific paint kit instructions. If a primer is recommended:
- Mix the primer according to the manufacturer’s directions (usually involves mixing two parts).
- Apply a very thin, even coat using a high-quality, short-nap foam roller or a fine brush.
- Allow the primer to dry completely, usually 4–6 hours, or as directed. Do not proceed until it is fully cured.
Phase 3: Applying the Topcoat (The Transformation)
This is where the magic happens. Epoxy paints often require mixing the base and hardener immediately before use. Once mixed, you have a limited “pot life”—the time you have before the paint starts hardening in the can. Work efficiently!
Step 5: Mix the Refinishing Paint
Carefully read the instructions regarding the mixing ratio (e.g., 4 parts A to 1 part B). Use clean stir sticks and mix slowly to avoid introducing too many air bubbles. Mix for the time specified, usually 2–3 minutes. Do not mix more than you can apply within the pot life!
Step 6: Apply the First Coat
Aim for thin, even coats. Thick coats lead to drips, runs, and uneven drying, which ruins the final shine.
- Start by “cutting in” the edges and tight spots with a fine brush.
- Use the foam roller to cover the large, flat areas. Roll slowly and deliberately. If you see a drip starting, smooth it out immediately with the roller or brush.
- Work from the back of the sink toward the front drain.
- Do not try to achieve full coverage in the first coat. It will likely look streaky. That’s normal.
Step 7: Drying Time Between Coats
This is the hardest part: waiting. Most epoxy systems require several hours (often 4–8 hours) of dry time before the second coat can be applied. Check your kit’s recoat window. If you wait too long (e.g., 24 hours), you might need to lightly scuff-sand the first coat again to ensure the second coat bonds chemically. Always follow the recoat window instructions!
Step 8: Apply the Second Coat
Mix your second batch (if necessary) and apply the second coat exactly as you did the first—thin, even, and smooth. A second coat ensures full color saturation and durability. Some kits might recommend a third coat for maximum wear resistance.
Phase 4: Curing and Reassembly
Step 9: The Curing Process
Curing is when the chemical reaction hardens the paint into its final, durable state. This is not just “dry to the touch.”
- Keep the bathroom fan running and windows open for good airflow.
- Do not expose the sink to water or heavy use for at least 48 to 72 hours. Many high-quality kits recommend a full 7-day cure time before exposing it to hot water or harsh chemicals. Consult your product data sheet!
Step 10: Reinstall Hardware
Once the paint has cured past the “tacky” stage (usually after 24 hours), you can carefully remove the painter’s tape. Use a razor blade gently at the edge of the tape if the paint has bonded to it. Reinstall the drain, faucet, and overflow plate. Be careful not to scratch the new finish when tightening hardware.
Choosing the Right Paint: Epoxy vs. Other Options
The paint you choose is the difference between a job that lasts five years and one that lasts fifteen. As a general rule for sinks, you want a hard, chemically resistant finish.
| Paint Type | Best For | Durability | Ease of Use |
|---|---|---|---|
| Two-Part Epoxy (Tub & Tile Kits) | Porcelain, Fiberglass, Ceramic | Excellent (High scratch and water resistance) | Moderate (Requires careful mixing and fast work) |
| Single-Part Urethane/Alkyd Enamel | Fiberglass/Acrylic only | Good (Less chemical resistance than epoxy) | Easy (Like standard paint) |
| Specialized Appliance Paint | Metal sinks (rare in bathrooms) | Fair to Good | Easy |
For the best results on a standard porcelain bathroom sink, the two-part epoxy kit is the industry standard for DIY refinishing because it chemically bonds to the surface, creating a very hard shell.
Troubleshooting Common Repainting Issues
Even with the best intentions, things can sometimes go slightly sideways. Here are common beginner mistakes and how to fix them.
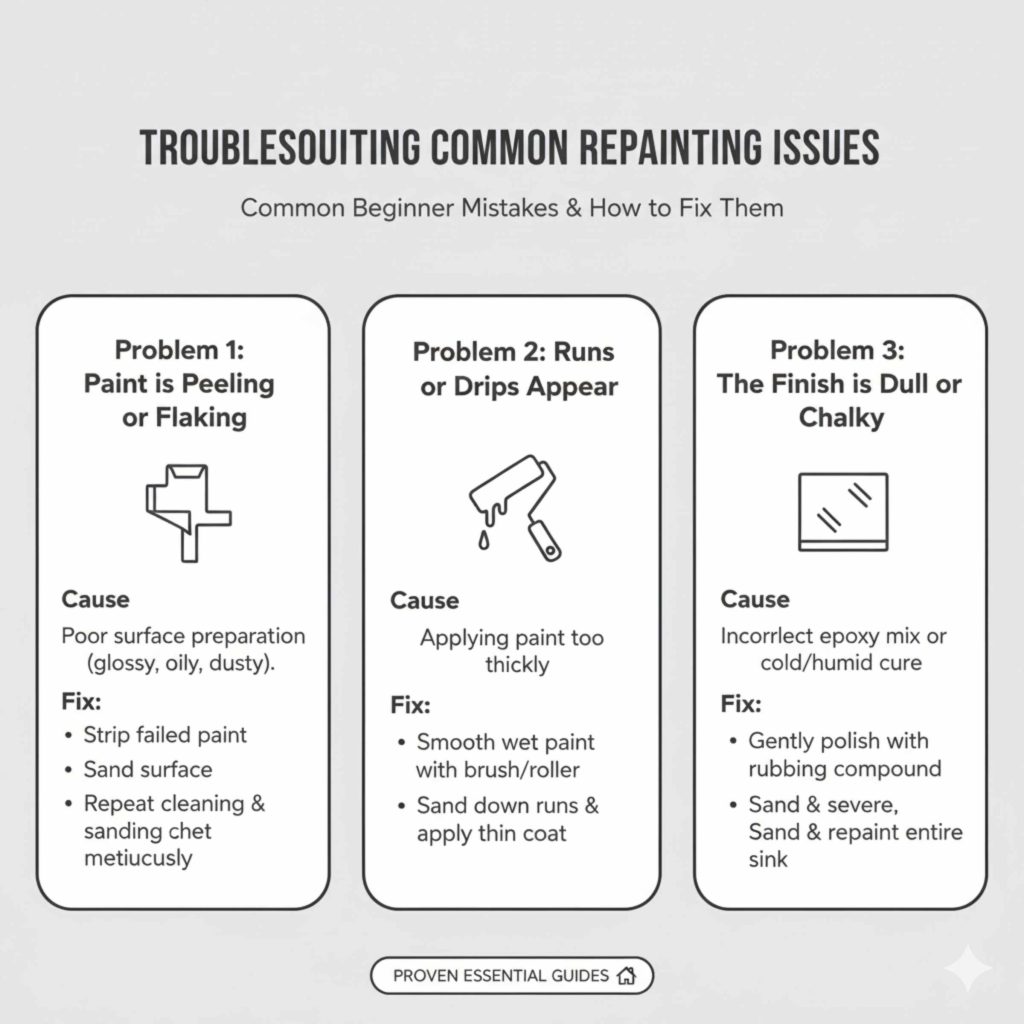
Problem 1: Paint is Peeling or Flaking After a Few Weeks
Cause: Almost always poor surface preparation. The original surface was glossy, oily, or dusty when the paint was applied. The paint didn’t “bite” into the surface.
Fix: You will need to strip the failed paint using a chemical stripper designed for epoxy or heavy sanding to remove the compromised layer. Once down to the original sink material, repeat the entire cleaning and sanding process (Phase 1) meticulously.
Problem 2: Runs or Drips Appear
Cause: Applying the paint too thickly, especially on vertical surfaces like the side walls of the basin, or not moving the roller/brush fast enough.
Fix: If the paint is still wet (within an hour or two), you can often smooth it out gently with a clean, dry brush or roller edge. If the paint has cured, you must sand down the runs until they are level with the surrounding paint, clean the area, and apply a thin touch-up coat.
Problem 3: The Finish is Dull or Chalky
Cause: This often happens if the epoxy was mixed incorrectly (too much hardener or not enough) or if it was cured in very cold or humid conditions, preventing the chemical reaction from completing properly.
Fix: If the finish is only slightly dull, you can sometimes polish it gently with a very fine rubbing compound (like automotive swirl remover) after it has fully cured (7+ days). If it is severely chalky, you may need to repaint the entire sink after sanding down the dull finish.
Maintaining Your Newly Painted Sink
You’ve done the hard work, now let’s protect that beautiful new finish! Proper care ensures your investment lasts for years.
Cleaning Guidelines
Treat your new surface gently. It is tough, but not invincible to harsh abrasives.
- DO Use: Mild dish soap, water, microfiber cloths, and soft sponges.
- DO NOT Use: Abrasive scrubbing pads (like steel wool or the green side of a standard kitchen sponge), abrasive powder cleaners (like Comet), or harsh toilet bowl cleaners. These will dull and scratch the epoxy quickly.
Protecting Against Stains
Epoxy is highly stain-resistant, but if you leave harsh chemicals (like hair dye or strong cleaners) sitting on the surface for hours, they could potentially etch the finish.
Always rinse the sink immediately after using strong products like peroxide or bleach.
Long-Term Care Tip
For extra protection and shine, some users apply a thin coat of high-quality automotive car wax (carnauba or synthetic sealant) to the fully cured sink once a year. This adds another barrier layer against water spots and minor abrasion. Ensure the sink is perfectly clean and dry before waxing.
Frequently Asked Questions (FAQ) About Sink Painting
Q1: Can I paint over the existing caulk around the sink?
A: No. Always remove the old caulk completely before painting the sink. Old caulk will peel, taking your new paint with it. After painting the sink, apply a fresh bead of 100% silicone bathroom sealant.
Q2: How long does the paint smell last after finishing the project?
A: Epoxy paints have strong fumes during application and the first 24 hours. Keep the ventilation running for several days. While the strong chemical smell usually dissipates within 3 to 5 days, you must wait for the full cure time (often 7 days) before using the sink, as that is when the off-gassing stabilizes.
Q3: What if my sink is already painted but the paint is peeling?
A: You must remove all loose or peeling paint first. Use a putty knife to scrape off any flaking areas, then sand the entire surface aggressively (120-grit to start) to remove the sheen from the remaining old paint. Clean thoroughly with acetone, and then proceed with the standard refinishing steps for a new coat.
Q4: Do I need to remove the sink from the vanity?
A: Generally, no. For a DIY refinishing job, it is much easier and safer to leave the sink in place. You only need to remove the faucet hardware and thoroughly mask off the surrounding countertop and vanity surfaces.
Q5: Can I use a paint sprayer instead of a roller?
A: Yes, if you have an airless sprayer rated for two-part epoxy paints. Spraying gives the smoothest finish, but it requires excellent masking to prevent overspray, and you must ensure your sprayer components can handle the thick, reactive material. For beginners, a high-quality foam roller provides more control over application thickness.
Q6: Is it safe to use the sink immediately after painting?
A: Absolutely not. The paint needs time to chemically harden (cure). Using the sink too soon—even just running water over it—will ruin the finish. Always allow the minimum curing time specified on your kit, which is typically 3 days minimum, but often 7 days for full durability.
Conclusion: Your New Sink Awaits
Repainting a bathroom sink might seem intimidating because of the chemical nature of the paints involved, but as you’ve seen, the process boils down to meticulous preparation and patient application. By treating the cleaning and sanding steps with the respect they deserve, you create a perfect foundation. Remember, we are not just covering up old stains; we are chemically bonding a new, durable, high-gloss surface to your fixture.
Take your time during the prep phase, invest in good safety gear, and always adhere to the curing times listed on your specific epoxy kit. You are now equipped with the proven steps to transform that tired old basin into a sparkling centerpiece. Grab your gear, put on some music, and enjoy the satisfaction of a major home upgrade accomplished entirely by you. Happy painting!