
Picture this: You’re staring up at your ceiling, determined to change that flickering bulb or clean the dust that’s gathered around your recessed light. But there’s one thing standing in your way—the cover.
Removing a recessed light cover might seem daunting, but with a few simple steps, you can do it yourself. Imagine the satisfaction of tackling this small home project with ease, saving you both time and money. Whether it’s your living room or kitchen, understanding how to safely remove the cover will empower you.
Let’s dive into the process, ensuring you have all the tips and tricks at your fingertips. Are you ready to unlock the secrets to a brighter, cleaner space? Read on to discover how effortlessly it can be done.
Tools And Materials Needed
You will need some basic tools and materials. Gather a sturdy ladderto reach the light. A screwdriveris essential for loosening screws. You might need a flathead screwdriveror a Phillips head, depending on the screws. A pair of gloveswill keep your hands safe.
Use a soft clothfor cleaning. This helps to avoid scratches. A small containercan hold screws. This prevents them from getting lost. Make sure you have a flashlighthandy. It will help you see in dark spaces.
Always ensure the power is off. Safety is very important. Double-check before starting any work.

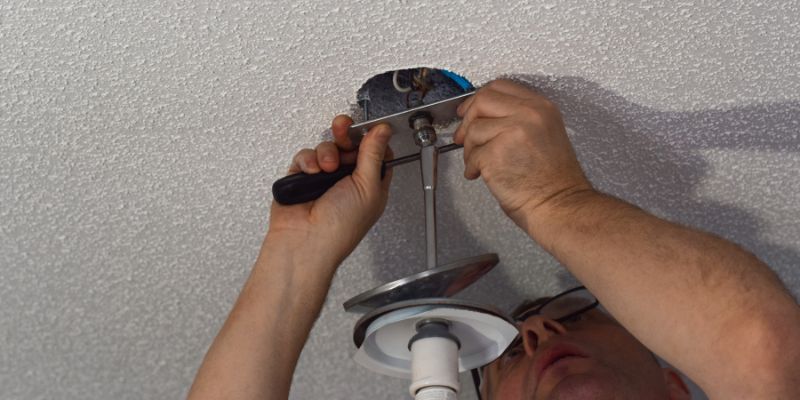
Credit: www.youtube.com
Safety Precautions
Always turn off the electricityat the main panel. Use a voltage testerto ensure the power is off. This prevents electric shock. Wear protective glovesto avoid sharp edges. Use a sturdy ladder for reaching high lights.
Be careful when handling the cover. It can be fragile. Avoid using excessive force. Check the surrounding area for obstructions. Move furniture or objects that may cause injury. Ensure the ladder is stable on the ground. Ask someone to hold the ladder for safety.
Types Of Recessed Light Covers
Flat covers are simple and neat. They sit close to the ceiling. Many people choose them for a clean look. These covers come in many styles. Some are clear, letting more light through. Others are frosted, giving a soft glow. Easy to remove. Twist or pull gently.
Dome covers have a round shape. They look like a small bubble. Often found in kitchens and bathrooms. This cover gives more light because of its shape. Made from glass or plastic. Removing them needs care. Lift and twist carefully.
Trim covers are decorative. They have fancy edges. These covers add style to any room. Many colors and designs to choose from. Often made from metal or plastic. Easy to clean and maintain. Remove by pulling or snapping off.
Locating The Recessed Light
First, find the light in your ceiling. Look for a round or square fixture. Recessed lights are often flush with the ceiling. These lights might be in the kitchen or hallway. You may need a ladder to reach the light. Make sure the ladder is stable and safe.
Once you locate the light, examine the edges. Feel for the cover around the bulb. Some covers have clips or springs. Others may twist off. Pay attention to how the cover is held. This helps in removing it safely.
Removing Flat Covers
Always use a sturdy ladderfor safety. Position it under the light. Climb carefully and stay balanced. Make sure the ladder is on a flat surface. Keep your tools handy. Use both hands for safety. Ask someone to hold the ladder if possible. Safety is the top priority.
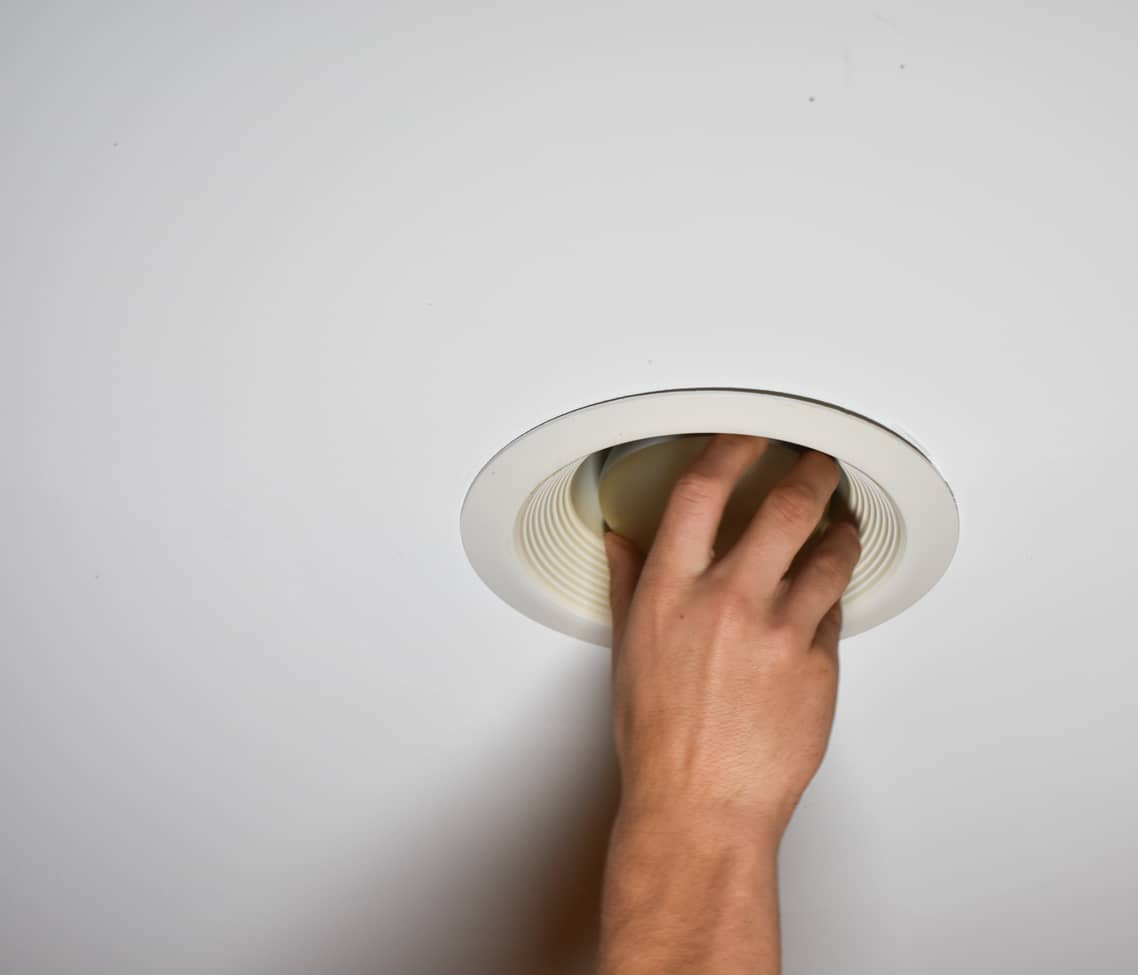
Place your hands on each side of the light cover. Gently pressupwards. Twist the cover slowly if needed. Some covers need a slight turn. Do not use too much force. The cover should pop off easily. If stuck, check for screws. Never pull hard. It might break the cover.
Detaching Dome Covers
Twisting the covercan be tricky. Hold the cover firmly. Turn it counterclockwise. This movement loosens the grip. If the cover feels stuck, keep trying. Sometimes it needs extra turns. Be patient.
Handling tight fitsrequires care. Use a gentle touch. Never force the cover. For tight covers, wear gloves. This helps grip better. You might need a small tool. A rubber jar opener can help. Work slowly and steadily. Protect the light inside.
Unfastening Trim Covers
Gently twist the recessed light cover counterclockwise to loosen it. Carefully pull down to remove. Ensure the power is off before starting.
Unscrewing The Cover
Recessed lights have a cover that you can unscrew. First, find the screws on the light cover. They might be hidden under paint or dust. Use your fingers to clean the area. Check for any screws or clips. Some covers have small clips that hold them. Look carefully for them.
Using A Flathead Screwdriver
A flathead screwdriver is useful for removing covers. Insert the screwdriver under the edge of the cover. Twist the screwdriver gently. This helps to loosen the cover. Be careful not to break the cover. Slowly work your way around the cover. Keep twisting until the cover comes off. You might need to adjust the angle of the screwdriver. It helps to remove stuck covers. Make sure to keep the screws safe for later use.

Credit: www.youtube.com
Cleaning The Light Fixture
The light fixture collects dust and dirt over time. Use a soft cloth to wipe the surface. Avoid using water directly. Wet cloth can damage the fixture. Mild soap can clean stubborn spots. Mix soap with water for a gentle solution. Apply the solution with a cloth. Ensure the cloth is damp, not wet. Rub gently to avoid scratches. Dry the fixture with another cloth. Ensure no moisture remains. Moisture can lead to rust or damage. Repeat cleaning every few months for best results.
Reattaching The Light Cover
Gently twist the recessed light cover counterclockwise to remove it. Ensure hands are clean to avoid smudging. Reattach by aligning tabs and twisting clockwise until secure.
Aligning Properly
Place the cover near the light. Check the edges of the light. Make sure they match the cover’s edges. This helps the cover fit well. Some covers have clips. Look for them and align them. The cover should not be loose.
Securing The Cover
Push the cover gently into place. Feel it click or snap. This means it is secure. Do not force it too much. Check if it moves. If it does, adjust it again. A secure cover protects the light.
Troubleshooting Common Issues
Discover simple steps to remove a recessed light cover. Begin by turning off the power for safety. Use a ladder to reach the fixture. Twist or pull gently, depending on the design. Clean any dust before replacing.
Cover Stuck
Sometimes the light cover gets stuck. First, try to twist it gently. Use a soft cloth to protect the cover. If it doesn’t move, use a flathead screwdriver. Insert it between the cover and the frame. Pry gently to avoid damage. Some covers have clips. Look for clips and press them. This can help release the cover. If the cover is still stuck, seek help from an adult.
Difficulty In Reattachment
Reattaching the cover can be tricky. Ensure the clips or screws are aligned. Press firmly but gently. Avoid using too much force. This can break the cover. Check the alignment from different angles. If it seems off, try again. It may take a few tries to get it right. Once aligned, the cover should fit snugly.
Maintaining Recessed Light Fixtures
Recessed lights need good care to stay bright and safe. Dust can gather on the light cover. This can make the light dim. Regular cleaning keeps the light bright. It’s easy to clean the cover. Just wipe it with a soft cloth. Make sure the light is off. Safety first! Check the fixture for loose parts. Tighten them if needed. Loose parts can be dangerous. Don’t forget to check the bulb. Replace if it’s flickering or dim. Use the right bulb type. Wrong bulbs can cause problems. Check the fixture for dirt and grease. Clean them to prevent damage. It’s simple to keep lights working well. A little care goes a long way.
Credit: honorservices.com
Frequently Asked Questions
How Do I Start Removing A Recessed Light Cover?
To start, ensure the power is off to avoid accidents. Use a ladder to reach the light. Gently twist or pull the cover, depending on its type. If it’s tight, try using a flathead screwdriver to ease it off. Always handle the cover carefully to avoid damage.
What Tools Are Needed For This Task?
Typically, you need a ladder, a flathead screwdriver, and possibly gloves for grip. These tools help you safely and effectively remove the cover. Having the right tools ensures the process is smooth and minimizes the risk of damaging the light fixture.
Can I Remove The Cover Without Damaging It?
Yes, with careful handling, you can remove the cover without damage. Avoid using excessive force and ensure you’re using the correct tools. If the cover seems stuck, gently wiggle it back and forth to loosen it. Proper technique is crucial to avoid any breakage.
Are All Recessed Light Covers Removable?
Most recessed light covers are designed to be removable for maintenance. However, some might be fixed or require specific tools. Always check the manufacturer’s instructions for guidance. If unsure, consider consulting a professional to avoid any potential damage to your light fixture.
Conclusion
Removing a recessed light cover is simple with the right steps. Just follow the guide, and you’ll manage it easily. Safety is key, so ensure the power is off. Tools like a screwdriver might be handy. If unsure, don’t hesitate to ask for help.
Practice makes perfect, so keep trying. Soon, you’ll handle light covers like a pro. Keep this guide handy for future tasks. With these tips, your home projects become easier. Enjoy the process and the results. Happy DIYing!