
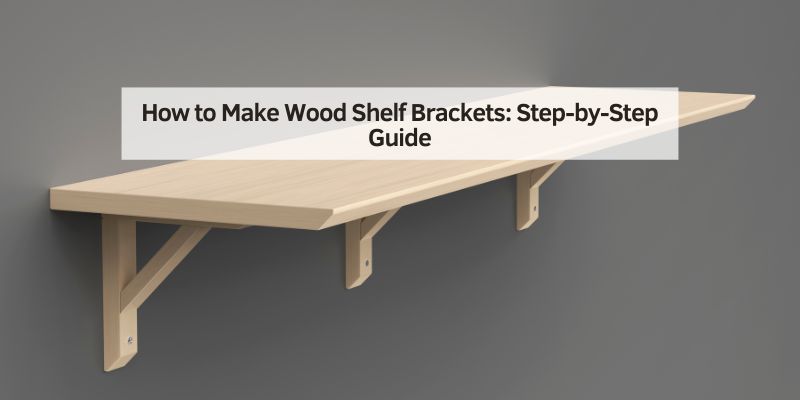
Have you ever looked at your walls and thought they could use a touch of personality or extra functionality? One of the simplest ways to achieve this is by adding wood shelf brackets.
Not only do they offer a sturdy support for your shelves, but they can also add a rustic charm to your space. Imagine crafting these brackets yourself, tailoring them to fit your unique style and needs. You might think that making wood shelf brackets is complicated, but with the right guidance, it’s surprisingly straightforward.
This article will walk you through each step, ensuring you have the know-how to create beautiful, durable brackets that reflect your personal taste. Discover how you can transform any room with your own hands, and give your shelves the perfect finishing touch they deserve. Dive in, and let’s start building something incredible together!
Credit: www.hometalk.com
Materials Needed
You need a few things to make wood shelf brackets. First, get some wood. It should be strong and not easy to break. Use a saw to cut the wood. A drill will help to make holes. You also need screws to hold the brackets. Use a tape measure to check sizes. A pencil is good for marking spots. Some sandpaper will smooth rough edges. Lastly, paint can make the wood look nice.
Here is a list of materials:
- Wood
- Saw
- Drill
- Screws
- Tape measure
- Pencil
- Sandpaper
- Paint
Choosing The Right Wood
Wood shelf brackets need strong and durable wood. Oak and maple are great choices. These woods last long and are tough. Pine is cheaper but not as strong. Consider the look of the wood. Cherry and walnut offer rich colors. These woods give a nice finish. Hardwoods are best for heavy shelves. They hold weight better. Softwoods are lighter and easier to cut. Choose wood that matches your room style. Birch works for modern spaces. Mahogany fits traditional rooms. Think about the cost too. Hardwoods cost more but last longer. Softwoods save money but might need replacing sooner.
Essential Tools
Saw is needed to cut wood. A drill creates holes. Screwdriver tightens screws. Tape measure helps with size. Sandpaper smooths rough edges. Pencil marks spots. Level checks balance. Clamps hold wood firmly. Wood glue sticks pieces. Safety goggles protect eyes.
Hammer drives nails. Square ensures corners are right. Chisel shapes wood. Wood filler fixes holes. Brush applies paint. Ruler measures straight lines. Dust mask keeps lungs safe. Workbench supports project. File refines shapes. Utility knife cuts small parts.
Design And Measurements
Start by deciding the style of your wood shelf brackets. Choose between a simple or ornate design. Next, measure the shelf length. This helps in cutting the brackets to the right size. Use a tape measure for accuracy. Brackets should be half the depth of the shelf. This ensures stability and support. Use a ruler to draw straight lines. This helps in precise cuts. Ensure the width of the bracket matches the shelf. This gives a neat look. Double-check all measurements to avoid errors.
Materials needed include wood, a saw, and sandpaper. Use wood that matches your shelf. This enhances the overall look. A saw helps in cutting the wood. Sandpaper smoothens the edges. Safety is important. Wear gloves and goggles. This protects your hands and eyes. Follow all the steps carefully for the best results.
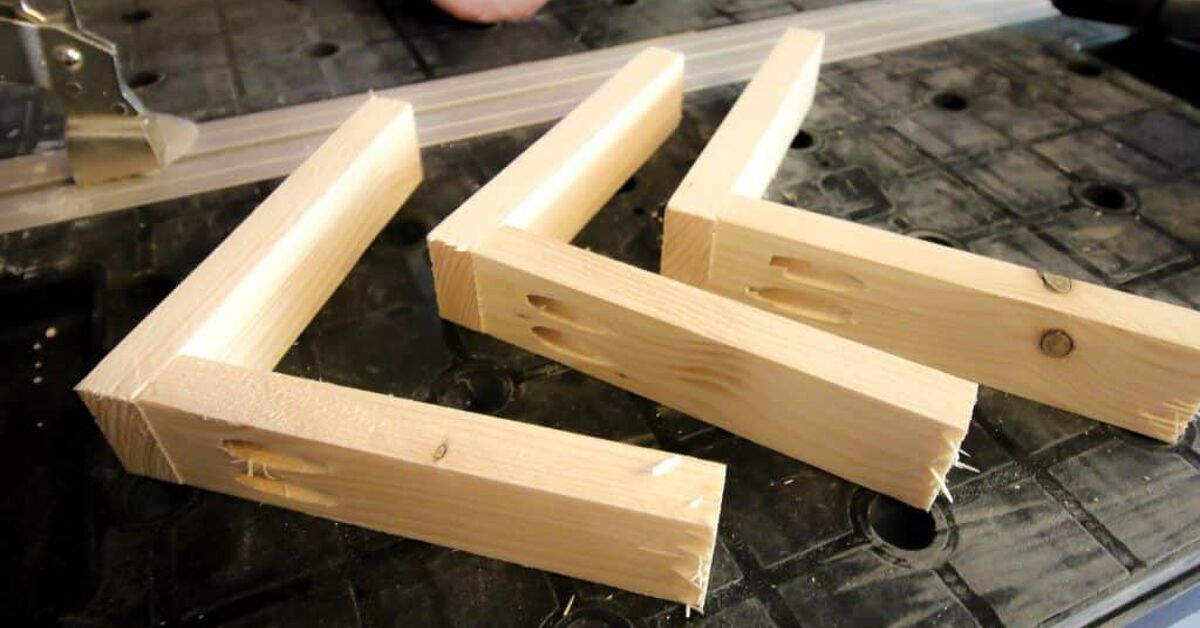
Cutting The Wood Pieces
Choose the right saw for cutting wood. A hand saw works well for small pieces. For bigger pieces, use a power saw. Measure the wood before cutting. Mark the lines where you want to cut. Wear safety goggles to protect your eyes. Hold the saw firmly and start cutting. Keep your hand steady. Follow the marked lines carefully. Avoid rushing to prevent mistakes. Check the cut pieces for any rough edges. Smooth them with sandpaper if needed.
Safety is important when using tools. Wear gloves to protect your hands. Keep your work area clean and tidy. Ensure good lighting in your workspace. Secure the wood firmly before cutting. Use clamps if necessary. Double-check all measurements to avoid errors. Stay focused while working. Keep kids away from the workspace. Unplug power tools when not in use. Store tools safely after use.
Credit: capturingwonderland.com
Assembling The Brackets
Screws hold the wood tight. Use a drill for screws. Pick the right size. Small screws may not be strong. Large screws may split the wood. Glue helps the screws. Wood glue is best. It dries fast and holds strong. Put glue where the wood meets. Press the wood together. Let the glue dry. This makes the brackets sturdy.
Stability is important for brackets. Check the wood for cracks. Cracks can make the shelf fall. Use a level to check alignment. Make sure it’s straight. Tighten screws if loose. Add more glue if needed. Test the shelf after assembly. Place a heavy item on it. Watch if it holds. Fix any wobble you see. Stable brackets keep the shelf safe.
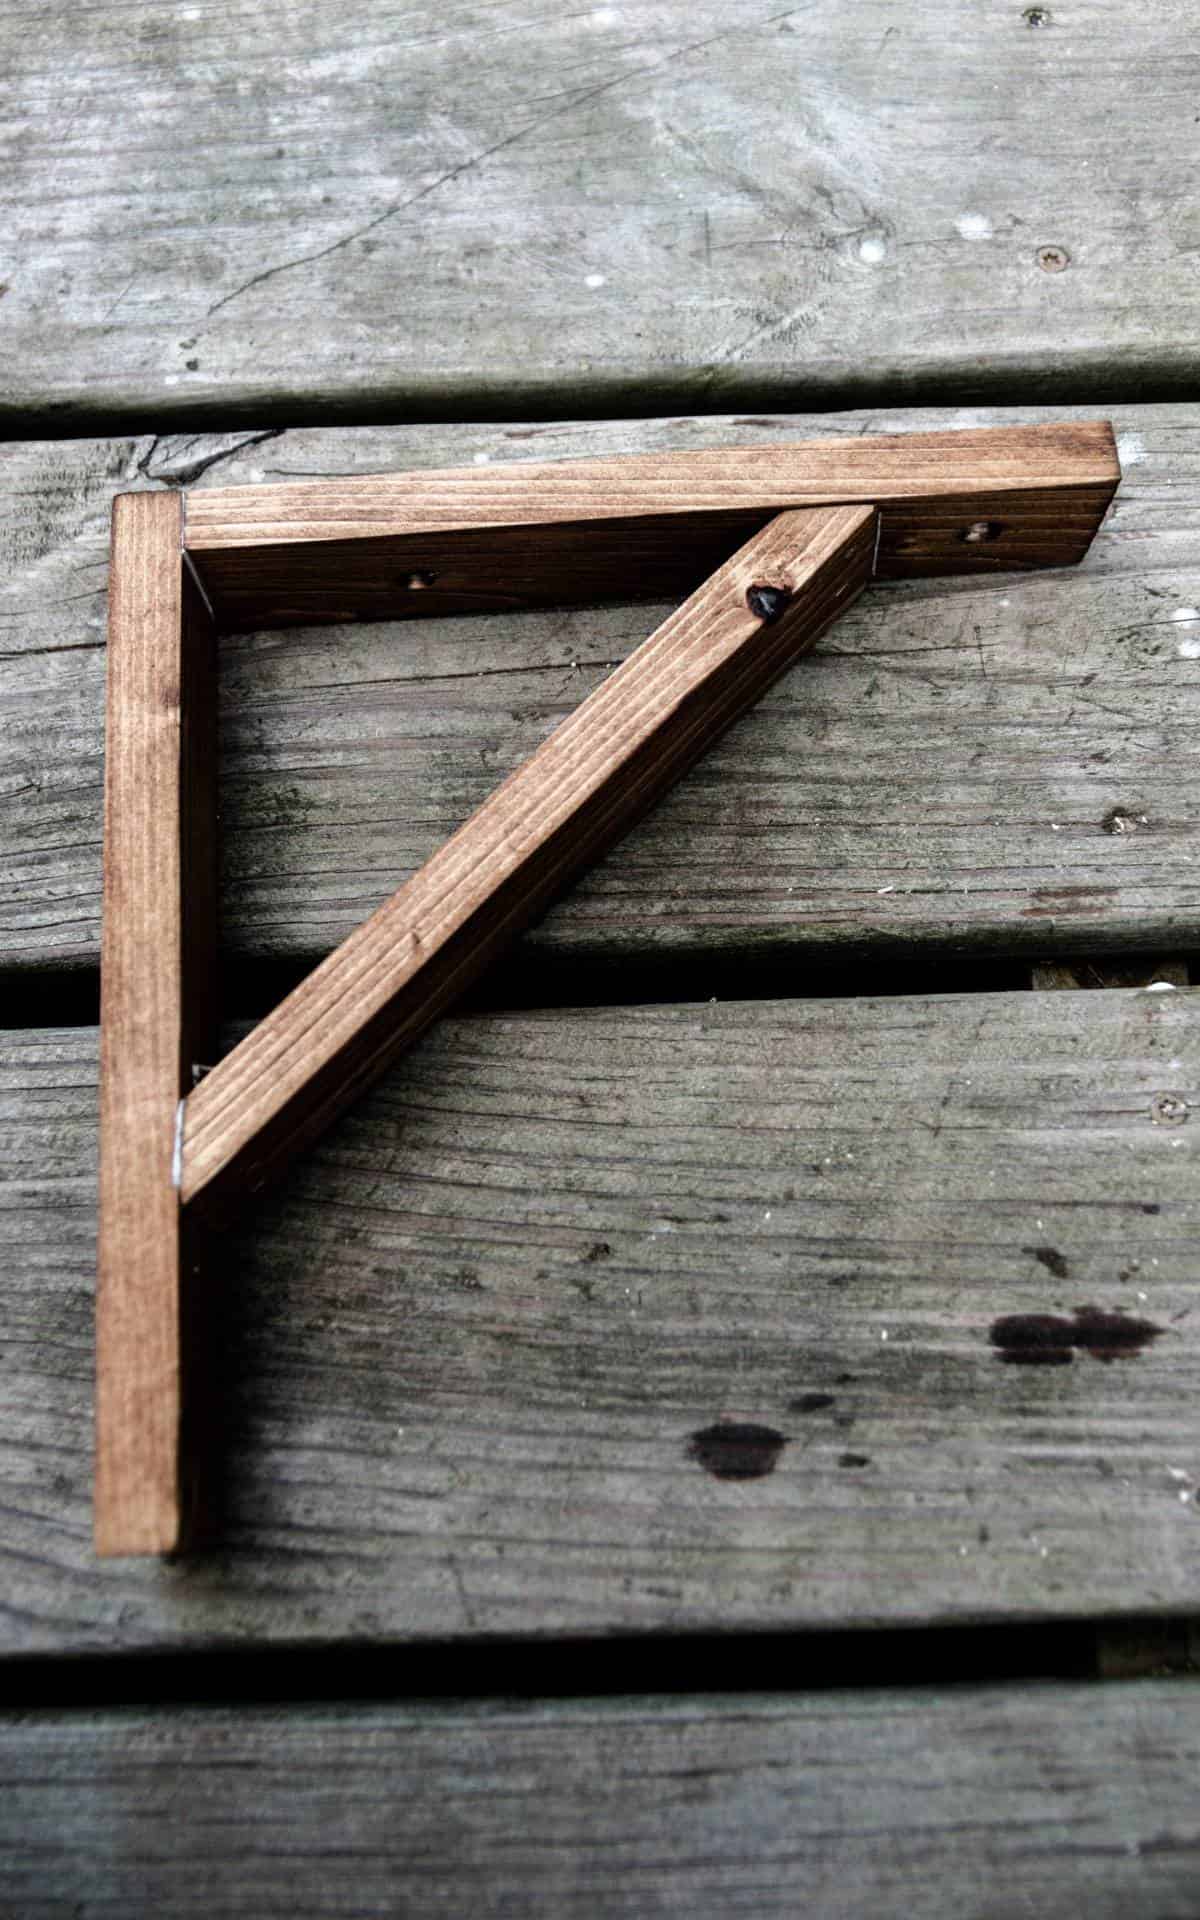
Sanding And Finishing
Start by using sandpaper on the wood. Sandpaper helps smooth rough edges. It makes the wood feel nice. Begin with coarse sandpaper first. This removes big bumps. Then use fine sandpaper. It makes the wood smooth. Always sand along the grain. This avoids scratches. After sanding, wipe the dust away. Use a clean cloth for this step.
After sanding, it’s time to apply a finish. A finish makes the wood look good. It also protects it. You can use wood stain or varnish. Stains add color. Varnish adds shine. Use a brush to apply it. Let it dry well. Follow the instructions on the can. Sometimes, you need two coats. This gives better protection. Make sure each coat dries before the next.
Mounting The Brackets
Use a stud finder to locate the studs in your wall. Studs are usually 16 or 24 inches apart. Knock on the wall to listen for a solid sound. This helps confirm the stud location. Mark the spot with a pencil for easy reference. Ensure your mark is level for accurate placement.
Choose strong screws and anchors for your brackets. Drill pilot holes into the marked studs. This prevents wood splitting. Align the bracket holes with the pilot holes. Insert screws and tighten securely. Ensure the brackets are straight and firm. This keeps your shelf stable. Use a level to check alignment. Adjust if necessary.
Troubleshooting Common Issues
Crafting wood shelf brackets can present challenges like uneven cuts or misaligned angles. Ensure tools are sharp and accurate measurements are taken to avoid common issues. Proper sanding smooths surfaces, achieving a polished finish.
Dealing With Uneven Walls
Walls can be uneven sometimes. This makes bracket installation tricky. First, use a level to check the wall’s straightness. If the wall is uneven, try using small shims. Shims can help balance the bracket. Insert them between the bracket and the wall. Tighten the screws slowly. Ensure the bracket stays straight. Repeat for each bracket. This will help the shelf sit level.
Fixing Loose Brackets
Loose brackets can cause shelves to wobble. First, check if the screws are tight. Use a screwdriver to tighten them. If the brackets are still loose, the wall anchors might be weak. Replace weak anchors with stronger ones. Choose anchors that fit your wall type. This will provide better support. Always check the weight limit of your brackets. Overloading can also cause looseness.

Credit: m.youtube.com
Frequently Asked Questions
What Is The Rule Of Thumb For Shelf Brackets?
The rule of thumb for shelf brackets is to space them no more than 24 to 36 inches apart. Ensure brackets support at least two-thirds of the shelf’s depth for stability. Choose brackets suitable for the shelf’s weight load to prevent sagging or damage.
Is An L Bracket Stronger, Up Or Down?
An L bracket is generally stronger facing downwards. This orientation supports weight more effectively. When installed correctly, it stabilizes structures and prevents sagging. Ensure proper installation for optimal strength and durability.
What Wood To Use For Shelf Supports?
Use hardwoods like oak, maple, or cherry for sturdy shelf supports. Pine is economical but less durable. Ensure wood is well-seasoned to prevent warping. Choose quality wood to support weight effectively. Consider aesthetic appeal and finish for visible shelves. Properly cut and treated wood ensures longevity and stability.
How Far Should A Shelf Overhang A Bracket?
Shelves should overhang brackets by 4 to 6 inches for stability. This prevents tipping and ensures balanced support. Proper installation maintains functionality and aesthetics, enhancing both safety and design. Avoid excessive overhang to prevent damage.
Conclusion
Creating wood shelf brackets can be a fulfilling project. It’s simple and rewarding. The steps are clear and easy to follow. With some tools and patience, you can craft unique pieces. These brackets add charm to any room. Plus, they provide practical storage solutions.
Use your creativity to customize designs. Remember to measure carefully for the best fit. Enjoy the process and the satisfaction of handmade craftsmanship. Your shelves will not only hold items but also tell a story. A story of your skill and effort.
Happy crafting!