
Making a push stick for a table saw is essential for safety. It ensures your hands stay away from the blade.
A push stick is a small tool used to guide wood through a table saw. It is crucial for keeping your fingers safe and maintaining control over the wood. Many woodworkers make their own push sticks for better comfort and efficiency.
This blog post will guide you step-by-step on how to create a push stick. Whether you’re a beginner or an experienced woodworker, making a push stick is a simple, yet important project. Stay with us to learn how to make your own push stick and improve your table saw safety.
Credit: m.youtube.com
Introduction To Push Sticks
A push stick helps keep your hands safe. It is a tool that guides wood through a table saw. Using a push stick is smart and safe. Always prioritize safety when using power tools. Push sticks come in different shapes and sizes. You can even make one at home. It is easy and affordable to create. A simple design works just fine.
Importance Of Safety
Using a push stick keeps your fingers away from the blade. It reduces the risk of injury. Safety is important in woodworking. Accidents can happen quickly. A push stick gives you more control. You can guide the wood better. It also prevents kickback. This is when the wood is thrown back at you. Staying safe should be your top priority. Always use a push stick when needed.
Benefits Of Using A Push Stick
A push stick offers many benefits. It keeps your hands safe from the blade. You can cut wood more accurately. It helps you maintain control. A push stick is easy to use. You can make one from scrap wood. It is cost-effective. You can customize it to your needs. A push stick makes your work safer and easier. Always have one handy while using a table saw.
Materials Needed
Gather plywood or hardwood, a saw, sandpaper, glue, and clamps. You’ll also need a measuring tape and pencil.
Wood Selection
Select a piece of wood that is sturdy. Hardwood works best. It should be at least 12 inches long. Avoid using softwood. It can break easily. Check for splinters and cracks. They can make the stick weak. Use sandpaper to smooth the edges. This will make it safe to handle.
Tools Required
Gather the tools before starting. You will need a saw to cut the wood. A ruler is needed for accurate measurements. Use a pencil to mark the wood. A clamp helps hold the wood in place. Sandpaper smooths the wood. Lastly, a drill makes holes if needed.
Designing Your Push Stick
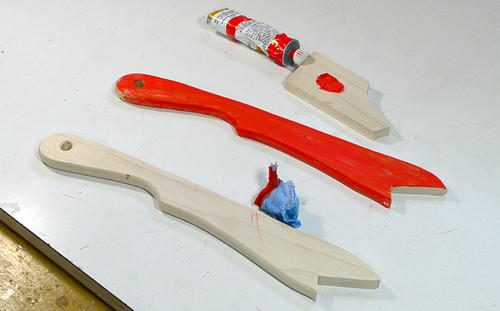
The shape of your push stick is important for safety. A well-designed push stick should have a flat bottom. This helps you push the wood smoothly. The front should have a hook to catch the wood. It helps you keep control. The handle should be comfortable to hold. You will use it a lot.
The handle needs to fit your hand well. You can round the edges to make it more comfortable. Sanding the handle smooth is also a good idea. You can add grip tape for better hold. The goal is to make it easy to use. A good handle makes the push stick safer.
Credit: www.ronhazelton.com
Cutting The Wood
Start with a piece of wood. Choose a straight and flat piece. Use a ruler to measure the length. Mark the wood with a pencil. Make clear and precise lines. These lines will guide your cuts. Double-check the measurements. Accuracy is important for a safe push stick.
Secure the wood on a stable surface. Use clamps to keep it in place. Turn on the jigsaw. Follow the marked lines carefully. Cut slowly and steadily. Keep your fingers away from the blade. Smooth the edges with sandpaper. This makes the push stick comfortable to hold. Check the final shape. Make sure it fits your hand well.
Smoothing The Edges
Sand the edges with a fine-grit sandpaper. Smooth edges help in preventing splinters. Make sure to move the sandpaper in small circles. This will give a nice finish. Always check if the edges feel smooth. If not, sand again. Repeat this until you are happy with the results.
Hold the stick in your hand. It should feel comfortable. If it doesn’t, sand more. Focus on the grip area. A good grip makes the stick safer. Comfort is key for a good push stick. Test it out on scrap wood. Adjust as needed.
Adding Safety Features
A push stick needs a good grip. Use non-slip tape. Wrap it around the handle. This keeps your hand steady. You can also use rubber. It helps with control. A good grip reduces accidents. Make sure the tape or rubber is secure. Check it often. Replace if worn.
Another safety feature is an extra guard. This can be a small piece of wood. Attach it to the side of the stick. It helps keep your hand away from the blade. The guard should be strong. It needs to be firmly attached. Make sure it does not interfere with the cut.
Finishing Touches
Use sandpaper to smooth the push stick. This removes rough edges. A smooth surface feels better in your hand. Apply a coat of varnish or paint. This protects the wood. Let the finish dry completely. Sand lightly between coats. This helps the finish stick better. Add a second coat for more protection.
Check the push stick carefully. Look for any rough spots. Make sure the handle is comfortable. Test the push stick with your table saw. Ensure it works well. Make any final adjustments if needed. Now your push stick is ready to use.
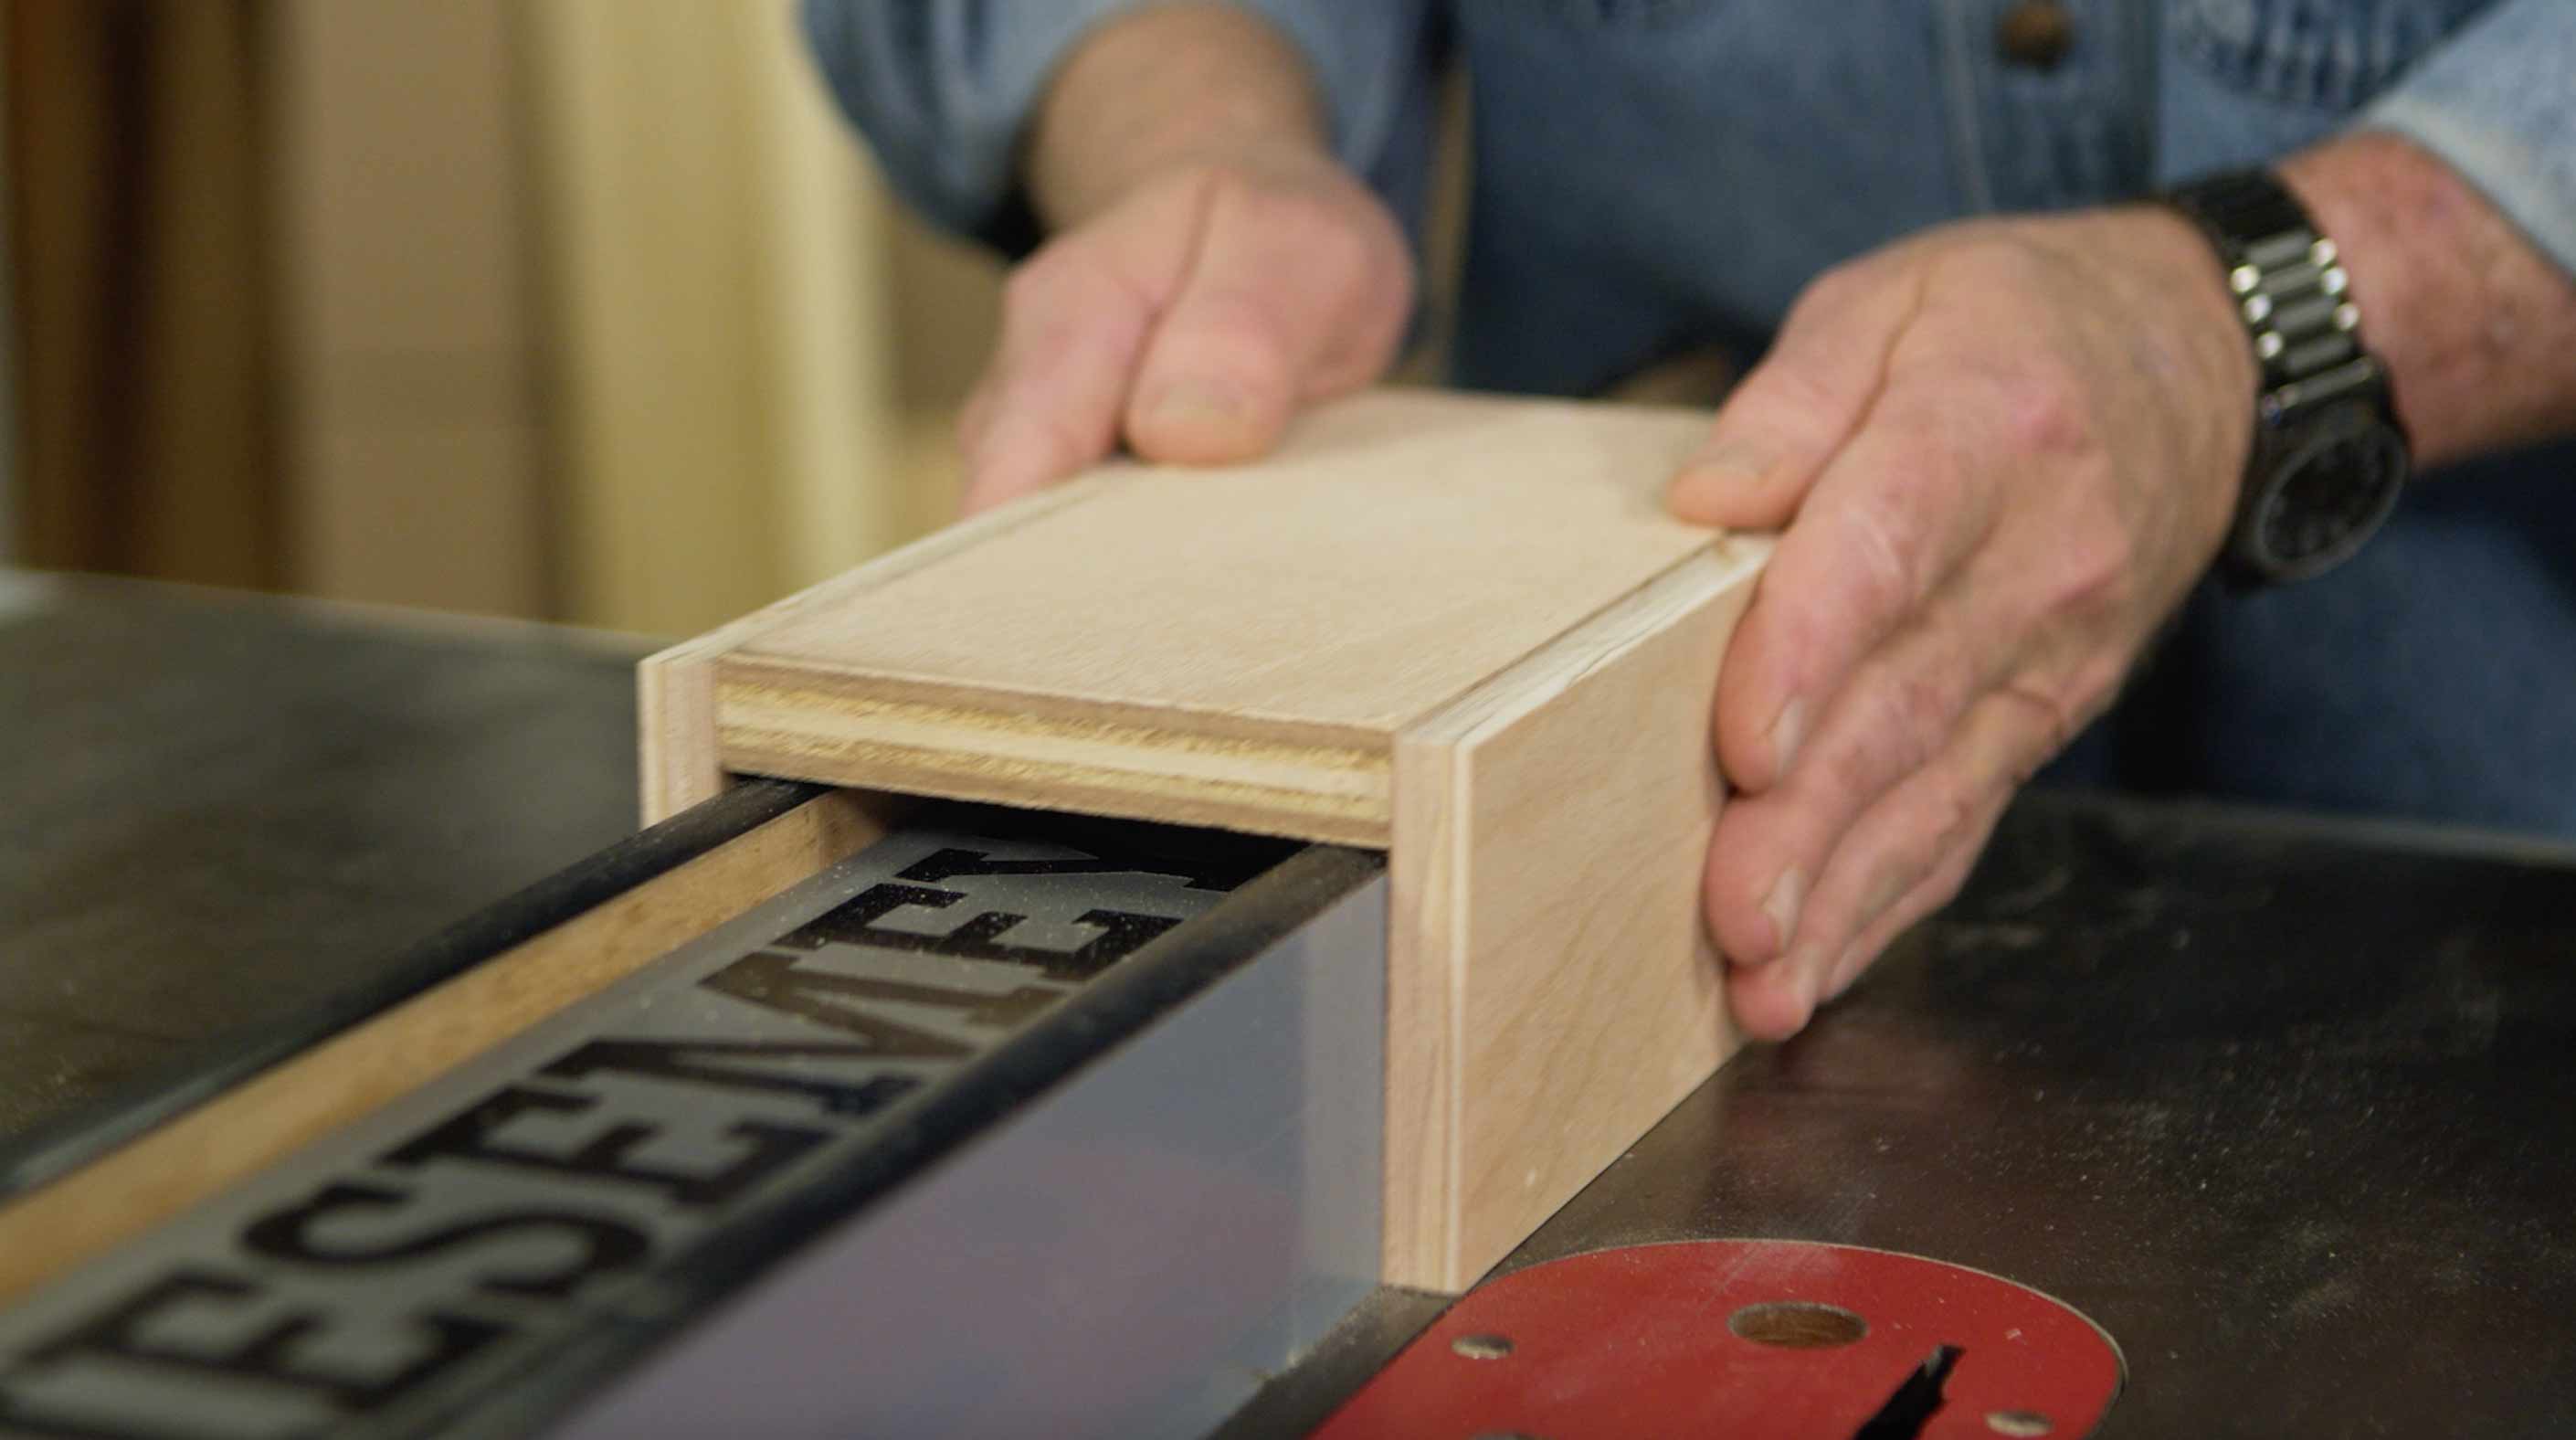
Using Your Push Stick
Place your hand on the push stick. Hold it firmly but not too tight. Ensure your thumb and fingers wrap around it. Your other hand should guide the wood. Keep your hands away from the blade. A good grip helps you keep control.
Move the wood slowly through the saw. Keep your push stick steady. Adjust your grip if needed. Watch the blade and the wood. Never rush the process. Always stay focused. Good control helps prevent accidents.
Maintenance Tips
Check your push stick often. Look for cracks or any damage. Replace it if you see any problems. A damaged push stick can be dangerous.
Look at the handle and the edges. Replace them if they are worn out. Keep your push stick in good shape. This will help you work safely.
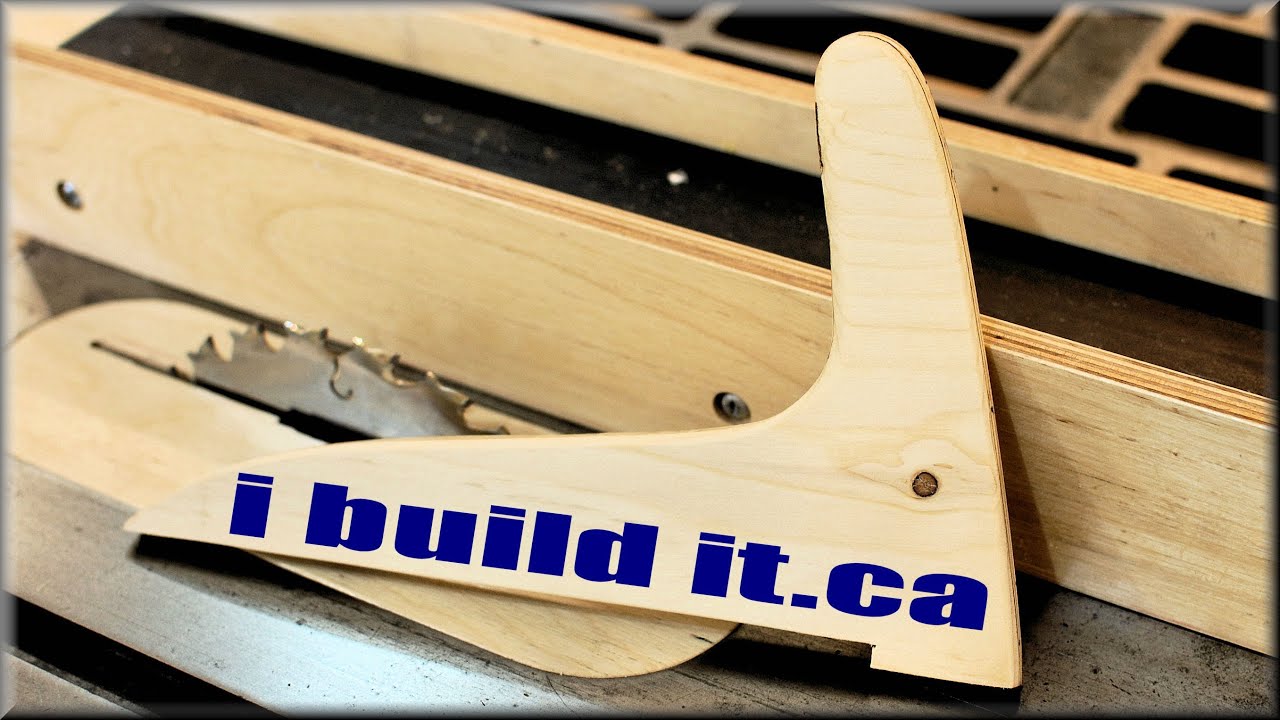
Credit: www.youtube.com
Frequently Asked Questions
What Is A Push Stick For Table Saw?
A push stick is a safety tool used to guide wood through a table saw. It helps keep your hands away from the blade, reducing the risk of injury.
Why Is A Push Stick Important?
A push stick is important for safety. It allows you to guide wood safely through the saw, keeping your hands at a safe distance from the blade.
How To Choose The Right Material For A Push Stick?
Choose a durable material like hardwood or plywood. These materials provide strength and durability, ensuring the push stick lasts longer and performs well.
Can I Make A Push Stick At Home?
Yes, you can make a push stick at home. It’s a simple DIY project requiring basic tools and materials, making it accessible for most woodworkers.
Conclusion
Creating a push stick for your table saw is simple and essential. It ensures safety while working on your projects. Follow the steps carefully and use quality materials. A well-made push stick can prevent accidents and improve precision. Always prioritize your safety in the workshop.
With your own push stick, you can work confidently and efficiently. Happy woodworking!