
Quick Summary: To keep a paint roller from drying out between coats, wrap it tightly in plastic wrap or a sealed plastic bag, ensuring no air can reach the paint. This simple trick prevents the roller from hardening, saving you time and paint for your next painting session.
Painting a room can be a rewarding DIY project, but there’s nothing more frustrating than returning to your work after a short break, only to find your paint roller has dried into a stiff, unusable mess. It’s a common problem that wastes paint, time, and can even ruin the roller itself. You might be thinking you have to clean the entire roller and tray just to grab a quick lunch or answer a phone call. But what if there was a super simple, quick fix? Well, there is! I’ve got a genius tip that will keep your roller perfectly moist and ready to go, even if you need to step away for a few hours. This method is so easy, you’ll wonder why you ever bothered with messy cleanups mid-project. Let’s dive in and make your painting sessions smoother and more efficient.
Why Paint Rollers Dry Out (And Why It’s a Problem)
Even with the best care, rollers don’t last forever. Here are signs it’s time for a new one:
Damaged Nap: If the nap is matted, torn, or has chunks missing, it won’t apply paint evenly.
Hardened Paint: If you missed a spot and some paint has dried hard, it can be impossible to get out and will leave marks on your walls.
Bent Frame: If the roller frame is bent, it will be difficult to roll smoothly and can scratch your walls.
Worn-Out Core: If the cardboard core of the roller starts to degrade, it might break or get soggy.
Paint is designed to dry when exposed to air. This is great for the walls you’re painting, as it forms a durable finish. However, the same principle applies to the paint left on your roller. When the water or solvent in the paint evaporates, it leaves behind the binder and pigment, which harden and form a solid layer.
Here’s why this is a pain for DIY painters:
Wasted Paint: Dried paint on a roller is essentially unusable. You can’t reload it with fresh paint effectively, and trying to scrape it off often damages the roller nap.
Ruined Rollers: A roller that’s dried out is often beyond saving. You’ll end up throwing it away and having to buy a new one, which adds to your project costs.
Time Consuming: If you don’t have a good way to keep your roller fresh, you might feel compelled to clean it thoroughly between coats or even between painting different sections. This takes a lot of time and effort.
Frustration: Let’s be honest, finding a dried-out roller is just plain annoying and can kill your painting momentum.
Understanding this process helps us appreciate why a simple barrier is so effective. We need to stop the air from reaching the paint on the roller.

The Genius Tip: Sealing Your Paint Roller
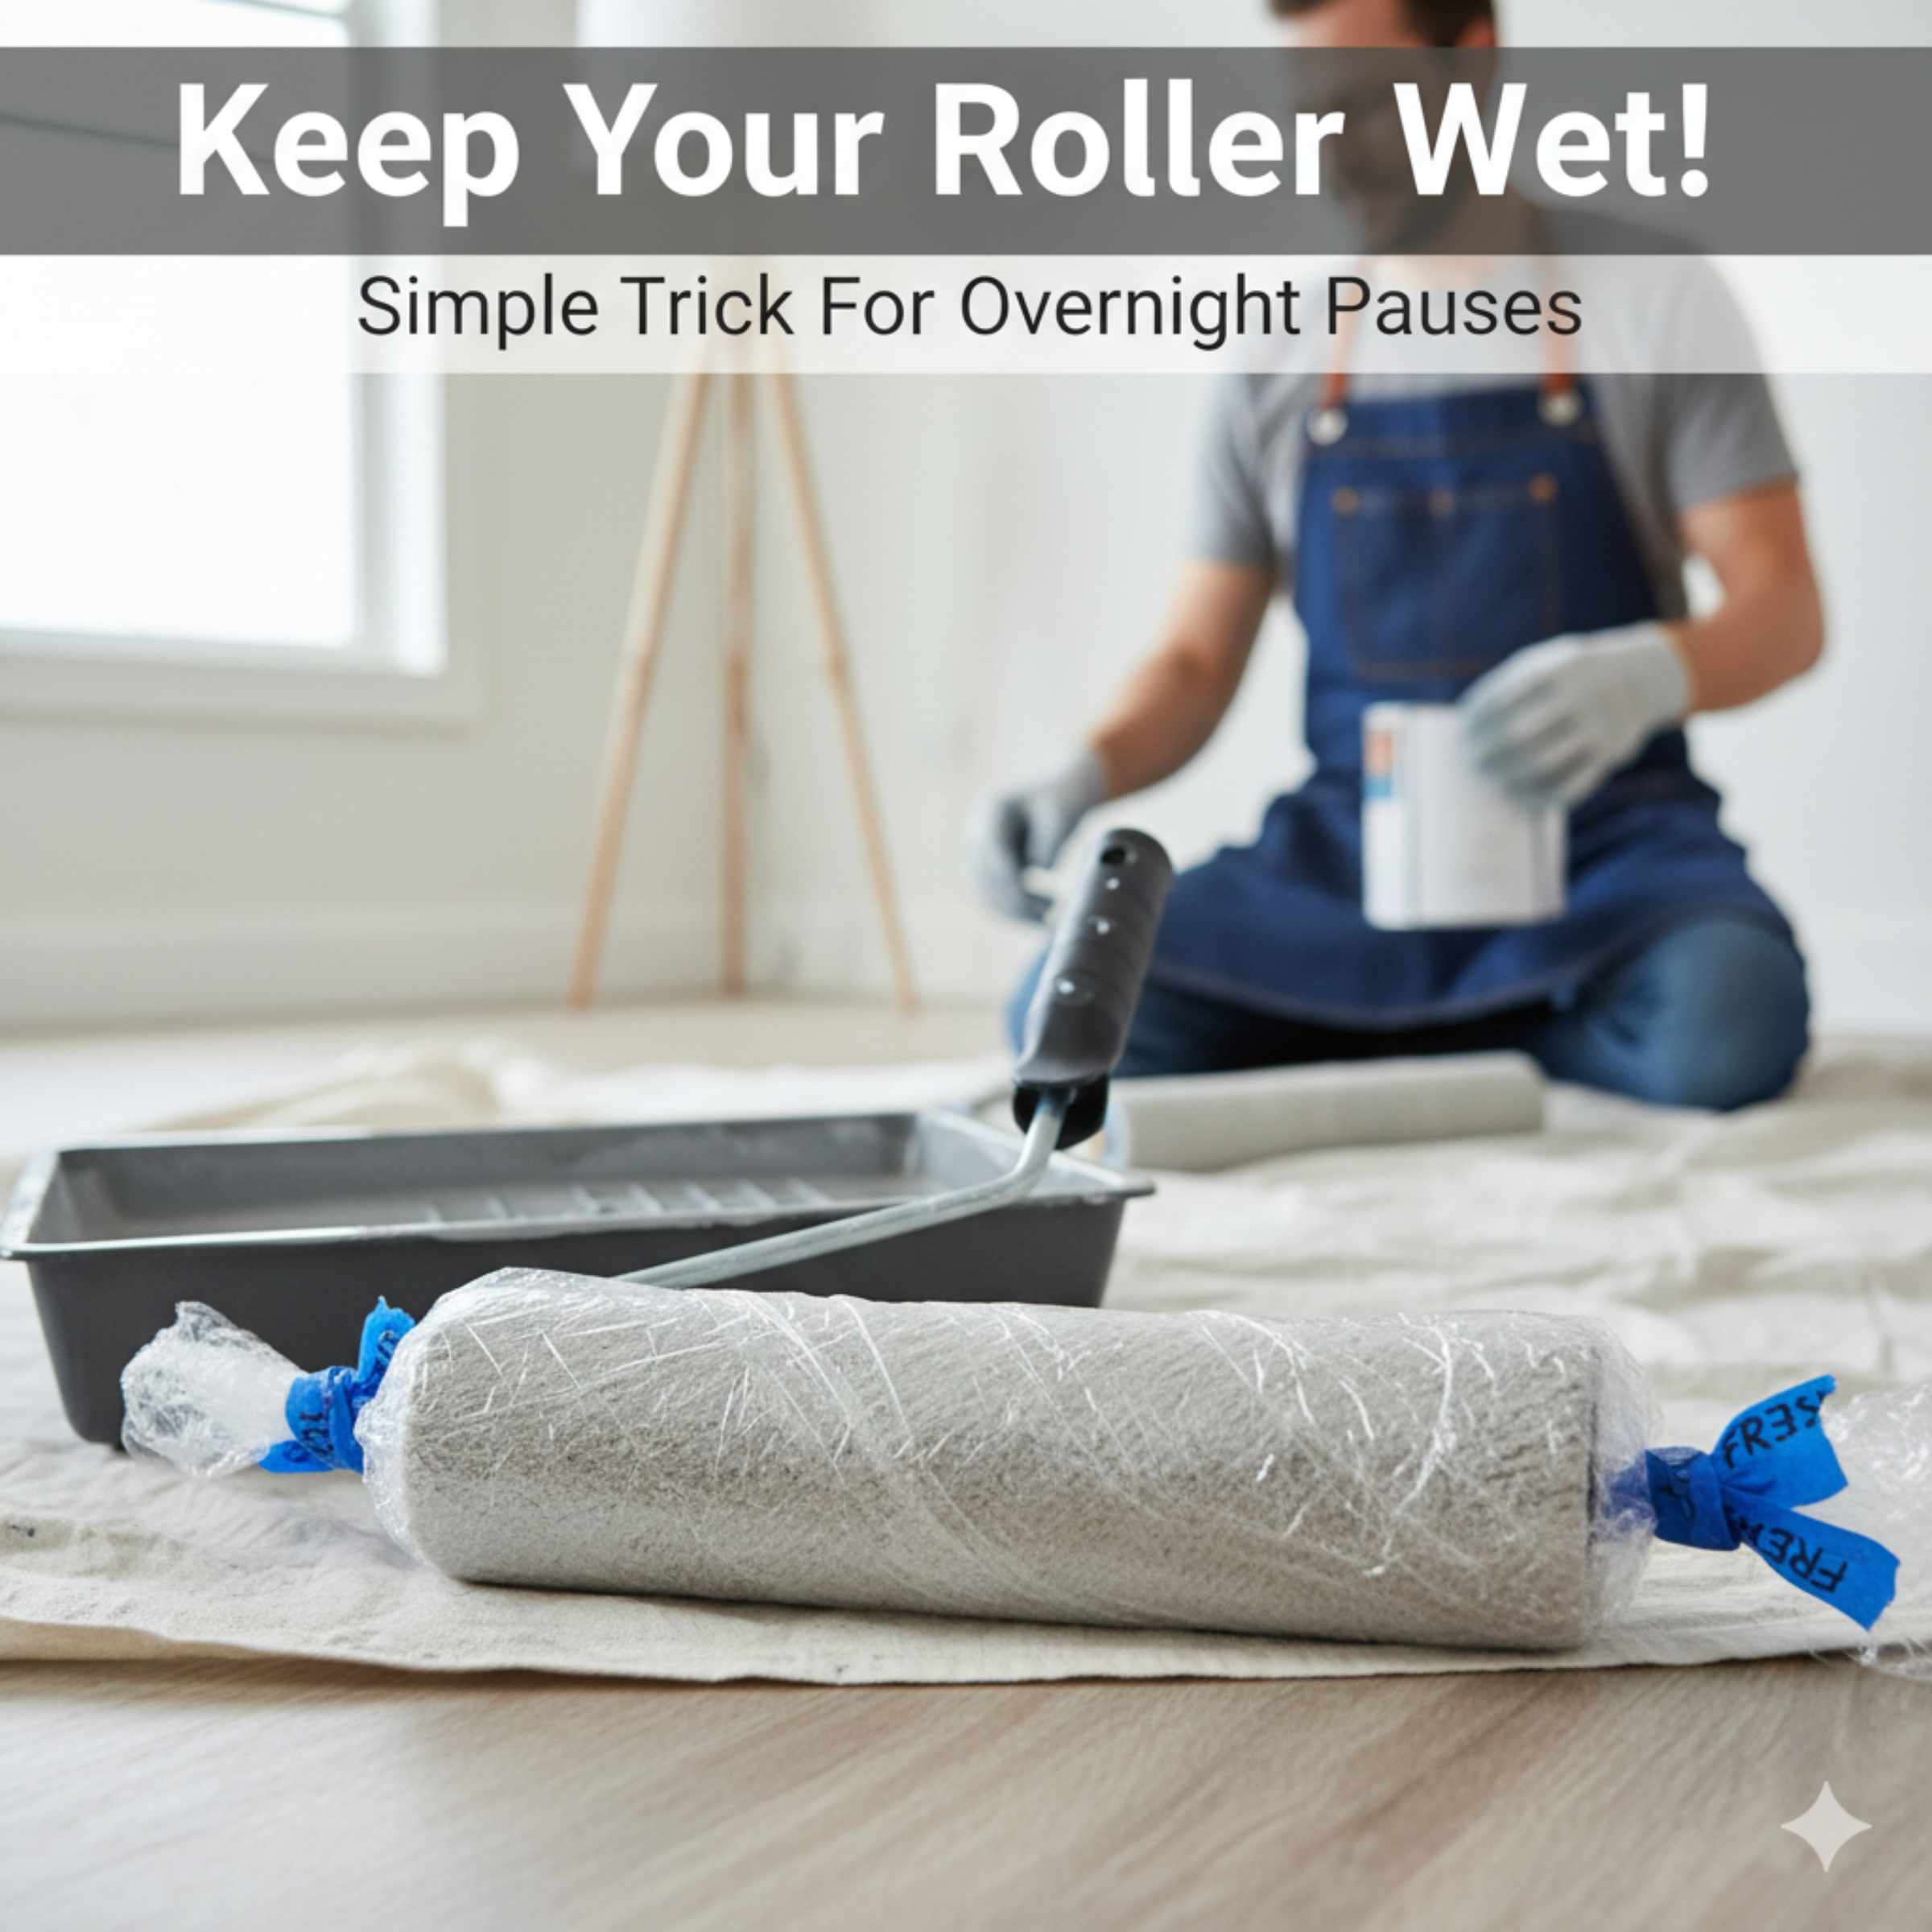
The best way to keep your paint roller from drying out between coats is to create an airtight seal around it. This prevents the paint from evaporating and keeps the roller supple and ready for use. It’s a method that’s quick, effective, and requires minimal materials.
Here’s the magic trick:
What you’ll need:
Your paint roller with a good amount of paint still on it.
Plastic wrap (cling film).
A plastic bag (like a grocery bag or a dedicated paint roller bag).
Optional: A rubber band or tape.
The Method Explained:
1. Don’t Clean It! The first and most important step is to not clean your roller. You want that layer of paint to act as a sealant.
2. Wrap It Tightly: Take your plastic wrap and wrap the roller head completely. Make sure there are no gaps. You want to encase the entire painted surface of the roller. Overlap the plastic generously.
3. Add Another Layer of Protection: Now, slide the plastic-wrapped roller into a plastic bag. If you have a reusable paint roller bag, that’s even better, but a standard plastic bag works fine.
4. Seal the Bag: Gently squeeze out as much air as possible from the bag before sealing it. You can tie the opening of the bag in a knot, use a rubber band, or secure it with tape. The goal is to make it as airtight as possible.
That’s it! This creates a barrier that significantly slows down the drying process.
How Long Can You Keep a Roller Wrapped This Way?
This airtight wrapping method is incredibly effective for short to medium breaks.
For a Few Hours (e.g., lunch break, short errand): The plastic wrap and bag method will keep your roller perfectly moist for several hours. You can easily pick up where you left off without any issues.
Overnight: Yes, you can often keep a roller wrapped this way overnight. The key is how well you sealed it. If it’s truly airtight, the paint should remain wet.
For Extended Periods (Several Days): While this method can sometimes work for a couple of days, it’s not foolproof for very long periods. For storage longer than 24 hours, it’s generally safer to clean the roller thoroughly. However, for typical painting jobs where you’re working over a day or two, this method is a lifesaver.
Pro Tip: For extra security, especially if you’re leaving it overnight, you can place the sealed plastic bag inside another sealed plastic bag.
When to Clean vs. When to Wrap
Knowing when to use the wrapping trick versus when to clean is key to efficient painting.
| Situation | Recommended Action | Reason |
| :—————————- | :—————————————————————————————————————- | :—————————————————————————————————————————————————————— |
| Short Break (under 1 hour) | Wrap in plastic wrap, then a sealed plastic bag. | Fastest and easiest way to prevent drying for quick pauses. |
| Lunch Break/Several Hours | Wrap in plastic wrap, then a sealed plastic bag. Ensure it’s as airtight as possible. | Maintains moisture for longer periods without the need for cleaning. |
| Overnight | Wrap tightly in plastic wrap, place in a sealed plastic bag. Consider double-bagging for extra protection. | Can effectively keep the roller usable for the next day if sealed properly. |
| End of Painting Day | Clean roller thoroughly with appropriate cleaner (water for latex, solvent for oil-based). | Prepares roller for long-term storage and prevents dried paint buildup that compromises future use. |
| Switching Paint Types | Clean roller thoroughly. | Prevents contamination of different paint types (e.g., latex in oil-based, or vice versa), which can ruin the finish and the paint. |
| Using Specialty Paints | Check paint can or manufacturer’s instructions. Some specialty paints may require immediate cleaning. | Some paints, like epoxies or certain industrial coatings, dry very quickly and require immediate cleanup. Always follow product recommendations. |
| Roller is Heavily Caked | If the roller is overloaded with paint and not uniformly coated, it might be harder to seal effectively. Clean. | A roller with thick, uneven globs of paint is more prone to drying in patches, making the wrapping less effective. |
Beyond the Wrap: Other Tips for Roller Care
While the plastic wrap trick is the star of the show for keeping rollers fresh between coats, a few other practices can extend the life and performance of your rollers.
Choosing the Right Roller
The type of roller you use impacts how well it holds paint and how easily it can be cleaned or stored.
Nap Length:
Short Nap (1/4″ – 3/8″): Best for smooth surfaces like metal or laminate. Holds less paint.
Medium Nap (3/8″ – 1/2″): Good for semi-smooth surfaces like drywall or wood. A good all-around choice.
Long Nap (3/4″ – 1″): Ideal for textured surfaces like popcorn ceilings or stucco. Holds the most paint.
Material:
Synthetic Fibers (Nylon, Polyester): Great for latex and water-based paints. Durable and easy to clean.
Natural Fibers (Mohair, Lambswool): Often used for oil-based paints or high-gloss finishes for a smoother application. Can be more expensive and require specific cleaning.
Quality: Investing in a good quality roller can make a big difference. Higher-density naps and better construction mean smoother application and easier cleaning.
Storing Rollers Long-Term
When you’re completely finished with a painting project, proper cleaning is essential for storing rollers for future use.
For Latex/Water-Based Paints:
1. Scrape Off Excess Paint: Use a putty knife or scraper to remove as much paint as possible from the roller.
2. Rinse Under Water: Place the roller under running water. Use a roller spinner (a tool that attaches to a drill and spins the roller to shed water and paint) if you have one. Otherwise, use your hands to work the water through the nap.
3. Wash with Soap: Use mild dish soap or a specialized roller cleaner and lather it into the nap. Rinse thoroughly until the water runs clear.
4. Spin Dry: Spin the roller again to remove excess water.
5. Air Dry: Hang the roller to dry completely. Avoid placing it nap-down on a surface, as this can flatten the fibers.
For Oil-Based Paints:
1. Scrape Off Excess Paint: Similar to latex, remove as much paint as you can.
2. Use Mineral Spirits or Paint Thinner: Place the roller in a tray or container with the appropriate solvent. Roll it around, using a brush or comb to work the solvent into the nap.
3. Rinse and Repeat: Dispose of the dirty solvent responsibly (check your local hazardous waste guidelines). Rinse the roller with clean solvent, repeating the process until the roller is clean.
4. Wash with Soap and Water: Once most of the solvent is out, wash the roller with soap and water to remove any residue.
5. Spin and Air Dry: Spin to remove water and hang to dry.
Important Note on Solvents: Always work in a well-ventilated area when using mineral spirits or paint thinner. Wear gloves and consider eye protection. For safe disposal of solvents, contact your local waste management authority. You can find guidance on proper disposal from resources like the U.S. Environmental Protection Agency (EPA).
Using a Roller Tray Liner
While not directly related to keeping a roller moist, using a disposable tray liner can make cleanup much faster. Once you’re done, you can simply pull out the liner with the leftover paint and dispose of it, leaving your tray clean.
Clean Your Tray and Tools
Don’t forget the rest of your painting tools! A clean tray and properly stored brushes ensure your next painting session is as smooth as possible. For latex paint, a quick rinse of the tray with water is usually enough. For oil-based paints, you’ll need solvent.
When is it Time to Replace Your Roller?
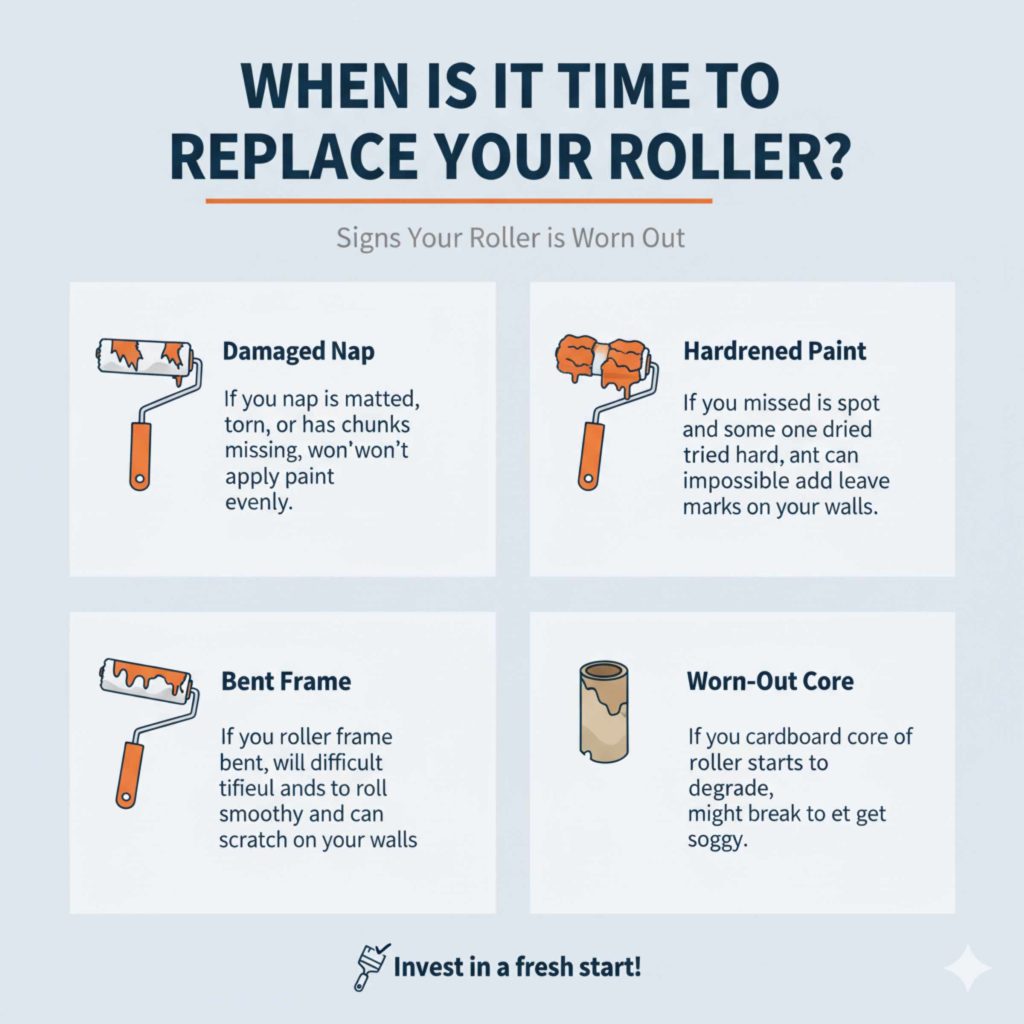
Even with the best care, rollers don’t last forever. Here are signs it’s time for a new one:
Damaged Nap: If the nap is matted, torn, or has chunks missing, it won’t apply paint evenly.
Hardened Paint: If you missed a spot and some paint has dried hard, it can be impossible to get out and will leave marks on your walls.
Bent Frame: If the roller frame is bent, it will be difficult to roll smoothly and can scratch your walls.
Worn-Out Core: If the cardboard core of the roller starts to degrade, it might break or get soggy.
Frequently Asked Questions (FAQ)
Q1: Will wrapping my roller in plastic wrap alone work?
A1: It can work for very short periods, like 15-30 minutes, but plastic wrap alone isn’t usually airtight enough for longer breaks. Adding a sealed plastic bag provides a much better seal against air.
Q2: Can I use aluminum foil instead of plastic wrap?
A2: Aluminum foil isn’t as effective as plastic wrap because it doesn’t create a tight seal. It’s difficult to mold around the roller to prevent air from getting in. Plastic wrap’s clinginess is key.
Q3: What if I don’t have plastic wrap? Can I just put the roller in a plastic bag?
A3: You can try to seal the roller as tightly as possible within a plastic bag, squeezing out all the air. However, without the initial wrap, it’s harder to prevent the paint from drying on the edges or areas that touch the bag directly. Plastic wrap provides a better protective layer.
Q4: Does this method work for all types of paint?
A4: This method works best for latex and other water-based paints. For oil-based paints, while it can help slow drying, they tend to dry more stubbornly. It’s generally recommended to clean oil-based rollers more promptly or use a solvent-based storage solution if you need to keep them wet for an extended period. However, for short breaks, the plastic wrap method can still offer some benefit.
Q5: How do I know if the seal is good enough?
A5: The key is to see no air pockets and have the plastic wrap conform tightly to the entire roller. When you put it in the bag, squeeze out as much air as possible before sealing the bag. If you can see any exposed paint or feel air getting to it, the seal isn’t tight enough.
Q6: What’s the difference between this and “wet storage” for rollers?
A6: Wet storage typically involves submerging the roller in water (for latex paint) or solvent (for oil-based paint) in a sealed container. The plastic wrap method is a simpler, less messy way to keep the paint itself from drying out through evaporation, rather than keeping the roller submerged in liquid. It’s ideal for shorter breaks where you don’t want to deal with liquids.
Q7: My roller is still a bit stiff even after wrapping. What went wrong?
A7: The most common reason is an incomplete seal. Air likely got to some part of the roller. Double-check that the plastic wrap covered the entire roller with no gaps, and that the plastic bag was sealed very tightly. Even a small opening can allow the paint to start drying.
Conclusion
Keeping your paint roller from drying out between coats is a simple yet incredibly effective way to make your painting projects smoother and less frustrating. The genius tip of wrapping your roller tightly in plastic wrap and then sealing it in a plastic bag is your go-to solution for those necessary breaks, whether they’re for lunch, a phone call, or even overnight. By preventing air exposure, you save paint, extend the life of your roller, and maintain your painting momentum. Remember to always ensure a good, airtight seal for the best results. When you’re completely finished with a project, proper cleaning will ensure your rollers are ready for the next task. With these easy techniques, you can tackle any painting job with confidence, knowing your tools will be ready when you are. Happy painting!