
Imagine transforming your living space with a sleek, modern look that not only enhances the aesthetic appeal but also improves the functionality of your home. Recessed lighting can do just that, offering a cleaner ceiling design while providing focused illumination.
Whether you’re looking to brighten up your kitchen, living room, or hallway, installing recessed lighting could be the perfect solution for you. But you might be wondering, where do you even start? The thought of dealing with wiring and cutting into your ceiling can seem daunting.
Don’t worry; you’re not alone. Many homeowners feel the same way but find that the end result is well worth the effort. With the right guidance, you’ll discover that installing recessed lighting is not as difficult as it seems. Plus, the satisfaction of doing it yourself will be incredibly rewarding. You’ll learn step-by-step how to install recessed lighting in your ceiling, making the process straightforward and stress-free. Imagine the compliments you’ll receive from friends and family, admiring the new ambiance you’ve created. Your home’s value could even increase, all thanks to this simple upgrade. Ready to shine a light on your home’s potential? Let’s dive in!
Tools And Materials Required
To install recessed lighting, gather some basic tools. A drill is essential for making holes. Use a measuring tape to measure spaces accurately. A stud finder helps locate beams in the ceiling. Make sure to have a wire cutter for cutting wires. Keep a ladder handy for reaching the ceiling.
You will also need some materials. Get a recessed light kit. This kit has all the parts you need. Have wires for connecting the lights. Use wire nuts to secure wire connections. Safety is important, so wear safety goggles. These tools and materials make the job easier.
Planning Your Layout
Measure the room to know its size. Understanding the room size is important. Bigger rooms need more lights. Smaller rooms need fewer lights. Accurate measurements help in planning. Use a tape measure for this task. Write down the measurements. This helps in the next steps.
Decide where to put the lights. Think about the room’s use. Kitchen lights go over counters. Living room lights can be more spaced out. Avoid placing lights too close to walls. This creates shadows. Keep lights balanced in the room. Even light makes the room look better.
Space lights evenly across the ceiling. Spacing depends on light type. Common spacing is 4 to 6 feet apart. Lights too close can be too bright. Lights too far can leave dark spots. Try to keep lights in a straight line. This looks neat and organized.
Safety Precautions
Always turn off the power before starting. Find the main power switch. Flip it to the “off” position. This stops electricity from flowing. Double-check with a voltage tester. Make sure no power is present. Safety first, always.
Wear safety glasses to protect your eyes. Use gloves for hand safety. They keep hands safe from sharp objects. A dust mask is helpful. It keeps dust out of your lungs. Comfortable shoes are also important. They prevent slips and falls.
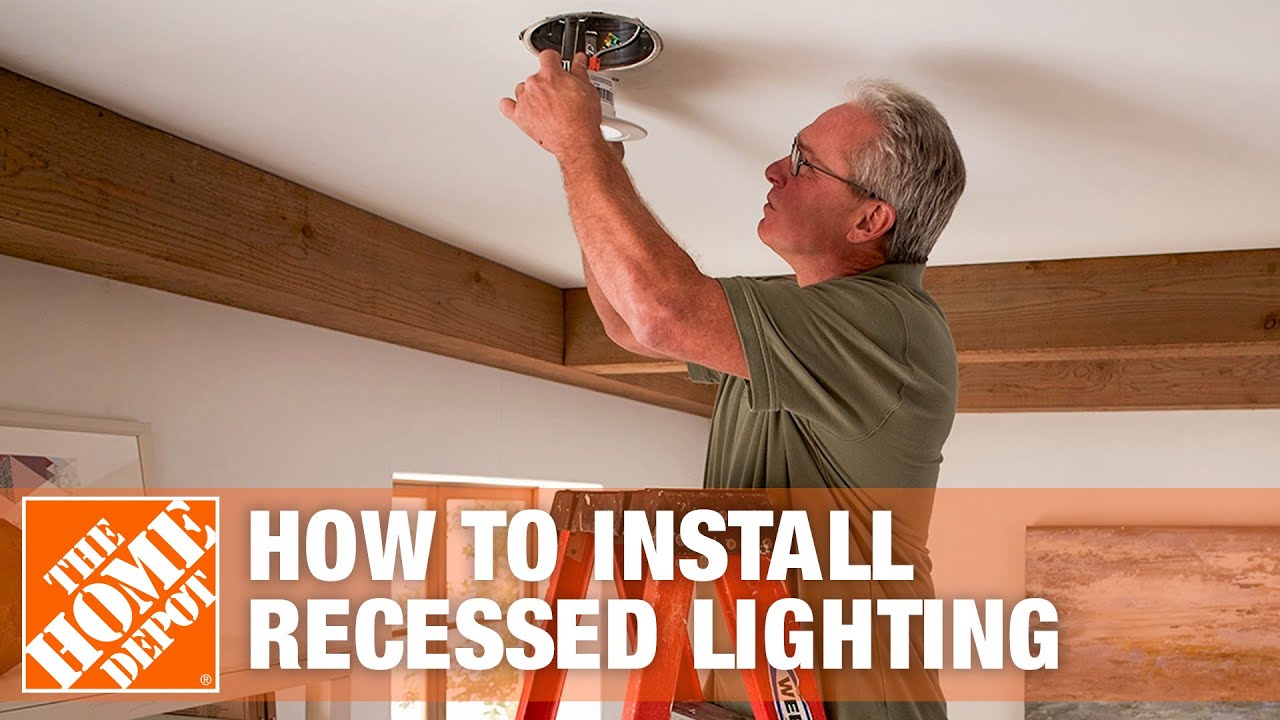
Credit: www.homedepot.com
Preparing The Ceiling
Use a pencil to mark spots on the ceiling. These marks show where lights will go. Keep the lights evenly spaced. This makes the room look nice and bright. Measure carefully with a tape measure. Make sure each light is at the right distance from the walls and each other.
Before cutting, check for obstructions in the ceiling. Look out for wires and pipes. Use a stud finder to spot any beams. Avoid these while installing. If you find anything, adjust your light spots. This ensures a safe installation.
Cutting Holes
Always use a template for cutting holes. This helps to make the holes the right size. Place the template on the ceiling where you want the light. Trace around it with a pencil. This shows where to cut.
Check the area for wires and pipes. This avoids damage. Use a stud finder to locate beams. Mark them to stay away from these spots.
Once the spot is safe, use a hole saw to cut. Be careful not to push too hard. This keeps the ceiling from breaking. Always wear goggles for safety.
Wiring The Lights
Connecting to Power Source is a key step. Turn off the power first. This stops accidents. Find the main power box. Locate the right switch. Use a voltage tester. Check wires are safe. Connect the wires. Match colors: black to black, white to white. Secure connections with wire nuts. Tape them for safety. Turn the power back on. Check if the lights work.
Securing Wires ensures safety. Keep wires neat and tidy. Use wire clips. Attach wires to the ceiling frame. Avoid loose wires. They can be dangerous. Use cable ties. Group the wires together. Keep them out of sight. Test the lights again. Make sure all connections are tight. Double-check your work. Safety first!
Installing The Light Fixtures
Cut a hole in the ceiling. Use a drywall saw for this. Make sure the hole fits the light fixture size. Check the measurements twice. Safety is important. Wear gloves and goggles. Ensure no wires are cut. Mark the area before cutting.
Push the fixture into the hole gently. Secure it with clips or screws. Make sure it doesn’t move. Check the fixture stability. Adjust if needed. Test before finishing. Stability avoids accidents. Make sure it’s snug.
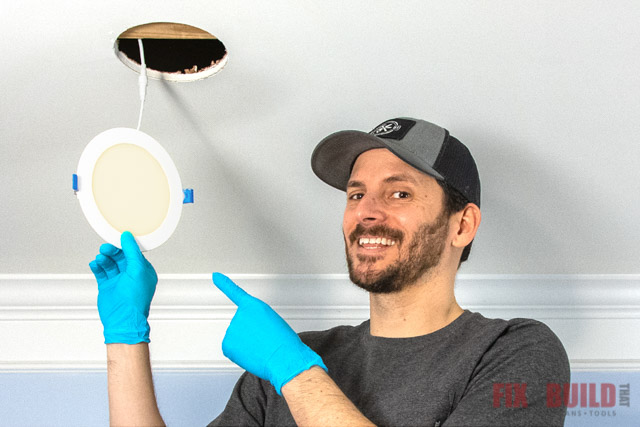
Credit: fixthisbuildthat.com
Testing And Adjusting
Ensuring recessed lighting works correctly involves testing and adjusting the fixtures. Check the alignment and brightness. Adjust angles for optimal illumination.
Turning On Power
Turn on the power at the circuit breaker. Use a switch to test the lights. Be careful when handling electrical components. Ensure all connections are secure. Safety is important. Do not touch bare wires. You should see the lights illuminate. If not, check the wiring connections. Verify the bulbs are installed correctly. Sometimes bulbs may be loose. Adjust them gently if necessary.
Checking Light Functionality
Observe the light brightness. Adjust dimmers if installed. Make sure lights are evenly lit. Check for flickering. Flickering can indicate a loose connection. Inspect each light fixture. Ensure proper installation. Replace any faulty bulbs. Confirm all lights are functioning. Test each light switch. Ensure they operate smoothly. Listen for buzzing sounds. Buzzing can indicate a problem. Take corrective actions if needed.
Finishing Touches
Adding trim completes the look of your recessed lighting. Choose the right trim for your style. There are many types: baffle, reflector, and adjustable. Each type gives a different light effect. Carefully fit the trim into place. Make sure it’s secure and even. The trim should sit flush with the ceiling. This helps it look neat and tidy. Check that the light works. Turn the switch on and off. All lights should glow brightly.
Cleaning the area is important after installation. Dust and debris might have fallen. Use a damp cloth to wipe the area. Clean the trim too. This keeps it shiny and new. Check for any leftover tools. Store them safely. A clean work area looks nice. It also prevents accidents. Now, your ceiling lights are ready to shine!

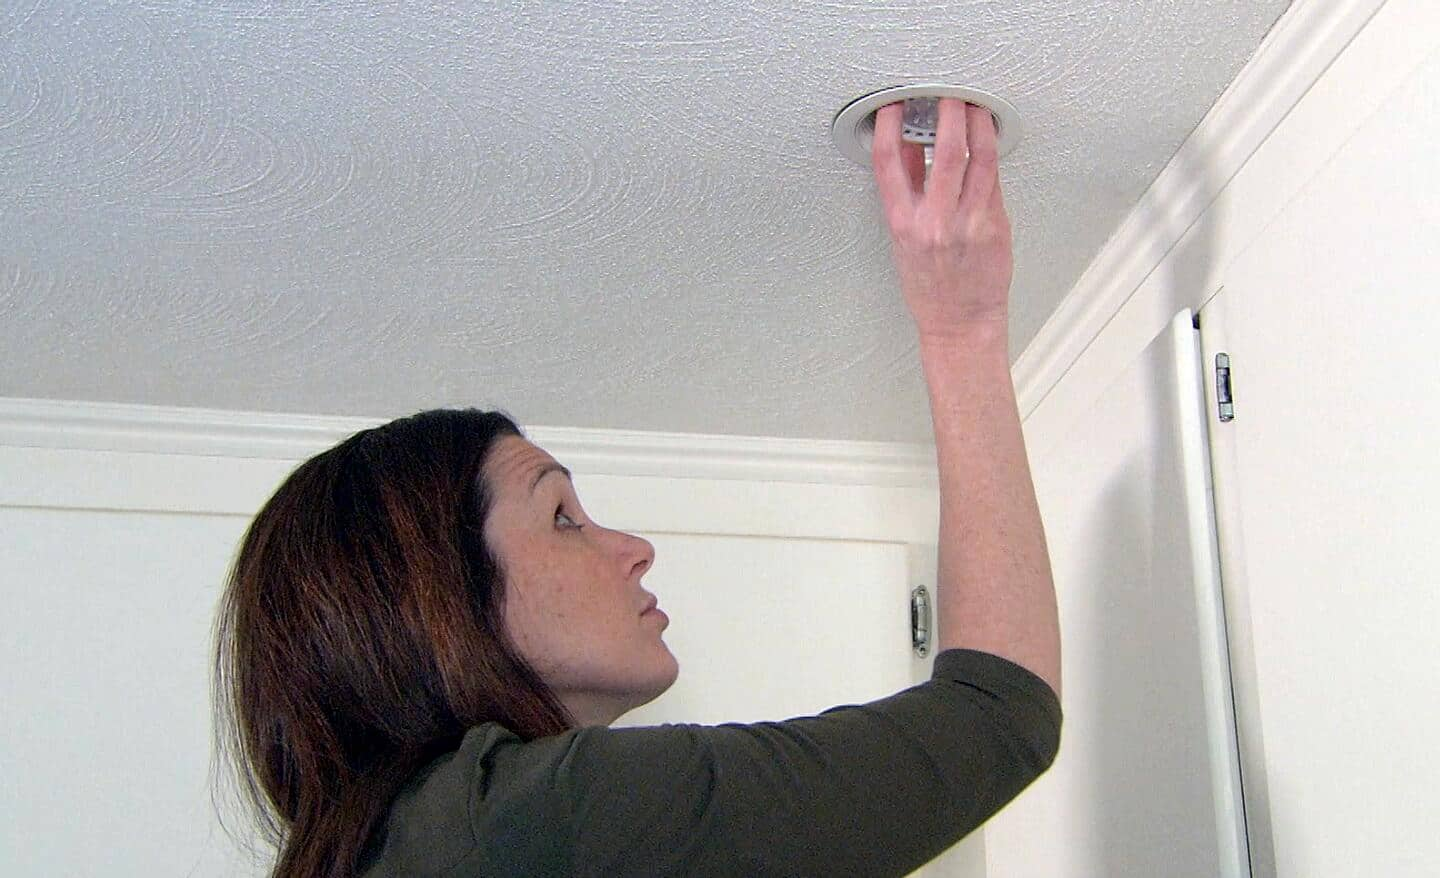
Credit: www.youtube.com
Frequently Asked Questions
Can I Install Recessed Lighting Myself?
Yes, you can install recessed lighting yourself. Ensure you have basic electrical knowledge and tools. Always turn off the power before starting. Follow the manufacturer’s instructions carefully. Consulting an electrician is advisable for complex installations. Safety should be your top priority during the process.
Can Recessed Lights Be Installed In An Existing Ceiling?
Yes, recessed lights can be installed in an existing ceiling. Professional installation ensures safety and optimal placement. Choose compatible fixtures and check wiring accessibility. Consider hiring an electrician for best results. Proper installation enhances room lighting and aesthetics.
How Are Recessed Lights Attached To The Ceiling?
Recessed lights are attached to the ceiling using mounting brackets or bars. Electricians secure them within the ceiling cavity. The housing is then connected to the electrical wiring. Once installed, trim and bulb are added for a finished look. Proper installation ensures safety and functionality.
How Many Recessed Lights Do I Need For A 12×12 Room?
A 12×12 room typically requires 4 to 6 recessed lights. Space them evenly for balanced illumination. Consider bulb type and room purpose for optimal lighting.
Conclusion
Installing recessed lighting can transform your space. It’s a simple project for anyone. Follow the steps carefully. Gather your tools before starting. Measure and plan your layout. Always prioritize safety. Turn off the power. Cut holes precisely. Connect wires securely.
Test the lights before finishing. Enjoy the new ambiance. With patience, you achieve a professional look. Remember, practice improves your skills. Tackle each task confidently. Your room will shine brighter. Lighting changes the mood and feel. Recessed lights fit any style.
They’re versatile and elegant. Now, you know how to install them. Brighten your home today!