
Quick Summary
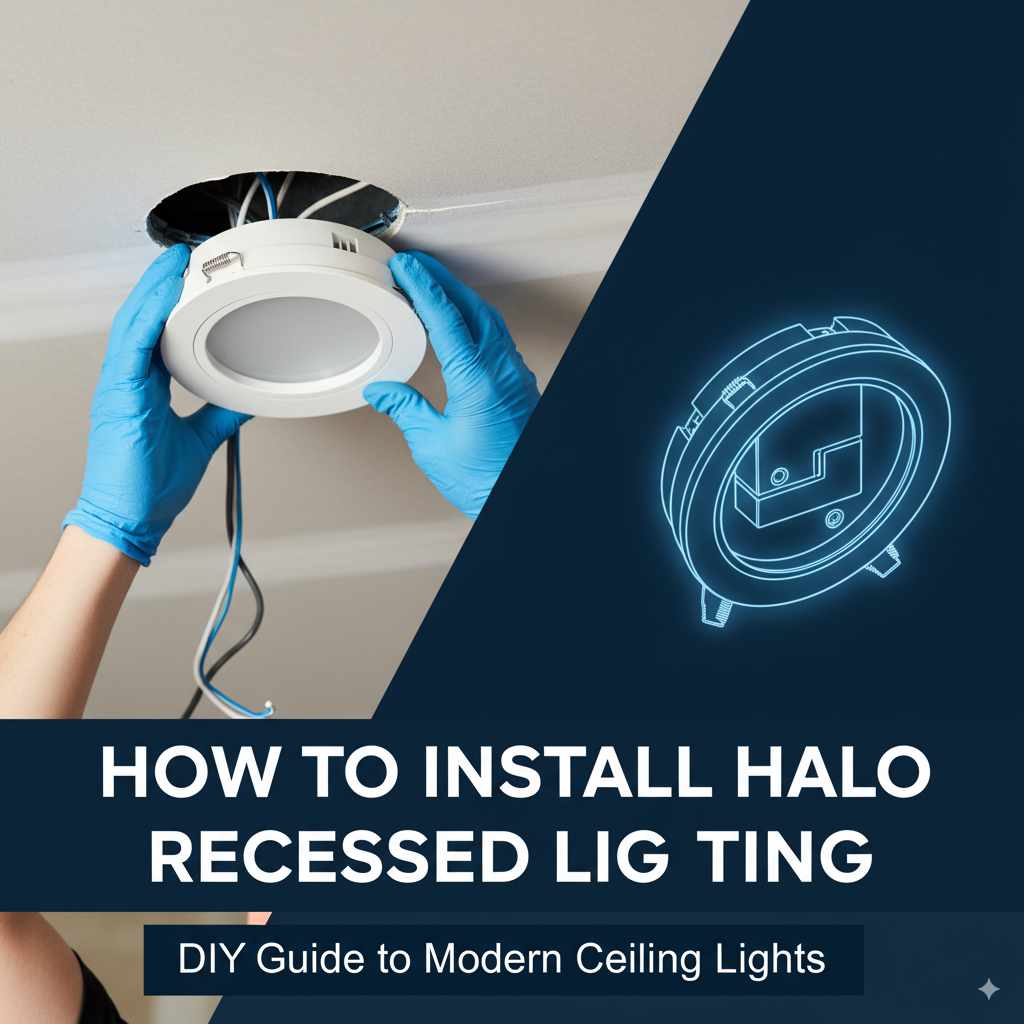
Installing Halo recessed lighting is a manageable DIY project. This guide provides clear, step-by-step instructions for homeowners, covering everything from choosing the right fixtures to safely wiring them, ensuring a professional look and improved home ambiance.
Ever looked at a room and thought, “It just needs a little something more”? Often, that “something” is beautiful, ambient light. Recessed lighting, also known as can lighting, can transform a space, offering a clean, modern look without taking up valuable visual real estate. But the thought of tackling such a project can feel daunting, especially when dealing with electricity. Don’t worry! Installing Halo recessed lighting is a rewarding DIY project that’s more achievable than you might think. We’ll walk through each step, from understanding your needs to flipping that final switch, making sure you feel confident and capable.
This guide is designed for you, the homeowner who wants to bring professional-looking lighting into your home without the professional price tag. We’ll break down the process into simple, easy-to-follow steps, demystifying the wiring and installation. By the end, you’ll have a beautifully lit room and the satisfaction of knowing you did it yourself!
Why Choose Halo Recessed Lighting?
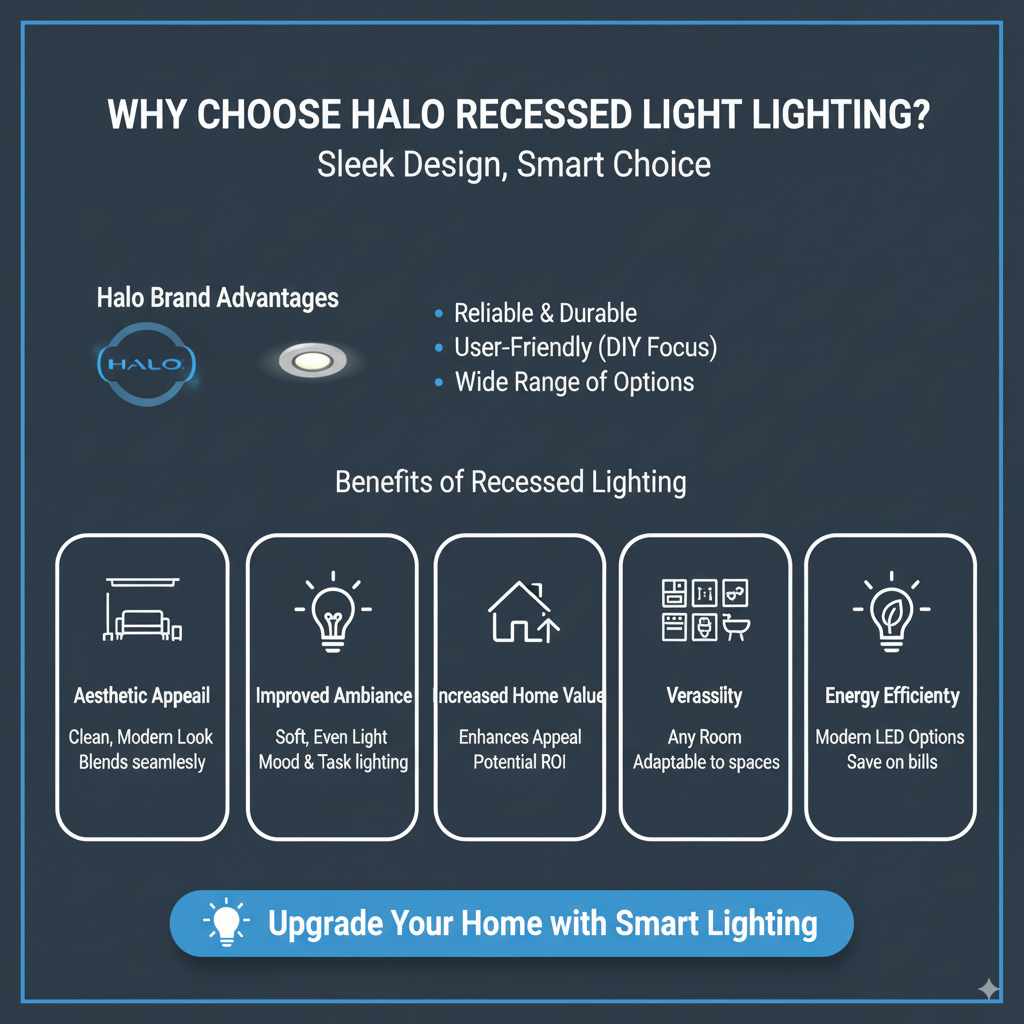
Halo is a popular brand known for its reliable and user-friendly recessed lighting products. Their systems are designed with the DIY installer in mind, often featuring innovative solutions that simplify the installation process. Choosing Halo means you’re opting for quality, durability, and a wide range of options to suit any room or style.
Benefits of Recessed Lighting
- Aesthetic Appeal: Recessed lights offer a sleek, modern look that doesn’t clutter a room. They blend seamlessly into the ceiling, providing a clean finish.
- Improved Ambiance: They create a soft, even glow, perfect for setting a mood or providing functional task lighting without harsh shadows.
- Increased Home Value: Well-designed lighting can enhance a home’s appeal and potentially increase its market value.
- Versatility: You can use them in almost any room – living rooms, kitchens, bedrooms, hallways, and even bathrooms (with appropriate fixtures).
- Energy Efficiency: Many modern recessed lighting options, especially LED versions, are highly energy-efficient, saving you money on electricity bills.
Planning Your Recessed Lighting Project
Before you grab your tools, a little planning goes a long way. Thinking through the layout, the type of lights, and the electrical requirements will make the actual installation smoother and ensure you get the best results.
Determining Light Placement
The placement of your recessed lights is crucial for both function and aesthetics. You don’t want them too close together, creating an overly bright or spotty effect, nor too far apart, leaving dark corners. A common rule of thumb is to place lights about 4 to 6 feet apart. For general room illumination, consider placing them 3 to 4 feet away from walls. This creates a “wash” of light that makes the room feel larger and more inviting.
For specific areas:
- Kitchens: Place lights directly over countertops for task lighting, and in the center of the room for general illumination.
- Living Rooms: Position lights to highlight artwork or architectural features, and in a grid pattern for overall lighting.
- Hallways: Space them evenly along the center of the hallway.
- Bathrooms: Ensure adequate lighting around mirrors and in the shower area (using damp-rated or wet-rated fixtures as needed).
A great resource for understanding lighting layout is the U.S. Department of Energy’s guidance on lighting choices, which emphasizes efficiency and effectiveness.
Choosing the Right Halo Fixtures
Halo offers various types of recessed lighting, each suited for different purposes. Understanding these will help you select the best fit for your project.
Types of Recessed Housings and Trims
Recessed lighting has two main components: the housing (the box that goes in the ceiling) and the trim (the part you see from below). You can often buy them separately or as a kit.
- New Construction Housings: These are installed when you’re building a new ceiling or attic floor. They are typically attached to ceiling joists.
- Remodel Housings: These are designed for existing ceilings. They have clips that secure them to the drywall, making them ideal for retrofitting.
- IC (Insulation Contact) Housings: These can be safely installed directly against building insulation. This is important for energy efficiency and fire safety.
- Non-IC Housings: These require a gap of about 3 inches between the housing and any insulation.
Common Trim Types:
- Baffle Trim: Features concentric rings that reduce glare. Great for general lighting.
- Reflector Trim: Has a shiny surface to direct light downwards.
- Gimbal Trim: Allows you to aim the light in a specific direction, perfect for accent lighting.
- Opal/Diffusion Trim: Provides a softer, more diffused light.
- Wet/Damp Location Trims: Essential for bathrooms, kitchens, or outdoor soffits where moisture is present.
LED Integrated vs. Bulb Recessed Lights:
- LED Integrated: These fixtures have the LED light source built-in. They are energy-efficient, long-lasting, and often come with dimming capabilities.
- Bulb Recessed Lights: These use standard screw-in bulbs (like BR30 or PAR30 LED bulbs). This offers flexibility if you want to change bulb types or brightness later.
Electrical Considerations
This is where safety is paramount. You’ll need to determine if you have sufficient electrical capacity for new lights and where you’ll connect them.
- Circuit Load: Ensure your existing circuit can handle the added wattage of the new lights. You can find the wattage on the light fixture or bulb. Overloading a circuit can trip breakers or, worse, pose a fire hazard. For significant additions, you might need a new circuit. Consult a qualified electrician if you’re unsure.
- Wiring: You’ll need to run electrical cable (usually 14/2 or 12/2 NM-B wire, depending on your circuit breaker’s amperage) from the power source to each light.
- Switching: Decide how you want to control your lights. Will they all be on one switch? Multiple switches for different zones? Consider smart switches for added convenience and control.
Tools and Materials You’ll Need
Gathering all your tools and materials before you start will save you time and frustration. Here’s a comprehensive list:
Essential Tools
- Safety Glasses: Always protect your eyes!
- Work Gloves: To protect your hands.
- Utility Knife: For cutting drywall.
- Stud Finder: To locate ceiling joists and avoid them if necessary.
- Drywall Saw or Oscillating Multi-Tool: For cutting precise holes in the drywall.
- Wire Strippers/Cutters: For preparing electrical wires.
- Screwdriver Set: Phillips and flathead.
- Voltage Tester (Non-Contact): Absolutely crucial for ensuring the power is off.
- Measuring Tape: For accurate placement.
- Pencil: For marking.
- Ladder: A sturdy, stable ladder.
- Drill with Bits: For pilot holes and driving screws.
- Fish Tape (Optional): Useful for pulling wires through walls or ceilings.
- Caulk Gun (Optional): For sealing around openings if needed.
Materials
- Halo Recessed Lighting Fixtures (Housings and Trims or Kits): Based on your planning.
- Electrical Cable (NM-B Wire): Appropriate gauge (e.g., 14/2 for 15-amp circuits, 12/2 for 20-amp circuits).
- Wire Connectors (Wire Nuts): Various sizes.
- Electrical Box (if needed): For making connections.
- Circuit Breaker (if adding a new circuit).
- Junction Boxes: Often integrated into the housing, but check.
- Screws and Fasteners: For mounting.
- Light Bulbs (if using bulb-type fixtures): Ensure they are compatible with the fixture and desired brightness/color temperature.
Step-by-Step Installation Guide
Now for the exciting part! Follow these steps carefully. Remember, safety first – always turn off the power at the breaker before you begin any electrical work.
Step 1: Turn Off Power and Verify
Go to your home’s electrical panel (breaker box) and locate the breaker that controls the circuit you’ll be working on. Flip it to the OFF position. To be absolutely sure, use your non-contact voltage tester at the existing light fixture or junction box where you plan to tap into power. Test the tester on a known live circuit first to confirm it’s working.
Step 2: Mark Your Layout
Using your measuring tape, pencil, and stud finder, mark the exact locations for each recessed light fixture on the ceiling. Double-check your measurements to ensure they are evenly spaced and at the desired distance from walls. If you’re installing in an area with joists, you’ll need to plan around them or use specialized joist-spanning housings.
Step 3: Cut the Drywall Holes
For remodel housings, you’ll typically trace the template provided with the fixture onto the ceiling at your marked locations. Then, use your drywall saw or oscillating tool to carefully cut out the circles. For new construction, the housing is usually attached to joists before drywall is installed, and the hole is already there or cut during the drywall phase.
Pro Tip: Before cutting, poke a small pilot hole in the center of your marked circle. Reach through this hole with a wire or a bent coat hanger to feel for any obstructions like wires or pipes above the ceiling.
Step 4: Run the Electrical Wire
This is often the most challenging part. You need to run the electrical cable from your power source (an existing junction box, switch, or a new circuit) to each new light location. Plan the most efficient path. You might need to access the attic or crawl space. Feed the cable through the joists or use appropriate cable management techniques. Leave about 8-12 inches of extra wire at each opening for making connections.
If you’re uncomfortable running wires, or if your layout is complex, this is a good point to call in an electrician. According to the Occupational Safety and Health Administration (OSHA), electrical work carries significant risks, and proper training and adherence to safety standards are critical.
Step 5: Install the Recessed Housings
For remodel housings, push the housing up through the hole in the drywall. The spring-loaded clips will engage with the back of the drywall, securing the housing in place. Make sure it’s snug against the ceiling. For new construction housings, they are typically nailed or screwed directly to the ceiling joists before the drywall goes up.
Step 6: Make Electrical Connections
This is where you connect the wires. At each fixture location:
- Remove about 6 inches of the outer sheathing from the electrical cable.
- Strip about 1/2 to 3/4 inch of insulation from the ends of the black (hot), white (neutral), and bare copper (ground) wires.
- Connect the wires from the power source to the fixture’s wires using wire nuts. The black wire connects to the black wire, white to white, and ground to ground.
- Tuck all the wires neatly into the junction box on the housing.
Important: Always match wire colors. If you encounter different colored wires or are unsure, stop and consult an electrician.
Step 7: Attach the Trim and Bulb
Once the housing is secure and wired, it’s time to install the trim. Most Halo trims have a socket or clips that attach to the housing. Push the trim up into the housing until it snaps or locks into place. If you are using a bulb-type fixture, screw in your chosen LED bulb. Ensure the bulb is the correct wattage and type for the fixture.
Step 8: Restore Power and Test
Go back to your electrical panel and flip the breaker back ON. Go to the switch and turn on your new lights. Check that all fixtures illuminate correctly. If a light doesn’t work, turn the power OFF again and re-check your wiring connections. Ensure the bulb is screwed in properly and the breaker is fully engaged.
Table: Common Recessed Lighting Issues and Solutions
Even with careful planning, you might encounter minor hiccups. Here’s a quick guide to troubleshooting:
| Problem | Possible Cause | Solution |
|---|---|---|
| Light flickers or doesn’t turn on | Loose wire connection | Turn off power, re-check all wire nut connections. Ensure wires are stripped correctly. |
| Light flickers or doesn’t turn on | Faulty bulb (if applicable) | Replace the bulb. Try a known working bulb. |
| Light flickers or doesn’t turn on | Tripped breaker | Check the breaker box. If tripped, reset it. If it trips again, there’s a short circuit – call an electrician. |
| Fixture is loose in the ceiling | Clips not fully engaged or faulty clips | Turn off power. Push the housing firmly into the ceiling and ensure clips are secure. |
| Dim light output | Incorrect bulb wattage or type | Ensure you’re using the correct bulb type and wattage recommended for the fixture. Check if LED bulb is compatible with dimmer if applicable. |
| Breaker trips immediately | Short circuit in wiring or fixture | Immediately turn off power. Do not attempt to reset. Call a qualified electrician. |
Safety First! Essential Precautions
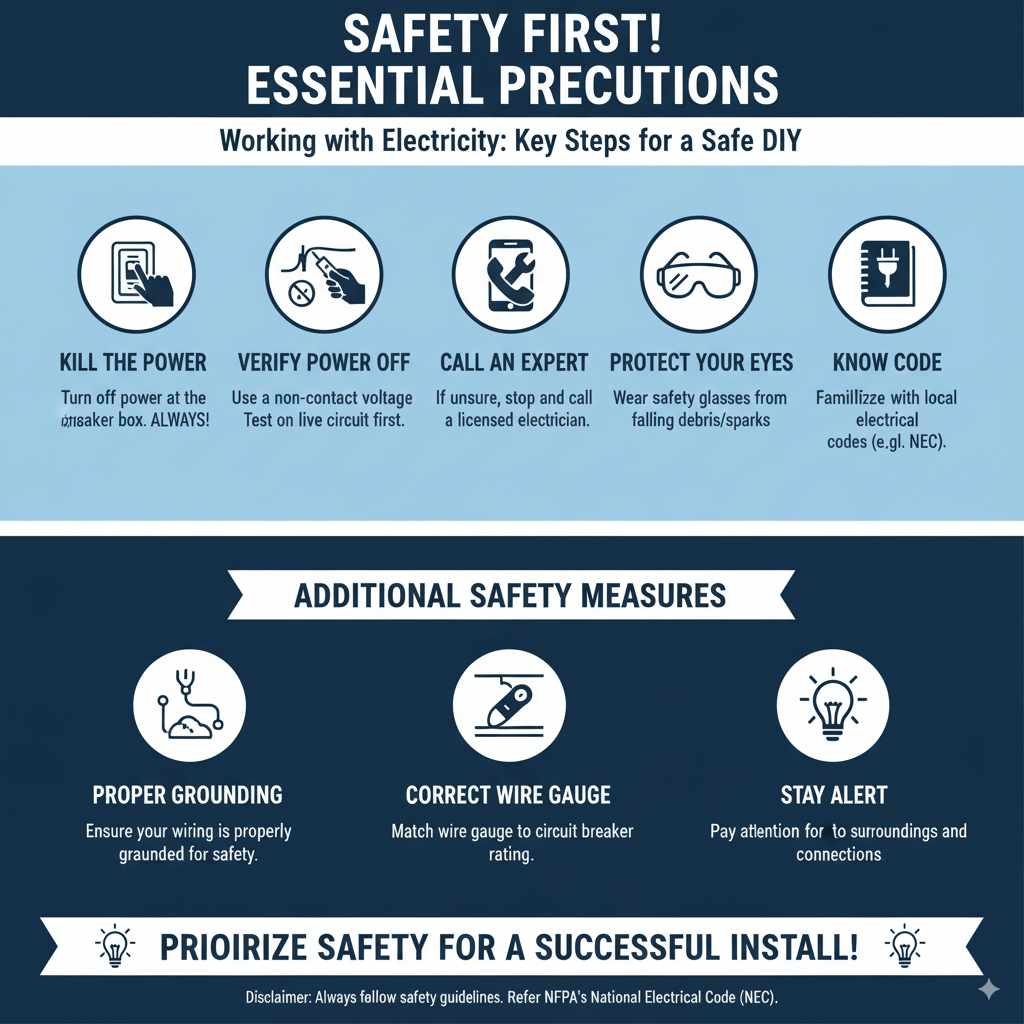
Working with electricity is serious business. Always prioritize safety. Here are some key precautions:
- ALWAYS turn off power at the breaker box before touching any wires or making connections.
- Verify power is off with a non-contact voltage tester. Test the tester on a live circuit first.
- If you are ever unsure about any step, especially the electrical connections, stop and call a licensed electrician.
- Wear safety glasses to protect your eyes from falling debris or sparks.
- Use a sturdy, stable ladder. Ensure it’s on a level surface.
- Familiarize yourself with local electrical codes. The National Electrical Code (NEC) is a comprehensive standard for electrical installations in the US.
- Ensure your wiring is properly grounded for safety.
- Use the correct gauge wire for your circuit breaker.
Frequently Asked Questions (FAQ)
Q1: Can I install recessed lighting myself?
Yes, many homeowners successfully install recessed lighting as a DIY project. The key is careful planning, having the right tools, and following safety procedures meticulously, especially when dealing with electrical wiring. If you’re not comfortable with electrical work, it’s always best to hire a qualified electrician.
Q2: How many recessed lights do I need for a room?
The number of lights depends on the room size, ceiling height, and desired lighting effect. A common guideline for general illumination is to place lights 4-6 feet apart. For a 10×10 room, you might need 4-6 lights. For task lighting (like over a kitchen counter), you’ll place them closer to the work area.
Q3: What’s the difference between remodel and new construction housings?
New construction housings are designed to be installed in an open ceiling frame before drywall is applied. They attach directly to joists. Remodel housings are designed for existing ceilings; they are inserted through a hole in the drywall and secured with clips that grip the back of the drywall.
Q4: Can I install recessed lights near insulation?
Yes, but you must use IC-rated (Insulation Contact) housings. These are specifically designed to be safely installed directly against insulation without posing a fire hazard. Non-IC housings require a minimum clearance from insulation.
Q5: What type of bulbs should I use for recessed lighting?
LED bulbs are highly recommended for recessed lighting due to their energy efficiency, long lifespan, and variety of color temperatures and brightness levels. Ensure the bulb’s form factor (e.g., BR30, PAR30) and base type match your fixture. Check the fixture’s maximum wattage rating.
Q6: Do I need a special dimmer switch for LED recessed lights?
Often, yes. Many LED fixtures and bulbs require an LED-compatible dimmer switch. Using a standard dimmer with an LED light can cause flickering, buzzing, or premature failure. Check the specifications for both your light fixture and your dimmer switch to ensure compatibility.
Conclusion
You’ve done it! By following these steps, you’ve learned how to install Halo recessed lighting, transforming your space with beautiful, functional illumination. Remember, taking the time for careful planning, using the right tools, and prioritizing safety are the cornerstones of any successful DIY electrical project. The satisfaction of flipping that switch and seeing your room come alive with new light is incredibly rewarding. Don’t be afraid to tackle projects like these; with clear guidance and a commitment to safety, you can enhance your home’s beauty and value one project at a time. Enjoy your newly lit space!