
Are you tired of your mail being left in inconvenient places or getting wet on rainy days? Installing your own mailbox is a simple yet effective solution.
You don’t need to be a DIY expert to get it done. With just a few tools and some straightforward steps, you can have a sturdy mailbox ready to serve you. Imagine the convenience of having all your letters and packages neatly waiting for you in one secure spot.
This guide will walk you through the installation process, ensuring you have a stress-free experience. Stick around to discover how easy it can be to transform the way you receive your mail. Your perfect mailbox setup is just a few steps away!
Choosing The Right Mailbox
Many mailbox types exist. Some stand alone, while others attach to walls. Freestanding mailboxes are common. They are easy to spot by the road. Wall-mounted boxes are great for homes with little yard space. They attach to the house wall. A locking mailbox keeps mail secure. It is a good choice if theft is a concern.
Mailboxes come in different materials. Metal mailboxes last long. They can handle harsh weather. Plastic mailboxes are light and less costly. They might fade under the sun. Wooden mailboxes look nice. They need more care and can rot if wet. Choose a material that suits your area’s weather.
Mailboxes have different sizes. Small mailboxes fit letters and small packages. Medium mailboxes hold more. They are good if you get many magazines. Large mailboxes are best for big packages. Think about how much mail you get. Pick a size that fits your needs.
Gathering Necessary Tools
You will need some basic tools. A shovel is needed to dig. A post level helps keep things straight. A screwdriver is for tightening screws. You will also need a tape measure. This helps you measure distance. A wrench is useful for bolts. Have these tools ready before you start.
Safety is very important. Always wear gloves to protect your hands. Safety glasses keep your eyes safe. Sturdy boots protect your feet. Use a hard hat if needed. Make sure all gear fits well. Being safe is smart.
Selecting The Location
Follow postal regulations for mailbox placement. Check local guidelines for exact rules. Mailboxes must be placed at a specific height. They should be easy for mail carriers to reach. Distance from the road matters too. Keep it safe from traffic.
Choose a spot that is easy to access. Ensure your mailbox is visible to the mail carrier. Avoid hidden or obstructed areas. Clear paths are essential for quick delivery. Make it easy for everyone to find.

Credit: www.youtube.com
Preparing The Site
First, check the ground where the mailbox will go. Make sure it’s flat and clear. Remove any rocks, twigs, or big leaves. This makes the area tidy. Clearing helps when you dig a hole later. Take your time. It’s important.
Use a stick or small flag to mark the spot. This shows where the mailbox will stand. Make sure it’s in a good place. It should be easy for mail carriers to reach. Measure the distance from the road. It should be safe and visible. Check with your local rules for the right spot.
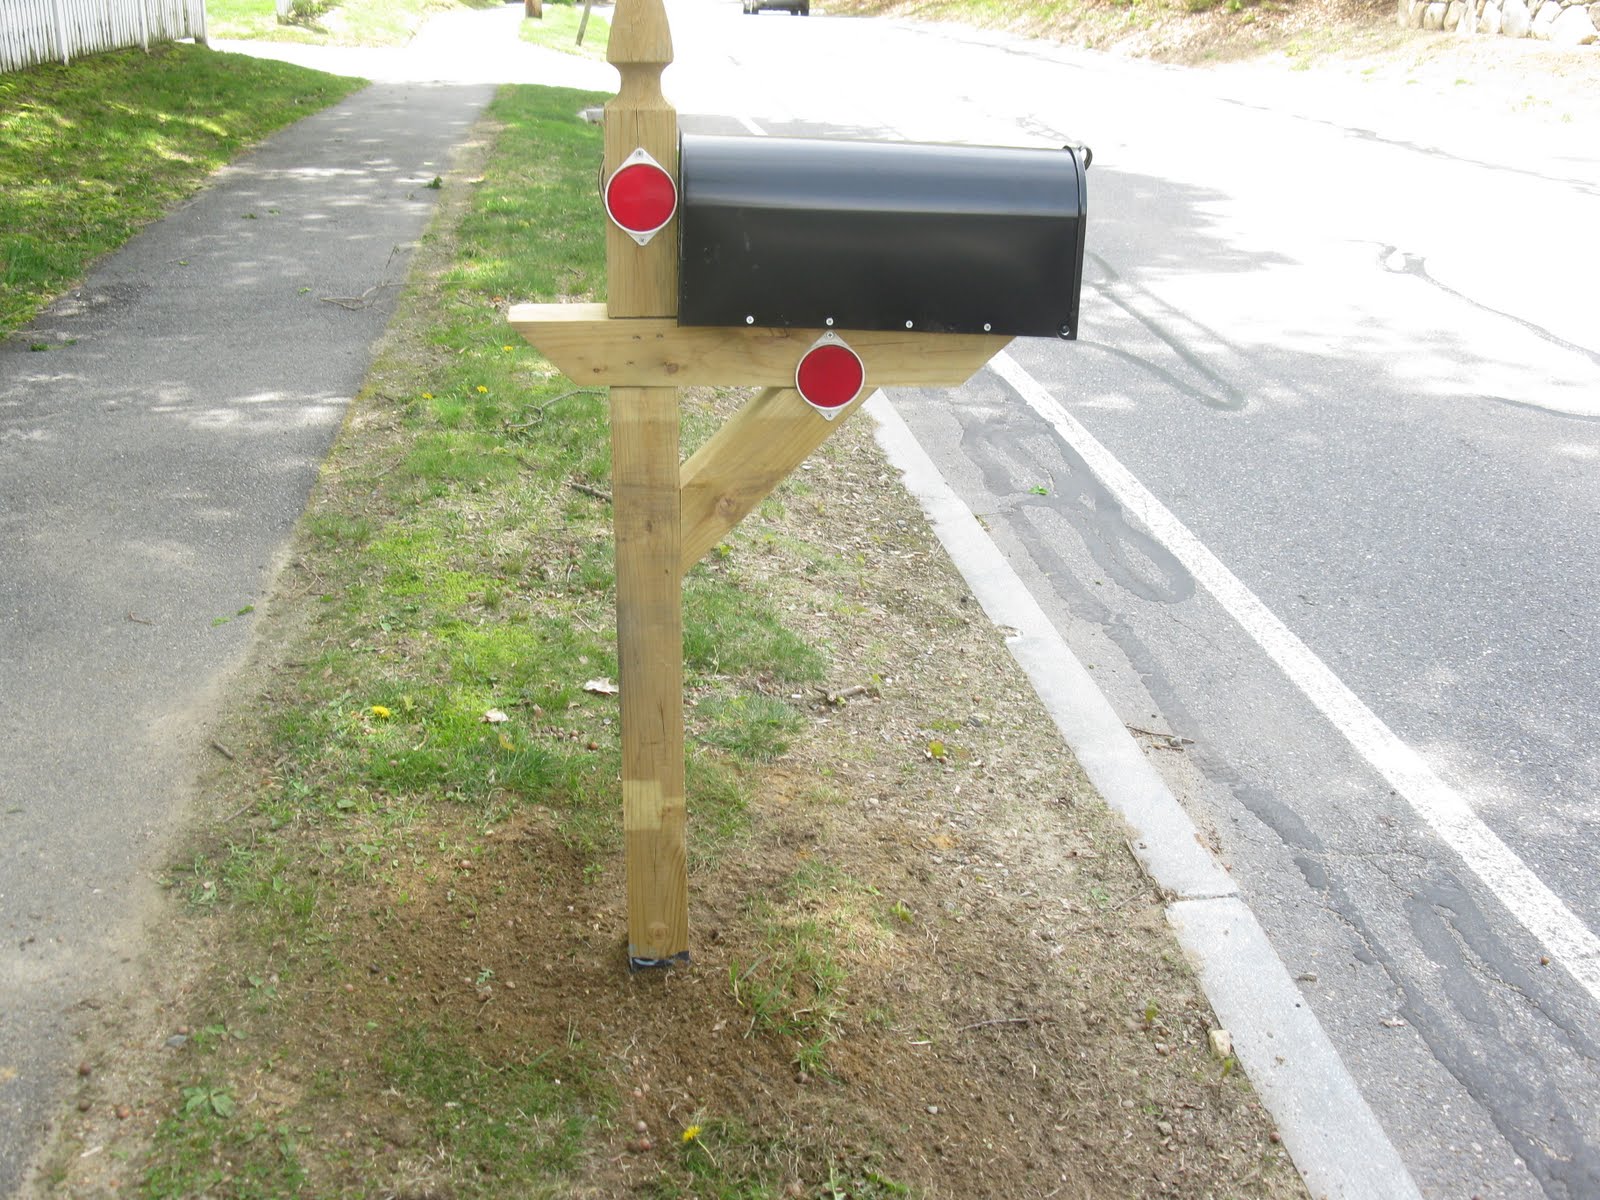
Installing The Post
Digging the Hole is the first step. Choose a spot for the mailbox. The ground should be firm. Use a shovel to dig a hole. It should be 2 feet deep. The hole must be wide enough. This will hold the post steady.
Setting the Post is next. Place the post in the hole. Make sure it stands straight. Use a level for checking. Pour concrete around the post. This keeps it strong. Wait for the concrete to dry. This might take a few hours. Once dry, the post is ready.
Credit: www.youtube.com
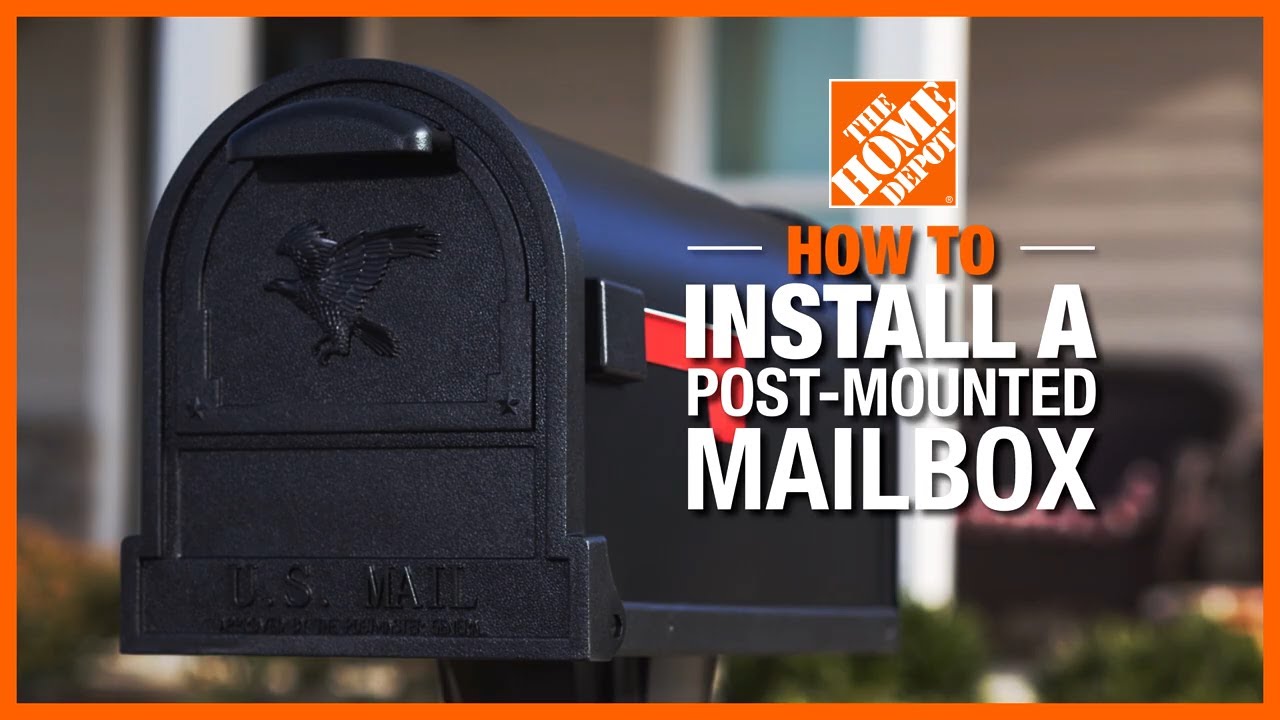
Mounting The Mailbox
Make sure the post is securely fixed in the ground. Use a sturdy post for your mailbox. You will need a few tools. A drill, some screws, and a level are important. First, hold the mailbox in place. Then, mark where you will drill. Drill holes at your marks. Use screws to attach the mailbox to the post. Make sure it is straight with the level.
Check the mailbox for stability after attaching it. Push it gently. Does it move? If yes, tighten the screws. Make sure the post is strong. It should not wobble. You can add extra support if needed. Use stakes or concrete for better support. A stable mailbox will last longer.
Finishing Touches
Make your mailbox look nice. Use bright paint colors. Decorate with stickers. Choose colors that match your house. Paint helps protect the mailbox from rain. Stickers add fun designs. Always let the paint dry fully. This keeps it looking neat.
Ensure the mailbox opens easily. Check if the door shuts tight. Test with mail inside. See if it holds well. Ensure it’s strong against wind. Make sure the flag moves easily. A strong mailbox lasts longer. Functionality is important for daily use.
Credit: www.aconcordcarpenter.com
Maintenance Tips
Always check your mailbox for damage. Loose screws can cause problems. Rust might appear on metal parts. Paint can chip off. Check the door’s hinges regularly. Ensure it closes tightly. Water can seep inside if not. Remove any debris inside. Leaves can block the mailbox. Bugs might make homes in there. Clean the mailbox once a month. Use soap and water. Dry it well with a towel. Check the flag for damage too. It should move easily.
Protect your mailbox from rain and snow. Use a cover during storms. It can keep the mailbox dry. Apply wax to protect the paint. It helps against sun damage. Waterproof sealant is useful. Apply it to the edges. Wind can be strong. Ensure mailbox is secure. Check the post is stable. Fix it if it’s loose. Snow can pile around the base. Clear it regularly. Keep the mailbox area clean and safe.
Frequently Asked Questions
Can I Install A Mailbox Myself?
Yes, you can install a mailbox yourself. Ensure compliance with local regulations. Use proper tools and materials. Follow installation guidelines for safety and effectiveness. Consider the mailbox’s height and distance from the road for easy access.
Should A Mailbox Post Be Set In Concrete?
Setting a mailbox post in concrete provides stability and durability. It prevents tilting or falling over time. Concrete anchors the post securely, especially in areas with heavy winds or unstable soil. Ensure the post is level and straight before the concrete sets for optimal performance.
Can I Just Add A Mailbox To My House?
Yes, you can add a mailbox to your house. Ensure it complies with local postal regulations. Contact your local post office for guidelines on placement and height. Proper installation helps ensure mail delivery without issues.
What Do I Need To Do To Install A Mailbox?
To install a mailbox, choose a location and ensure it’s accessible. Use a post or wall mount. Secure it firmly using screws or brackets. Follow local guidelines for height and placement. Check for any postal service requirements for your area.
Conclusion
Installing a mailbox can be simple and rewarding. Follow the steps carefully. Double-check all measurements to ensure accuracy. Secure the post firmly for stability. Choose a location that’s convenient yet safe. Consider local regulations and guidelines. Use quality materials to ensure durability.
A well-installed mailbox adds curb appeal. It also makes receiving mail easier. Enjoy the satisfaction of a job well done. With patience and care, your mailbox will last. Happy mailing!