
Quick Summary:
Installing a ballast involves safely disconnecting power, accessing the old ballast, removing it, connecting the new ballast according to wiring diagrams, and reassembling the fixture. This guide simplifies the process, ensuring a safe and successful repair for your fluorescent lights.
Does a flickering or stubbornly dark fluorescent light have you scratching your head? You’re not alone! A faulty ballast is often the culprit, and replacing it might seem like a daunting task. But don’t worry, with a few simple tools and this step-by-step guide, you can tackle this common home repair project with confidence. We’ll walk you through everything you need to know, making the process safe, straightforward, and surprisingly achievable. Let’s get your lights shining bright again!
Understanding Your Fluorescent Light Fixture
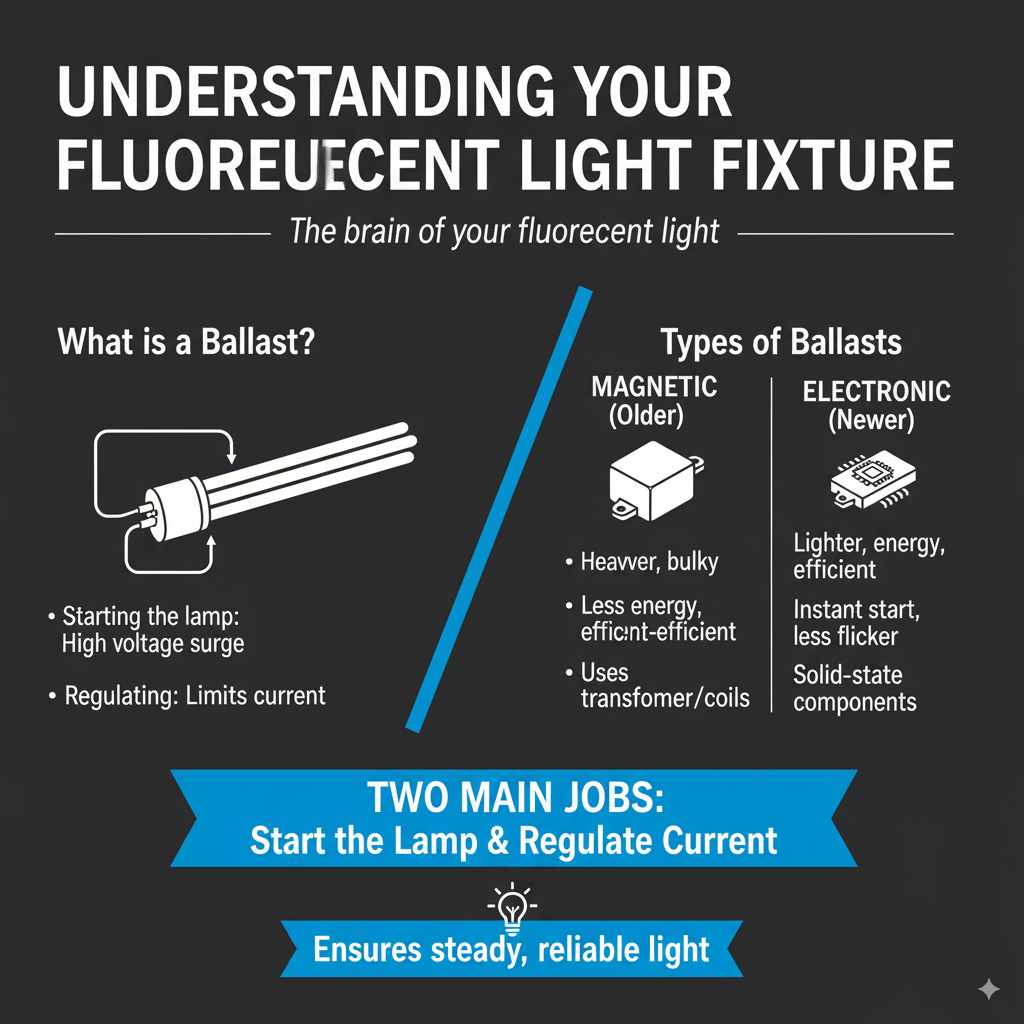
Before we dive into the “how-to,” let’s briefly touch upon what a ballast is and why it’s so important. Think of the ballast as the brain of your fluorescent light. It’s a crucial component that regulates the voltage and current going to the fluorescent tube. Without it, the tube wouldn’t get the initial jolt of power it needs to start, nor would it maintain a steady glow. Instead, you’d get flickering, dim light, or no light at all.
Fluorescent lights work by passing an electric current through a gas inside the tube. This process excites a coating on the inside of the tube, causing it to emit light. The ballast does two main jobs:
- Starting the lamp: It provides a high voltage surge to initiate the arc within the tube.
- Regulating the current: Once the arc is established, it limits the current to prevent the tube from burning out too quickly.
There are two main types of ballasts you’ll commonly encounter in residential settings:
- Magnetic Ballasts (Older): These are heavier, bulkier, and less energy-efficient. They use a transformer and coils. If your fixture is older, you likely have a magnetic ballast.
- Electronic Ballasts (Newer): These are lighter, more energy-efficient, and often provide instant start-up with less flicker. They use solid-state electronic components.
Knowing which type you have can be helpful, but the replacement process is generally similar, with the main difference being the wiring complexity. This guide will cover the general steps applicable to most common residential fluorescent fixtures.
When Do You Need to Replace a Ballast?
Several signs indicate that your ballast might be failing and needs replacement. Recognizing these symptoms early can save you from further electrical issues and ensure your lights function correctly.
Common Signs of a Failing Ballast:
- Flickering Lights: This is the most common sign. If the light flickers constantly before coming on, or flickers erratically while on, the ballast could be the issue.
- Humming or Buzzing Sounds: While some ballasts produce a faint hum, a loud, persistent buzzing or humming noise often signifies a problem.
- Dim or Faded Light: If the light output has significantly decreased over time, even with a new bulb, the ballast might not be providing enough power.
- Light Won’t Turn On: If you’ve replaced the fluorescent tube and the light still doesn’t come on, the ballast is a prime suspect.
- Discoloration or Damage: Visually inspect the ballast if possible. Any signs of bulging, discoloration, or leaking oil suggest it has failed and should be replaced immediately.
It’s important to note that sometimes, a flickering or non-functioning light can be caused by a bad bulb or a loose connection. Always try replacing the bulb first, as it’s the simplest and cheapest fix. If that doesn’t solve the problem, then it’s time to consider the ballast.
Safety First! Essential Precautions Before You Start
Working with electricity can be dangerous if not done properly. Your safety is paramount. Before you even think about touching your light fixture, follow these critical safety steps:
- Turn Off the Power: This is non-negotiable. Locate the circuit breaker that controls the light fixture in your main electrical panel and switch it OFF. If you’re unsure which breaker it is, turn off the main breaker for your entire home to be absolutely safe.
- Verify Power is Off: After flipping the breaker, use a non-contact voltage tester to confirm that there is no power at the fixture. Test the wires you’ll be working with. This step is crucial to prevent electric shock. You can find reliable voltage testers at any hardware store.
- Let it Cool Down: Fluorescent tubes and ballasts can get hot during operation. Allow the fixture to cool down for at least 10-15 minutes after turning off the power before you begin working.
- Wear Safety Glasses: Protect your eyes from dust, debris, or any potential small parts that might fall from the fixture.
- Work in a Well-Lit Area: While you’re fixing a light, it can be tricky to work in the dark. Use a good portable work light or headlamp to ensure you can see what you’re doing clearly.
- Use Insulated Tools: If possible, use tools with insulated handles. This provides an extra layer of protection against accidental contact with live wires.
Never attempt this repair if you are uncomfortable working with electricity or if you suspect any deeper electrical issues in your home. In such cases, it’s always best to consult a qualified electrician.
Tools and Materials You’ll Need
Gathering all your supplies before you start will make the process much smoother. Here’s a list of what you’ll likely need:
Essential Tools:
- Screwdrivers: A Phillips head and a flathead screwdriver, preferably with insulated handles.
- Wire Strippers/Cutters: To cut and strip wires if necessary.
- Non-Contact Voltage Tester: Absolutely essential for confirming power is off.
- Pliers: Needle-nose pliers can be helpful for maneuvering wires.
- Wire Nuts: To secure wire connections.
- Safety Glasses: To protect your eyes.
- Ladder or Sturdy Step Stool: To safely reach the fixture.
Materials:
- Replacement Ballast: This is the most important part! Ensure you purchase the correct ballast for your fixture.
- Replacement Fluorescent Tube(s): It’s a good idea to replace the bulb(s) while you’re at it, especially if they are old.
Choosing the Right Replacement Ballast:
This is a critical step. You need a ballast that matches your fixture’s specifications. Look for information on the old ballast or in your fixture’s manual. Key details to match include:
- Lamp Type: (e.g., F32T8, F40T12)
- Number of Lamps: (e.g., for 2 lamps)
- Voltage: (e.g., 120V, 277V)
- Start Type: (e.g., Instant Start, Rapid Start, Programmed Start)
- Wattage:
If you can’t find the old ballast’s label, take a picture of it and the wiring diagram, or bring the old ballast to the hardware store. Many modern ballasts are “multi-lamp” and “multi-wattage,” offering more flexibility. For more information on electrical safety and components, the Occupational Safety and Health Administration (OSHA) provides valuable resources.
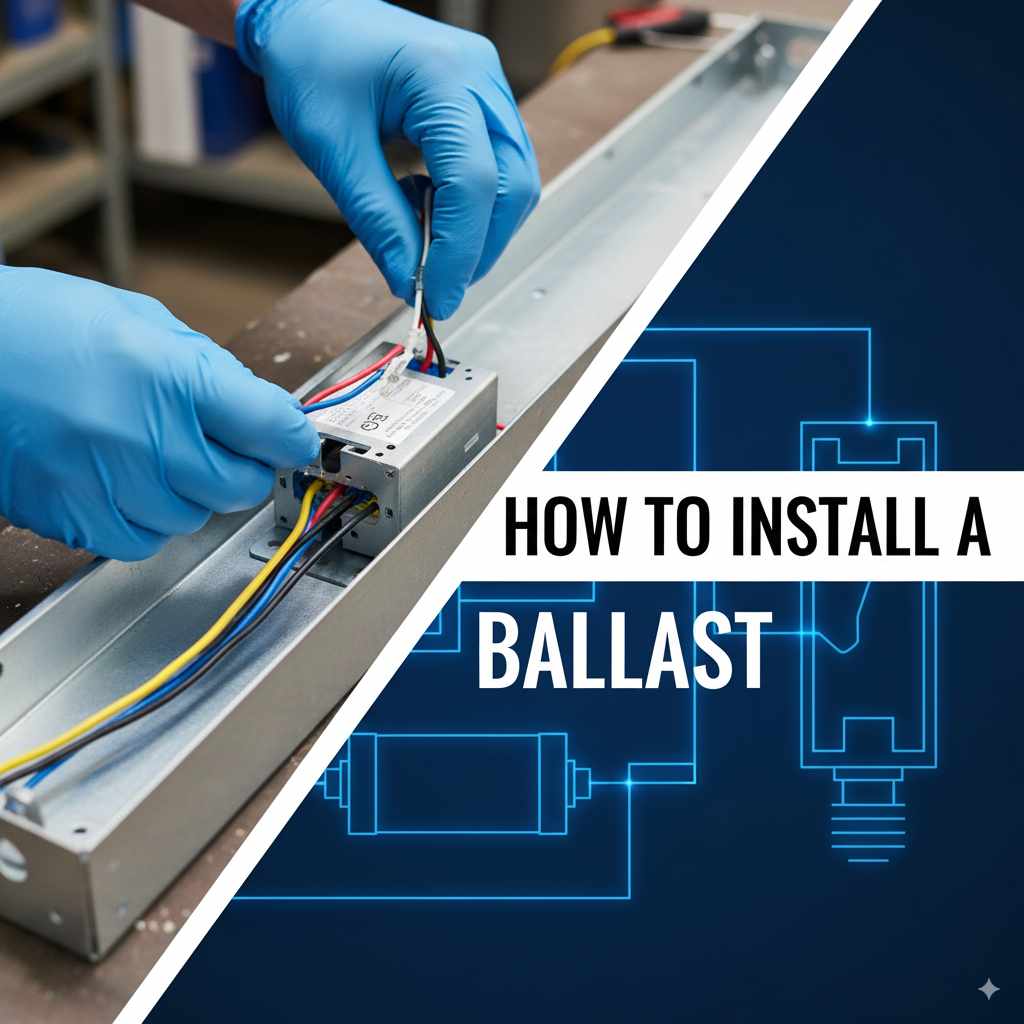
Step-by-Step Guide: How to Install a Ballast
Now that you’re prepared and have all your tools and the correct replacement ballast, let’s get to work. Remember to take your time and double-check each step.
Step 1: Safely Disconnect Power
As mentioned in the safety section, this is the absolute first step. Go to your electrical panel and flip the circuit breaker controlling the light fixture to the OFF position. Use your non-contact voltage tester at the fixture to confirm the power is indeed off.
Step 2: Access the Ballast
Most fluorescent fixtures have a cover or lens that needs to be removed to access the internal components. This is usually held in place by clips, screws, or a sliding mechanism. Carefully remove the lens and set it aside. Then, remove the fluorescent tube(s) by gently twisting and pulling them out of their sockets. Again, set the tubes aside carefully.
Once the tubes are out, you should see the ballast. It’s typically a metal or plastic rectangular box. It might be secured by screws or clips. Remove any screws holding the ballast in place and carefully lift it out.
Step 3: Document the Wiring
Before disconnecting any wires from the old ballast, take clear photos with your phone or draw a diagram of how everything is connected. Note the color of each wire and where it connects to the ballast and the fixture’s internal wiring. This is your roadmap for connecting the new ballast. Many ballasts will also have a wiring diagram printed on them or a separate label.
Step 4: Disconnect the Old Ballast
The wires are usually connected using wire nuts or push-in connectors. Carefully remove the wire nuts by unscrewing them counter-clockwise. If you have push-in connectors, there might be a small tab to press to release the wire. Gently pull the wires away from the old ballast. Be careful not to damage the wires coming from the fixture itself.
Step 5: Install the New Ballast
Place the new ballast in the same position as the old one. Secure it using the original screws or clips. Ensure it’s firmly in place.
Step 6: Connect the New Ballast Wiring
This is where your photos or diagram come in handy. Refer to the wiring diagram on the new ballast and your documented connections from the old ballast. Connect the wires from the fixture to the corresponding terminals on the new ballast. For most ballasts, you’ll:
- Connect power input wires: Typically black (line) and white (neutral) wires from your house wiring will connect to the corresponding input terminals on the ballast.
- Connect ballast output wires: These wires go to the fluorescent tube sockets. Follow the diagram precisely, as wire colors and positions are crucial for proper operation and safety.
- Connect ground wire: There’s usually a green or bare copper wire that connects to the fixture’s metal casing for grounding.
Use wire nuts to secure all connections. Twist the wire nut firmly clockwise until snug. Give each wire a gentle tug to ensure it’s secure. If you’re unsure about any connection, consult the ballast’s manual or a qualified electrician.
Understanding Ballast Wiring Diagrams
Ballast wiring diagrams can look complex, but they are designed to be followed systematically. Here’s a general breakdown of what you’ll see:
| Diagram Element | Meaning |
|---|---|
| Lines representing wires | Show the path of electricity. |
| Circles or squares with wire colors inside | Indicate connection points for specific colored wires. |
| Labels (e.g., “Line,” “Neutral,” “Lamp 1,” “Lamp 2”) | Identify the function of each connection. |
| Arrows | May indicate the direction of current flow or the order of operations. |
Always prioritize the diagram provided with your new ballast, as wiring can vary between manufacturers and models. If the diagram seems unclear, look for a video tutorial specific to your ballast model online, or seek professional help.
Step 7: Reinstall the Fluorescent Tube(s) and Lens
Once all wiring is securely connected, carefully reinsert the fluorescent tube(s) into their sockets. Make sure they are seated properly. Then, reattach the fixture cover or lens, ensuring it’s securely fastened.
Step 8: Restore Power and Test
Go back to your electrical panel and turn the circuit breaker back ON. Head to the fixture and flip the light switch. The light should now turn on quickly and stay lit without flickering. If it works, congratulations! You’ve successfully replaced your ballast.
Troubleshooting: What if it doesn’t work?
- Double-check power: Is the breaker on? Did you accidentally trip another breaker?
- Verify wiring: Turn off the power again and meticulously re-check all your wire connections against the diagram. Loose connections are a common issue.
- Check the bulb: Is the new bulb seated correctly? Is it the right type and wattage? Try a different bulb.
- Faulty new ballast: Though rare, new components can sometimes be defective.
- Other issues: There might be a problem with the fixture’s sockets or the house wiring.
If you’ve gone through these steps and the light still isn’t working, it’s time to call a qualified electrician. They have the tools and expertise to diagnose more complex issues.
Types of Ballasts and Their Characteristics
As mentioned, understanding the type of ballast you have can be helpful, especially when purchasing a replacement. Here’s a quick look at the common types:
| Ballast Type | Characteristics | Pros | Cons |
|---|---|---|---|
| Magnetic Ballast (Older Technology) | Heavy, uses coils and transformers, can produce a noticeable hum, less energy-efficient. | Durable, often inexpensive to replace with a similar model. | Inefficient (wastes energy as heat), can cause light flicker, shorter lifespan compared to electronic. |
| Electronic Ballast (Modern Technology) | Lightweight, uses solid-state components, silent operation, highly energy-efficient, instant or rapid start. | Energy saving, instant start (no flicker), longer lifespan, can operate multiple lamps. | Can be more expensive upfront, may require rewiring if not a direct replacement. |
| Hybrid Ballast | Combines features of both magnetic and electronic. Often an upgrade path from magnetic. | More efficient than magnetic, can be a good retrofit option. | Less common than pure electronic, performance varies. |
When replacing a magnetic ballast with an electronic one, you might need to consult the wiring diagram carefully, as the connections can differ significantly. Always ensure your new ballast is compatible with your fixture and bulbs.
Maintaining Your Fluorescent Fixtures
Once you’ve successfully replaced the ballast, you’ll want to keep your fluorescent fixtures in good working order. Regular maintenance can extend their lifespan and ensure optimal performance.
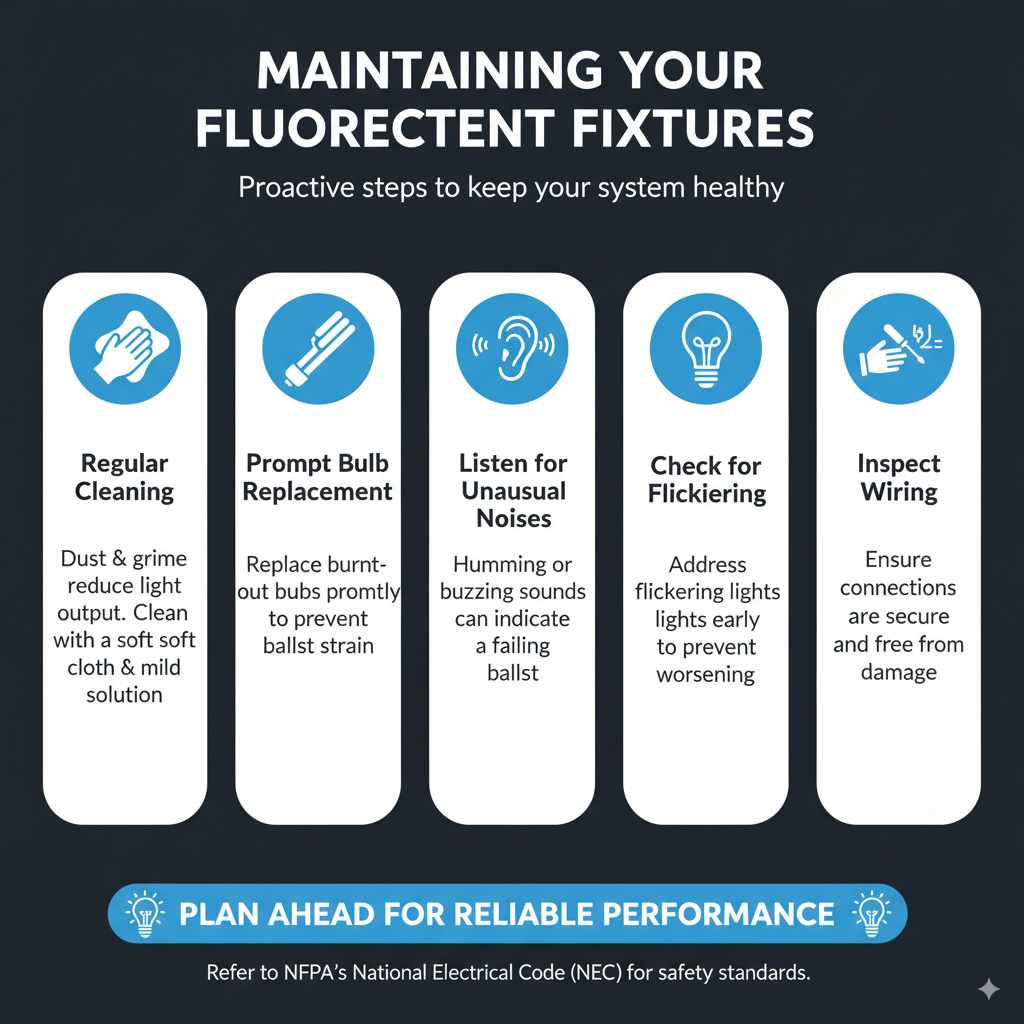
Tips for Maintenance:
- Regular Cleaning: Dust and grime can accumulate on the lens and bulbs, reducing light output. Clean them periodically with a soft cloth and mild cleaning solution.
- Prompt Bulb Replacement: When a bulb burns out, replace it promptly. Leaving a fixture with a dead bulb for extended periods can sometimes put extra strain on the ballast.
- Listen for Unusual Noises: Pay attention to any new humming or buzzing sounds, as these can be early indicators of a failing ballast.
- Check for Flickering: Address flickering lights as soon as they appear, rather than waiting for them to worsen.
- Inspect Wiring: Periodically, especially if you notice issues, perform a visual inspection of the wiring connections to ensure they are still secure and free from damage.
By following these simple maintenance tips, you can help ensure your fluorescent lighting systems continue to function reliably for years to come. For further information on electrical safety standards, you can refer to resources from organizations like the National Fire Protection Association (NFPA), which publishes the National Electrical Code (NEC).
Frequently Asked Questions (FAQ)
Q1: How long does a ballast typically last?
A: The lifespan of a ballast can vary greatly depending on its type, quality, and operating conditions. Magnetic ballasts typically last between 10 to 20 years, while electronic ballasts, being more robust and efficient, can often last 20 to 30 years or even longer.
Q2: Can I replace a magnetic ballast with an electronic one?
A: Yes, absolutely! In fact, it’s often recommended as an upgrade due to the energy efficiency and performance benefits of electronic ballasts. However, you must carefully follow the wiring diagram provided with the new electronic ballast, as the wiring scheme will be different from the old magnetic one.
Q3: What happens if I use the wrong type of ballast?
A: Using the wrong ballast can lead to several problems, including premature failure of the ballast or the fluorescent tubes, poor light quality (flickering, dimness), or even electrical hazards like overheating or fire. Always match the ballast specifications to your fixture and lamps.
Q4: Do I need to replace all the bulbs if one fails?
A: If your fixture has multiple bulbs and one burns out, you generally only need to replace the bulb that failed. However, if you’re replacing the ballast, it’s a good practice to replace all the bulbs at the same time, especially if they are old. This ensures consistent light output and avoids having to open the fixture again soon.
Q5: Is it safe to work on a light fixture that is in a damp location (like a bathroom or garage)?
A: Working on electrical fixtures in damp or wet locations requires extra caution. Always ensure the power is OFF at the breaker, use a GFCI-protected circuit if possible, and wear appropriate safety gear. If you have any doubts, it’s best to hire a professional electrician for repairs in these areas.
Q6: My new ballast is making a faint humming noise. Is that normal?
A: Some electronic ballasts can produce a very faint, high-frequency hum that is often inaudible to most people or much quieter than older magnetic ballasts. If the noise is loud, buzzing, or concerning, turn off the power and re-check your wiring and the ballast’s installation. If it persists and is bothersome, consult the manufacturer or an electrician.
Conclusion
Replacing a ballast might seem like a technical job, but as we’ve shown, it’s a manageable DIY project for most homeowners. By prioritizing safety, gathering the right tools, and following these clear, step-by-step instructions, you can successfully restore your fluorescent lights to their full brilliance. Remember to always turn off the power, double-check your wiring, and don’t hesitate to seek professional help if you feel unsure at any point. With a little patience and care, you’ll gain the confidence to tackle this and many other home improvement tasks, saving money and enjoying the satisfaction of a job well done. Your home will be brighter, and your DIY skills will be sharper!