
I’ll never forget my first time hanging bifold doors in my small apartment closet. It felt like a big puzzle, but once I figured it out, it was so rewarding! In this guide, I’ll show you how to hang bifold doors step by step, using simple words and tips from my own experience. Whether you’re a beginner or a DIY pro, you’ll learn how to install bifold doors easily. This article covers what bifold doors are, tools you need, clear steps, and handy tricks to save time and money. Let’s make your space look amazing with bifold doors!
What Are Bifold Doors?
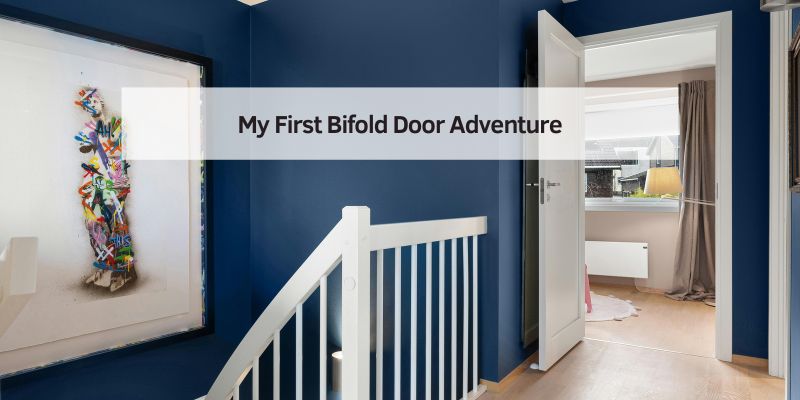
Bifold doors are doors that fold in half when you open them. They save space, making them perfect for closets, pantries, or small rooms.
Why Choose Bifold Doors?
Bifold doors are great because they don’t swing out like regular doors. They’re easy to open and look modern. I love how they make my closet feel bigger! They’re also affordable and come in many styles, like wood or glass.
Types of Bifold Doors
You can pick solid wood doors for a sturdy feel or hollow-core ones to save money. Some have glass panels for a fancy look. I used solid wood doors for my closet because they feel strong.
Tools and Materials You Need
To hang bifold doors, you’ll need a few simple tools and materials. Here’s what I used for my project.
Must-Have Tools
- Drill: For screwing in hardware.
- Screwdriver: To tighten screws.
- Measuring tape: To check door sizes.
- Level: To make sure everything is straight.
- Hacksaw: To cut the track if needed.
Materials for the Job
- Bifold door kit: Includes doors, track, and hardware.
- Screws: Usually come with the kit.
- Paint or stain: If you want to color your doors.
Table 1: Tool Comparison
| Tool | Cost | Why It’s Needed |
|---|---|---|
| Drill | $30-$100 | Screws in hardware fast. |
| Screwdriver | $5-$15 | Tightens screws by hand. |
| Level | $10-$20 | Keeps tracks straight. |
| Caption: Compare tools to hang bifold doors easily. |
Step-by-Step Guide to Hang Bifold Doors
Hanging bifold doors is easier than it looks. Follow these steps, and you’ll have them up in no time!
Step 1: Measure Your Opening
Measure the width and height of your door opening. Make sure the bifold doors are 0.5 inches smaller in width and 1-2 inches shorter in height. I learned this the hard way when my first doors were too big!
Step 2: Buy the Right Bifold Door Kit
Get a kit that fits your opening. Check Home Depot or Lowe’s for options. Solid wood doors are great, but hollow-core ones are cheaper.
Step 3: Paint or Stain Your Doors
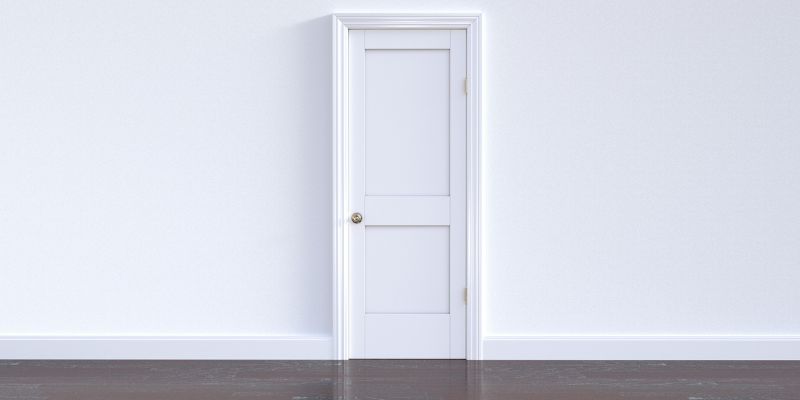
Paint your doors before hanging them. I painted mine white to match my room. Use a brush for smooth strokes and let them dry fully.
Step 4: Cut and Install the Track
Cut the track to fit the opening using a hacksaw. Screw it to the top of the frame, keeping it 1 inch from the front edge. This Old House has great tips on track installation.
Step 5: Attach Pivot Plates and Locking Arms
Check the kit’s instructions for where to place pivot plates. Screw them to the top and bottom of the jamb-side door. Add locking arms to the leading door.
Step 6: Mark Hinge Spots
On the jamb-side door, mark 7 inches from the top and 11 inches from the bottom. Add a third mark in the middle. These spots are for hinges.
Step 7: Install Hinges
Screw hinges to the marked spots. Make sure they’re flush with the door edge. I messed this up once, and my doors wobbled!
Step 8: Hang the Doors
Lift the jamb-side door and hook the top pivot into the track’s pivot socket. Then, set the bottom pivot into the floor bracket. Test the doors by opening and closing them.
Step 9: Add the Door Knob
Screw the knob or handle onto the leading door. Make sure it’s at a comfy height for you.
Step 10: Adjust for Smooth Opening
If the doors stick, adjust the pivot brackets with a screwdriver. I had to tweak mine a few times to get them smooth.
Numbered List: 5 Common Mistakes to Avoid
- Wrong measurements: Always measure twice!
- Skipping the level: Crooked tracks cause wobbly doors.
- Tightening screws too soon: Keep them loose until doors are hung.
- Ignoring instructions: Each kit is different.
- Using cheap hardware: Invest in sturdy tracks.
Benefits of Bifold Doors
Bifold doors save space and look stylish. They’re easy to open and great for tight spots like closets. I love how my closet feels open and airy now.
Drawbacks to Consider
Bifold doors can sag over time if the hardware is cheap. They also need a track, which can collect dust. I clean mine weekly to keep them smooth.
Other Door Options
Sliding doors are another space-saver but need wall space to slide. Regular swing doors take up more room but are simple to install.
Table 2: Bifold Doors vs. Other Doors
| Door Type | Space Needed | Cost | Ease of Install |
|---|---|---|---|
| Bifold | Low | $100-$600 | Medium |
| Sliding | Medium | $150-$800 | Medium |
| Swing | High | $50-$300 | Easy |
| Caption: Compare bifold doors to other options for your space. |
My Top Tips for Success
From my experience, here are tricks to make hanging bifold doors easier.
- Double-check measurements: Wrong sizes ruin everything.
- Use a level: It keeps doors straight.
- Get help: A friend makes lifting doors easier.
- Buy quality hardware: Johnson Hardware’s 1700 series is my go-to.
Bullet List: Cost-Saving Ideas
- Shop sales at Home Depot or Lowe’s for door kits.
- Reuse old screws if they’re in good shape.
- Paint doors yourself instead of buying pre-painted ones.
Safety First
Always wear safety glasses when drilling or cutting. Keep kids away from tools. I once dropped a screwdriver, and it nearly hit my foot!
Visual Ideas for Clarity
- Diagram 1: Show how the track fits into the door frame.
- Diagram 2: Illustrate pivot plate and hinge placement.
- Photo Idea: Picture a finished bifold door in a closet.
Table 3: Cost Breakdown for Bifold Door Installation
| Item | Average Cost | Where to Buy |
|---|---|---|
| Bifold Door Kit | $100-$600 | Home Depot, Lowe’s |
| Drill | $30-$100 | Hardware Stores |
| Paint | $15-$40 | Any Paint Store |
| Caption: Plan your budget for hanging bifold doors. |
Frequently Asked Questions
How to Hang Bifold Doors Without a Track?
You can use top-hung bifold doors that don’t need a bottom track. They hang from the top, but you need a strong lintel to hold the weight. Check the kit’s instructions for details. Origin Bifolds has helpful guides on top-hung systems.
Can I Hang Bifold Doors Alone?
It’s tough but possible. Lifting doors is easier with a friend. I tried it alone once and struggled to align the pivots. Get help to save time and avoid mistakes.
How Long Does It Take to Hang Bifold Doors?
It takes about 2-4 hours for beginners. With practice, I did mine in under 2 hours. Prep work, like measuring and painting, adds extra time.
What If My Bifold Doors Sag?
Sagging happens with cheap hardware. Adjust the pivot brackets or replace the track. I fixed a sagging door by tightening screws and using a level.
Can I Use Bifold Doors for a Big Opening?
Yes, but you may need two sets of doors. Measure carefully and check weight limits. I used two sets for my wide pantry, and they work great.
How Do I Clean Bifold Door Tracks?
Wipe tracks with a damp cloth weekly. Vacuum dust to keep them smooth. I use a small brush to get into tight spots.
Are Bifold Doors Hard to Install?
They’re not hard if you follow the steps. Measuring right and using a level are key. My first try was tricky, but now it’s a breeze!
Conclusion
Hanging bifold doors is a fun DIY project that makes your space look great. With simple tools, a good kit, and my step-by-step guide, you can do it yourself! I love how my closet looks now, and I bet you’ll love yours too. Try hanging bifold doors this weekend, and share your project with friends! For more tips, check out Home Depot’s guide or This Old House. Happy building!