
Imagine stepping into your bathroom, ready to unwind with a relaxing bath, only to find an unsightly crack in your bathtub. It’s not just a blemish; it’s a potential problem that can lead to leaks and further damage.
But don’t worry—fixing a crack in your bathtub is easier than you might think. This guide is here to help you restore your tub to its former glory. By following these simple steps, you can save money on costly replacements and enjoy a smooth, damage-free bathtub once again.
Dive into this article and discover how you can quickly and effectively fix that crack, making your bathroom a serene haven once more.
Assessing The Damage
The first step is to find the crack. Look closely at the bathtub. Small cracks might be harder to see. Use a flashlight if needed. Check around the edges and the bottom. Run your fingers over the surface. Feel for any rough spots. Look for discoloration. It can be a sign of damage. Measure the crack. Use a ruler to see how long it is. This helps in choosing the right fix. Note the depth too. Deep cracks need special attention. Record your findings. Write them down. This helps later on.

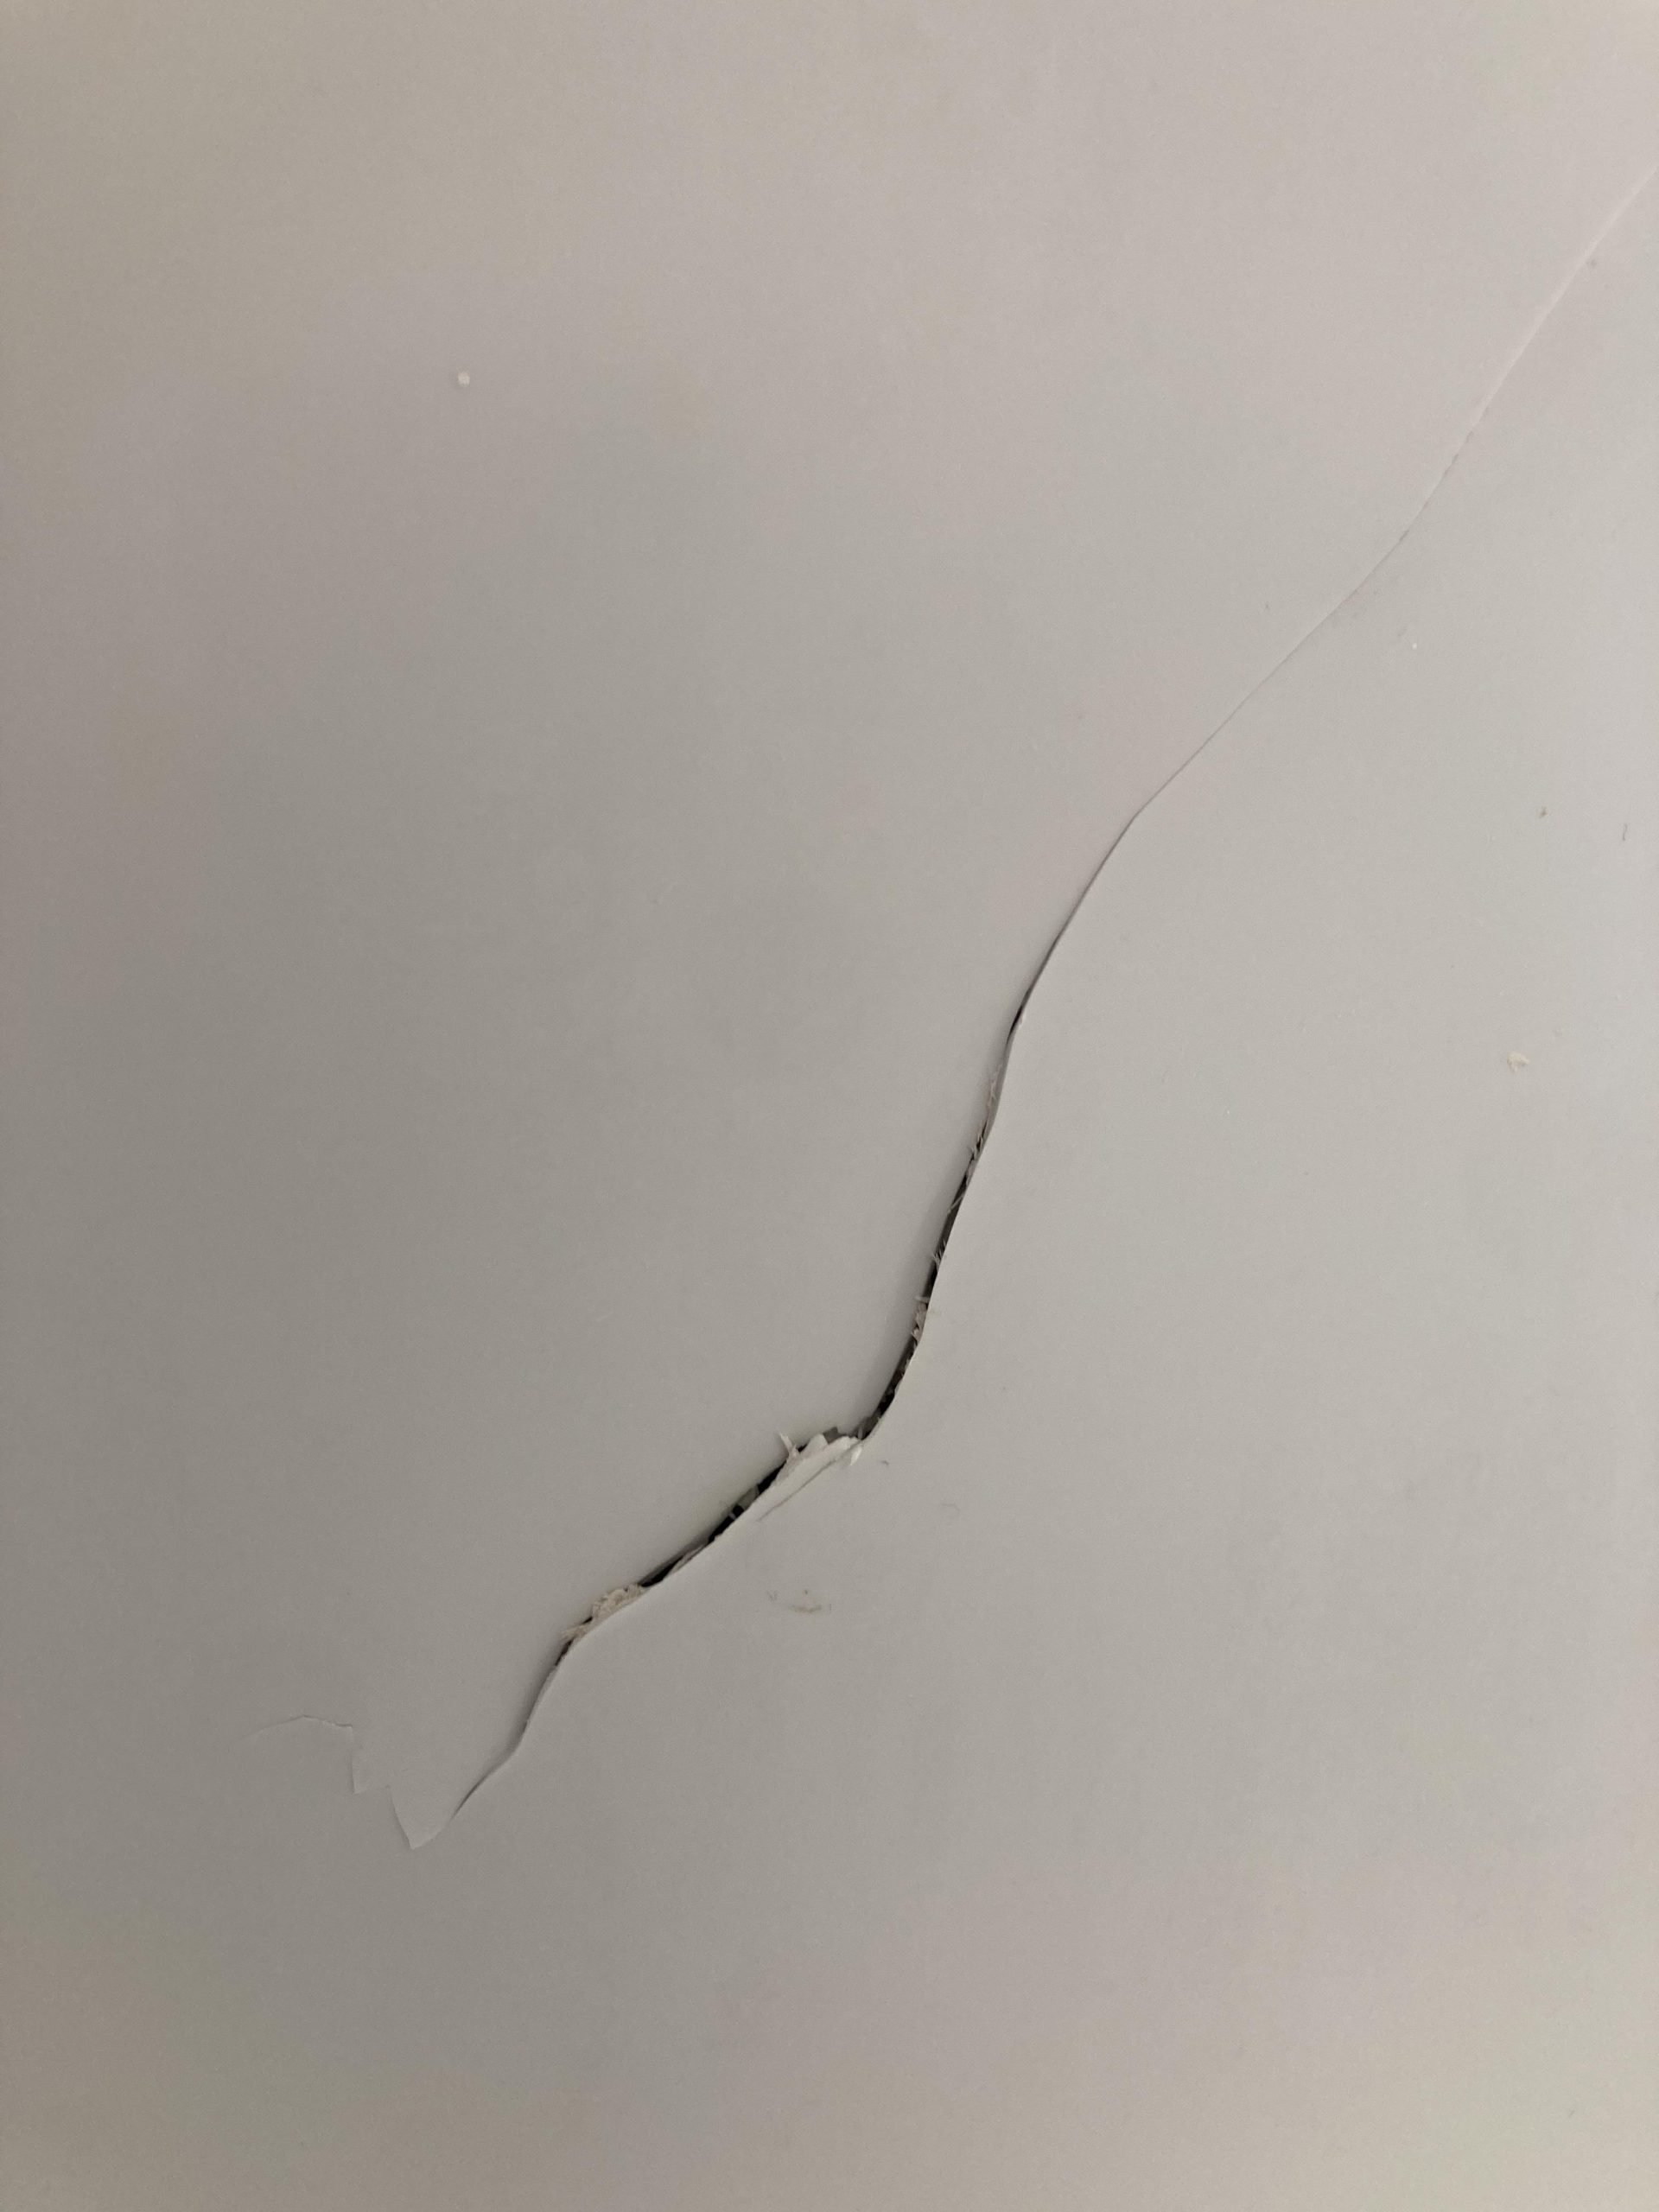
Credit: www.reddit.com
Gathering Necessary Materials
First, get a clean cloth to wipe the bathtub. You need a waterproof sealant. This helps keep water out. A plastic spatula is useful for spreading the sealant. Make sure you have sandpaper. Use it to smooth rough edges. A masking tape can help cover areas you don’t want to seal. A bucket is needed to hold cleaning water. Rubber gloves protect your hands from chemicals. Safety goggles shield your eyes.
Towels are handy for drying surfaces. Keep a small brush for cleaning dirt. A measuring tape helps measure the crack. Ensure you have a flashlight. It helps see inside the crack. Soap is needed for cleaning. Water for rinsing. Trash bags for waste.
Preparing The Bathtub Surface
First, clean the bathtub with soap and warm water. Scrub gently to remove dirt and grime. Rinse the surface well to wash away the soap. Then, use a towel to dry the bathtub completely. Ensure no moisture is left. Moisture can cause problems with the repair. Allow the surface to air dry for extra safety. A clean and dry surface helps the repair last longer.
Use sandpaper to smooth the cracked area. Sand gently to avoid damage. Focus on the edges of the crack. The goal is to make the surface even. Wipe away dust with a damp cloth. Let the area dry again. Sanding prepares the surface for the repair material. A smooth surface ensures the material sticks well. Proper sanding is key to a lasting repair.
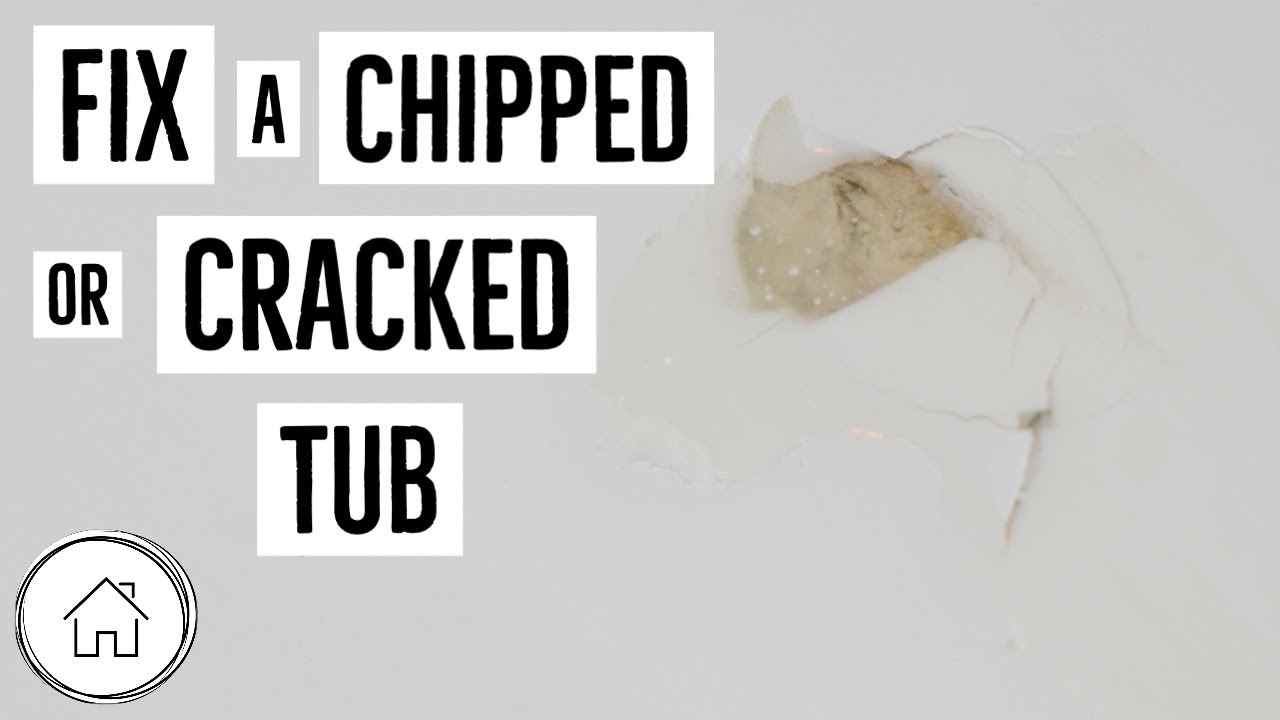
Credit: www.youtube.com
Applying Repair Products
Epoxy filler is strong and durable. It works well on ceramic and plastic tubs. Acrylic filler is good for fiberglass tubs. It gives a smooth finish. Clean the crack before you start. Dirt can stop the filler from sticking. Mix the filler as the instructions say. Fill the crack with the mixed filler. Use a putty knife to smooth it out. Let the filler dry completely.
Waterproof coating keeps water out. It stops leaks and protects the repair. Apply the coating evenly over the filled crack. Use a brush or a roller. Make sure the crack is covered well. Let the coating dry before using the bathtub. Check the repair after it dries. Look for any missed spots or uneven areas.
Smoothing And Finishing
Use fine-grit sandpaper for the best results. Sand the area around the crack gently. Make sure the surface is even and smooth. Check for any rough spots. Sand them until they feel smooth. Take your time to avoid mistakes. Use a damp cloth to wipe away dust.
Apply a small amount of polish to a soft cloth. Buff the sanded area gently. This helps to restore the bathtub’s shine. Move the cloth in circles for even coverage. Use a clean cloth to wipe off excess polish. Enjoy the smooth and shiny surface. Keep the polish away from the crack itself.
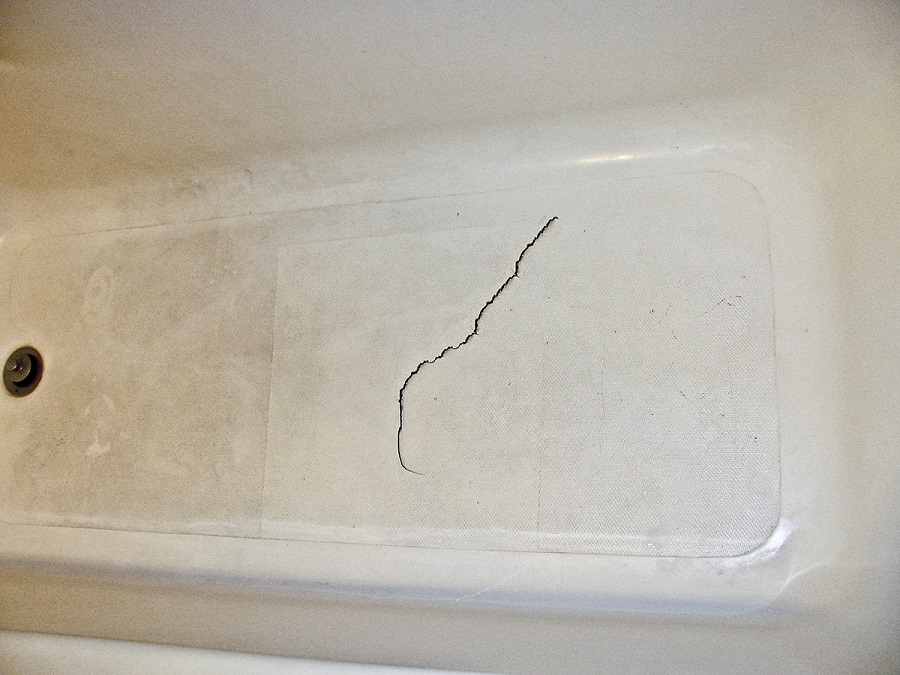
Credit: www.badeloftusa.com
Testing The Repair
Assessing the repair ensures a lasting solution for bathtub cracks. Water leakage tests confirm the fix is strong and stable. Checking for smoothness prevents rough edges that could cause further damage.
Checking For Leaks
Fill the bathtub with a little water. Look for any leaks around the repaired area. The water should stay inside. If it drips out, the repair isn’t strong. Dry the area and check for wet spots. This is a simple way to see if it’s fixed.
Assessing Durability
Press gently on the repaired spot. Make sure it feels firm and secure. If it moves or feels weak, it may need more work. Use your hand to feel for any soft spots. Test the area by standing in the tub. This helps ensure that the fix is strong enough for use. If it holds well, the repair is good.
Maintenance Tips
Fixing a bathtub crack involves cleaning the area and applying a repair kit. Sand the surface smooth after the filler dries. Finally, paint over the repair to match the tub’s color. These steps help extend the life of your bathtub.
Preventing Future Cracks
Bathtub cracks are often due to poor maintenance. Prevent future cracks by keeping your bathtub in good condition. Avoid dropping heavy objects. They can damage the surface. Place a rubber mat on the bathtub floor. This prevents scratches and chips. Fix leaks immediately. Water can weaken the tub material. Keep the bathroom temperature stable. Extreme temperature changes can cause cracks. Use gentle cleaning products. Harsh chemicals can harm the tub.
Regular Cleaning And Inspection
Cleaning your bathtub regularly is crucial. Use warm water and mild soap. Inspect the bathtub for any signs of damage. Look for small cracks or chips. These can grow larger over time. Check the seals around the tub. Ensure they are intact. Replace damaged seals promptly. Keep the drain clear. Blocked drains can cause water build-up. Water buildup can lead to cracks.
Frequently Asked Questions
How Do You Repair A Bathtub Crack?
To repair a bathtub crack, clean the area thoroughly first. Use a fiberglass repair kit for best results. Apply the filler smoothly and allow it to dry completely. Sand the area gently and apply a finishing coat for a seamless look.
Can You Fix A Cracked Bathtub Yourself?
Yes, fixing a cracked bathtub is possible with the right tools and materials. A fiberglass repair kit is recommended. Follow instructions carefully for a successful repair. This DIY task can save money and extend the bathtub’s life.
What Materials Are Needed For Bathtub Repair?
You’ll need a fiberglass repair kit, sandpaper, and cleaning supplies. A repair kit usually includes resin, hardener, and filler. Clean the area thoroughly before starting. Sandpaper helps smooth the repaired area. Follow instructions carefully for best results.
How Long Does Bathtub Repair Take?
Bathtub repair typically takes a few hours. Drying and curing times are crucial for a successful outcome. Follow the manufacturer’s guidelines for specific timeframes. Ensure each step is completed before moving to the next for optimal results.
Conclusion
Fixing a bathtub crack is simple with the right steps. Start with cleaning the area thoroughly. This helps the repair material stick better. Then, fill the crack using a reliable repair kit. Follow the instructions carefully. Sand the area for a smooth finish.
Paint if necessary to match your bathtub’s color. Regular checks prevent future damage. A little effort keeps your bathtub in great shape for years. Remember, maintaining a clean, crack-free surface enhances its lifespan. Enjoy long, relaxing baths without worry. Happy bathing!