
Imagine capturing the essence of a bustling street, with its vibrant energy and unique charm, right on paper. One crucial element that brings this scene to life is the street light.
These tall, elegant structures not only illuminate the paths but also add character and depth to your drawings. You might think drawing a street light is a daunting task, but what if you could master it with ease? This guide is here to help you do just that.
You’ll discover simple techniques and tips that make the process straightforward and enjoyable. By the end, you’ll not only know how to draw a street light but you’ll have the skills to make it the focal point of your artwork. Dive in and unlock the secrets to creating captivating street scenes that will captivate anyone who sees them.

Credit: www.youtube.com
Materials Needed
Gather all the materials before you start drawing. You will need a pencil and some paper. A good quality eraser is important. Get a ruler for straight lines. Colored pencils or markers can add fun. Sharpener will help keep your pencil fine. Use a compass for perfect circles. A sketchpad can be handy. You might like to have a reference picture. This will guide your drawing. Lighting is important. Draw near a lamp or by a window. Keep your materials organized on a table. This will make drawing easy and fun!
Choosing The Right Perspective
Drawing a street light can be fun. Perspective is important for creating depth. Start with a simple view. You might prefer a side view. This is easier for beginners. Or try a front view for more detail. Experiment with different angles. It helps in improving your skills. Look at real street lights for ideas. Notice how they stand tall. Try to capture that height in your drawing. Keep lines straight and neat. This makes the drawing look real. Practice drawing regularly. It helps in getting better. Enjoy the process and keep trying.
Sketching The Basic Shape
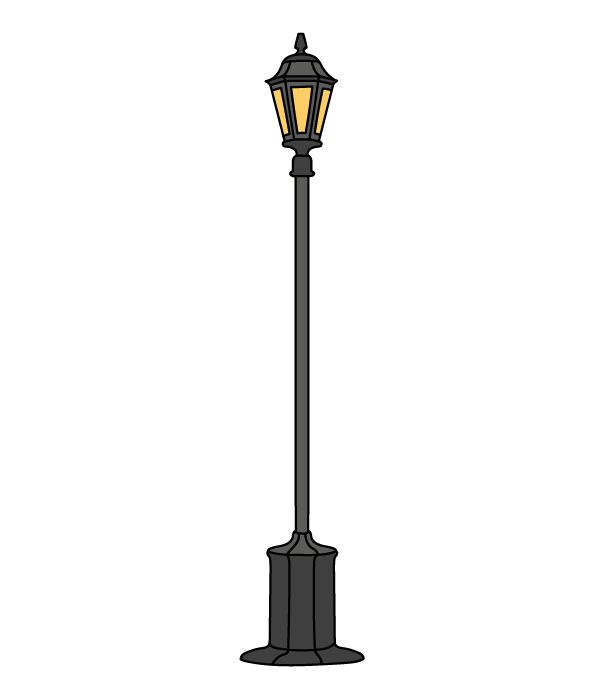
Begin with a straight line. Make sure it’s tall and slim. This is the pole. Keep the line smooth. Use a ruler for straightness. Add thickness to the line. Make it look round. Shade lightly to show depth. Poles are often gray. Use a gray pencil for realism. Add details like bolts or textures. These make the pole look real.
Draw a small circle atop the pole. This is the lamp head. Make it round and neat. Add a bulb shape inside the circle. Use light strokes for the bulb. Lamp heads are often white or yellow. Color it softly. Detail the lamp head with lines. These lines show glass edges. Draw tiny rectangles for screws. These hold the lamp in place.
Detailing The Lamp Head
Start with a simple oval shape. This will be the base. The oval should be wide. Draw a smaller circle inside it. This circle is the bulb. Bulbs are round and bright. Use soft pencil strokes for the circle. Add lines from the bulb to the oval edge. These lines show the light spreading. Light rays can be straight or curved. Keep them neat.
Begin with a rectangle over the oval. The rectangle is the cover. Covers protect the light. Draw an arch on top of the rectangle. This arch is the curve of the cover. It should match the oval. Shade the arch lightly. Shading gives depth. Add small lines on the rectangle. Lines show texture. Textures make the drawing real.
Enhancing With Shadows And Highlights
Shadows make the street light look real. Use a soft pencil to draw them. The bottom of the light should be dark. This makes it look like it’s standing. Make the shadows long. Highlights add shine to the light. Use a white crayon or chalk. Put them on the top of the light. It makes the light look bright. Don’t forget to blend the edges. This makes the shadows and highlights smooth. Use your finger or a soft brush for blending. Shadows and highlights work like magic. They make drawings pop. Try it and see the difference!
Adding Background Elements
Start with drawing a simple street line. Add a few straight linesfor the road. Make sure to leave enough space for the street light. This gives the drawing a sense of place. The street should look neat and tidy.
Adding trees can bring life to your scene. Draw small oval shapesfor tree tops. Use thin lines for the trunk. Buildings can add depth. Start with rectangles for building shapes. Add tiny windows and doors. This makes the drawing look interesting.
Final Touches And Refinements
Make the lamp shape smoothand round. Add a small circle at the top. This will be the bulb. Use a pencil to shade the lamp. This makes it look real. Draw a line inside the lamp. This shows the glass. Add some lines to the pole. This gives it texture. Erase any mistakesyou made. Make sure the lines are neat. Use an eraser to soften edges. This makes it look nice. Add a shadow under the pole. This shows light falling. Check your drawing. Fix any uneven parts. Make the lines clear and bold. Your street light is ready. It looks neat and real.

Credit: www.istockphoto.com
Frequently Asked Questions
What Tools Are Needed To Draw A Street Light?
To draw a street light, you need paper, pencils, erasers, and a ruler. Colored pencils or markers can add detail. A reference image can help guide your drawing. Additionally, using a compass can aid in drawing precise circles for lamp details.
How Do I Start Drawing A Street Light?
Begin by sketching a vertical line for the pole. Add a horizontal line at the top for the lamp. Use basic shapes like rectangles and circles to form the light and base. Gradually refine the details, ensuring proportions are accurate.
What Are Common Mistakes In Drawing Street Lights?
Common mistakes include incorrect proportions and neglecting details. Ensure the pole and lamp are correctly sized. Pay attention to the light source and shadows. Overlooking these can make the drawing look unrealistic. Always compare with a reference image for accuracy.
How Can I Add Details To My Street Light Drawing?
Add details by emphasizing the lamp’s design, such as the glass casing and metal fixtures. Use shading to create depth and highlight reflective surfaces. Incorporate surroundings like pavement or trees for context. Details like bolts or screws can enhance realism.
Conclusion
Creating a street light drawing is simpler than you think. Follow clear steps. Use basic shapes and lines. Practice regularly. Your skills will improve with each attempt. Mistakes? They are part of learning. Don’t stress over them. Enjoy the process.
Share your art with friends. They may offer great feedback. Keep exploring different styles. Challenge yourself with new techniques. Drawing can be a fun hobby. It’s a great way to express creativity. Have patience. Your efforts will pay off. Light up your art journey with passion and persistence.
Happy drawing!