
Bolded Quick Summary: To effectively clean door handles, use a simple solution of mild dish soap and warm water for daily grime. For tough spots or disinfecting, apply an alcohol-based cleaner or a diluted bleach solution, always testing first. Wipe thoroughly and dry completely to maintain the finish and keep your home hygienic.
Door handles are the most touched spots in your entire home. Think about it—everyone grabs them dozens of times a day! This constant use means they collect dirt, oils, and germs quickly. It can feel frustrating when shiny brass handles look dull or when you worry about what is lurking on that bathroom knob. Good news! Cleaning door handles is one of the easiest home tasks you can tackle. You don’t need fancy tools or harsh chemicals. With a few simple steps, I’ll show you how to make every handle sparkle safely, no matter what material it’s made from. Let’s get those handles looking great and feeling fresh!
The Essential Toolkit: What You Need to Clean Door Handles
Before we dive into the scrubbing, gathering your supplies is half the battle won. Having everything ready makes the job fast and fun. As a guide who loves efficient DIY, I always recommend starting with the mildest options first. You want clean handles, not damaged ones!
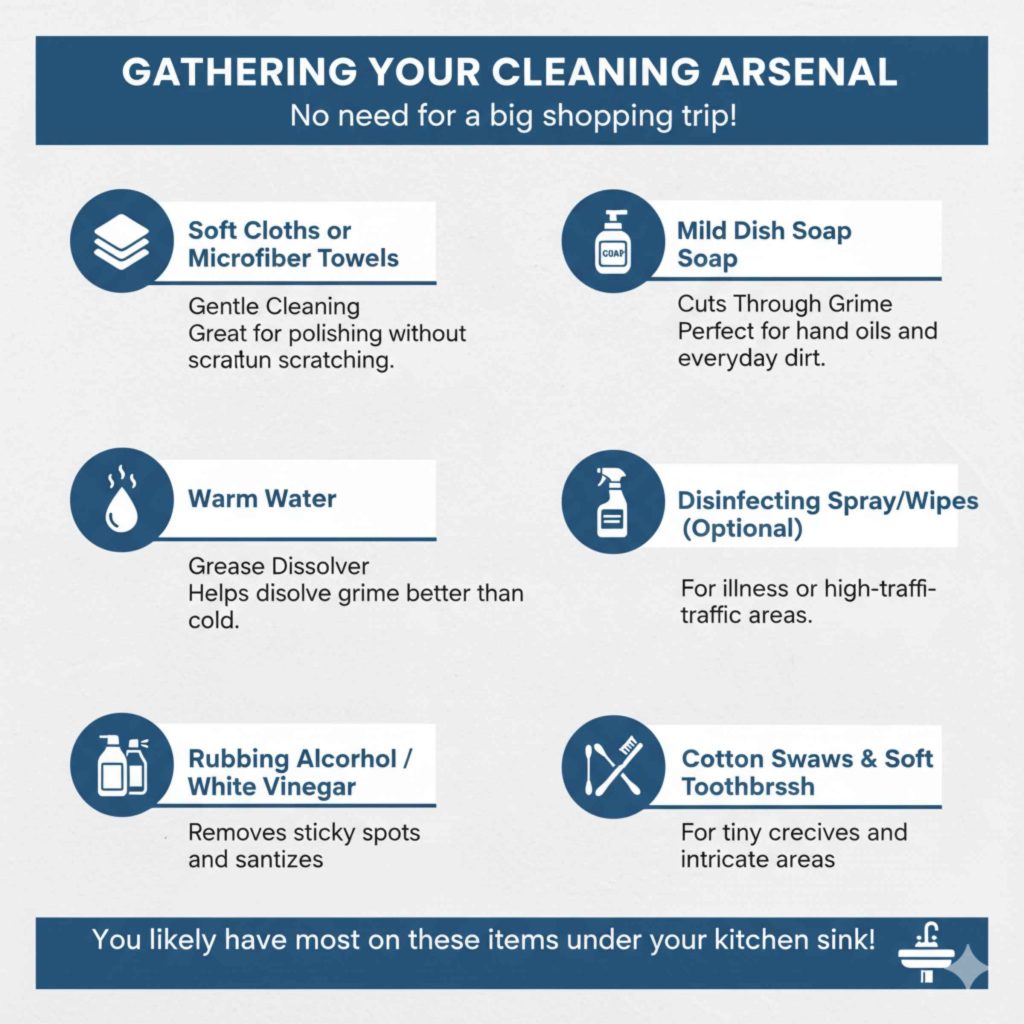
Gathering Your Cleaning Arsenal
You likely have most of these items right under your kitchen sink already. No need for a big shopping trip!
- Soft Cloths or Microfiber Towels: These are gentle and great for polishing without scratching. Avoid abrasive sponges.
- Mild Dish Soap: The everyday kind works perfectly for cutting through hand oils and grime.
- Warm Water: This helps dissolve grease better than cold water.
- Disinfecting Wipes or Spray (Optional): Necessary if someone in the house has been sick, or for high-traffic areas like the front door.
- Rubbing Alcohol (Isopropyl Alcohol) or White Vinegar: Great for tougher sanitizing or removing sticky residue.
- Cotton Swabs (Q-tips): Essential for getting into those tiny crevices around the spindle and latch plate.
- A Soft Toothbrush (Optional): For gently agitating dirt in detailed areas.
A Quick Note on Material Safety
This is where many homeowners go wrong. Using the wrong cleaner on the wrong metal can cause pitting, discoloration, or remove protective lacquers. Before you start scrubbing, take a quick look at your handles. Are they shiny silver, dull brass, or painted white? Knowing the material dictates your approach.
For example, older, unlacquered brass handles tarnish easily and need specialized care. Modern stainless steel is very durable. If you aren’t sure, always default to the mildest soap and water solution first. You can check out resources from the Environmental Protection Agency (EPA) regarding disinfectant safety on various surfaces if you plan on using stronger chemicals for germ-killing.
Step-by-Step Guide: How to Clean Door Handles Safely and Effectively
We will break this down into three main phases: Daily/Light Cleaning, Deep Cleaning for Grime, and Sanitizing for Germs. Follow these steps in order for the best results.
Phase 1: Light Cleaning for Everyday Dirt
This method is perfect for weekly upkeep or when handles just look a bit smudged from daily use.
- Prepare Your Solution: Mix a few drops of mild dish soap into a bowl of warm water. You want suds, but not a bucket full of bubbles.
- Dampen Your Cloth: Dip a clean microfiber cloth into the soapy water and wring it out very well. The cloth should be damp, not dripping. Excess water can seep into the handle mechanism over time.
- Wipe Down the Surface: Start at the top of the handle or knob and wipe down all accessible surfaces. Use gentle, circular motions. Pay attention to where your fingers naturally grip.
- Rinse (The Crucial Step): Dampen a second, clean cloth with just plain water (no soap). Wipe over the entire handle again. This removes any soap residue that could attract more dirt later.
- Dry Immediately: Use a third, completely dry cloth to buff the handle dry. This prevents water spots and protects metal finishes.
Phase 2: Deep Cleaning for Stubborn Grime and Build-up
Sometimes, hand lotion, sticky residue, or built-up body oils create a dull film that soap alone can’t tackle. This is where we bring in a slightly stronger, yet still safe, agent.
Cleaning Metal Handles (Stainless Steel, Chrome, Nickel)
These modern finishes handle a little more scrubbing power well, but remember—never use steel wool or abrasive pads!
- The Vinegar Wipe: Mix a solution of 50% white vinegar and 50% water in a small spray bottle. Vinegar is a fantastic, natural degreaser.
- Application: Lightly spray the solution onto your cloth (not directly onto the handle, especially if it has electronic components nearby).
- Scrub Gently: Wipe the handle thoroughly. For any sticky spots, let the vinegar solution sit for about 30 seconds before wiping again.
- Rinse and Dry: Always follow up with a clean, water-dampened cloth to remove the vinegar smell and residue, and then buff dry completely.
Tackling the Crevices
The area where the handle meets the door, or the small gap around the spindle, traps the most gunk. This is where your cotton swabs shine.
- Dip a cotton swab into your soapy water or vinegar solution.
- Gently work the swab around the base plate (escutcheon) and into any tight seams. You might be shocked at the amount of dirt that comes off!
- Use a dry swab to wick away any moisture left behind in these tight spots.
Special Care for Brass and Bronze Handles
Brass and bronze require extra respect, especially if they have a clear lacquer finish (they look very shiny). If the lacquer is intact, only use mild soap and water. If the finish is worn or tarnished, you might need a commercial brass polish, but proceed with caution.
Md Meraj’s Tip: If you have old, unlacquered brass, it is meant to patina (darken) over time. If you polish it back to bright gold, it will likely tarnish again very quickly. Decide if you want the aged look or the bright look before applying any heavy polish.
Phase 3: Disinfecting for Health and Peace of Mind
If you are cleaning handles after someone has been sick, or if you’ve just had guests, disinfecting is key. You must use an EPA-approved disinfectant to effectively kill germs like viruses and bacteria. However, many disinfectants can ruin finishes, so testing is mandatory.
| Handle Material | Recommended Disinfectant Approach | Caution |
|---|---|---|
| Stainless Steel/Chrome | 70% Isopropyl Alcohol Wipe or Spray | Safe, but dry quickly to prevent streaks. |
| Plastic/Painted Metal | Diluted Bleach Solution (1 part bleach to 10 parts water) | Test in an inconspicuous spot first; bleach can yellow plastic. |
| Lacquered Brass/Bronze | Mild soap and water only; avoid alcohol or bleach. | Alcohol and bleach will strip the protective lacquer finish immediately. |
How to Disinfect Using Alcohol
Rubbing alcohol (Isopropyl Alcohol) is often the safest bet for most modern metal handles because it evaporates quickly and is a strong disinfectant.
- Pre-Clean First: You must clean off the physical dirt and oil first. Disinfectants cannot penetrate grime effectively. Use the mild soap method (Phase 1).
- Apply Alcohol: Dampen a clean cloth with 70% isopropyl alcohol.
- Wipe and Dwell: Wipe the entire handle surface. For true germ killing, the surface needs to remain wet for a specific “dwell time” (check the product label, often 1–3 minutes).
- Air Dry: Allow the alcohol to fully evaporate. Since it evaporates fast, rinsing is usually unnecessary, but ensure the handle is completely dry before use.
Caring for Specific Handle Types
Not all handles are simple round knobs. Modern homes often feature levers, electronic pads, or unique materials. Here’s how to handle those variations.
Cleaning Door Levers
Levers often collect more grime on the underside where the palm rests. Ensure you flip the lever up and down while cleaning to expose all surfaces.
- Focus extra attention on the pivot point where the lever attaches to the spindle, as moisture loves to collect there.
- When cleaning, apply pressure gently; you don’t want to force the lever mechanism out of alignment.
Electronic Keypad Handles
These are common on exterior doors and require the most caution regarding moisture.
Safety First: Never spray liquid directly onto an electronic keypad or digital lock mechanism. Moisture intrusion is the fastest way to ruin these expensive components.
- Wipe the surrounding metal with a damp, well-wrung cloth.
- For the keypad itself, use a pre-moistened electronics wipe or a cloth dampened very lightly with alcohol. Wipe gently over the numbers and screen.
- If you are using a disinfectant spray, spray the cloth first, then wipe the keypad—never spray the lock directly.
Wooden Door Handles
While less common for exterior doors, interior wooden handles (often found in older homes or specific rustic designs) need wood-safe care.
Avoid soaking wood. Use a cloth barely dampened with mild soap and water. If the wood is sealed with varnish or polyurethane, the cleaning process is similar to metal. If the wood is raw or oiled, use a specialized wood cleaner or a tiny amount of mineral oil after cleaning to restore moisture.
Preventative Maintenance: Keeping Handles Cleaner Longer
Cleaning is important, but preventing the build-up is even better! A little bit of preventative work saves you time later on. Think of this as woodworking maintenance applied to your hardware.
Regular Wiping Schedule
Make it a habit. If you wipe down the main entry handles (front door, kitchen, main bathroom) every time you do a general kitchen wipe-down (maybe twice a week), you prevent heavy build-up. This only takes 30 seconds per handle!
Understanding the Enemy: Hand Oils
The biggest culprit in door handle dullness is the natural oil and sweat from our hands. This oil traps dust and dirt, creating that sticky film. By wiping surfaces down frequently with just a dry microfiber cloth, you remove the oil before it hardens.
Polishing for Protection (For Metal Finishes)
For non-lacquered metals like stainless steel or chrome, a very light coat of a protective polish can help repel fingerprints and moisture.
- Stainless Steel: After cleaning and drying, a tiny drop of mineral oil or a commercial stainless steel polish rubbed with the grain can help hide future fingerprints.
- Door Hinges: Don’t forget the hinges! While not handled often, the friction points can get dusty. A quick wipe during your handle cleaning routine is efficient.
Remember that the best maintenance plan aligns with how much you use the handle. The front door needs more attention than the linen closet door. You can find more excellent home maintenance tips from reliable sources like university extension programs that often cover home upkeep best practices.
Troubleshooting Common Door Handle Cleaning Issues
Even with the best intentions, sometimes things go sideways. Here are solutions for the most common frustrations homeowners face when tackling hardware.
Problem 1: The Handle Still Looks Dull or Streaky
The Cause: Usually, this means soap residue was left behind, or you didn’t dry the surface completely.
The Fix: Grab a fresh, dry cloth and a small amount of plain water. Wipe the handle down again, focusing on rinsing off any film. Immediately follow with a dry buffing motion. If it’s a metal handle, a quick wipe with an alcohol-dampened cloth (and letting it dry) will eliminate most streaks.
Problem 2: I Found Green or Black Spots (Verdigris)
The Cause: This is common on older brass or bronze handles, especially in humid areas. It’s corrosion caused by moisture reacting with the metal.
The Fix: If the spots are small, you may be able to gently remove them with a specialized metal polish designed for that specific metal. If the corrosion is widespread, the handle may need professional re-lacquering or replacement, as the base metal is being eaten away.
Problem 3: The Latch Mechanism is Sticky
The Cause: Dirt, dust, and old grease have gummed up the internal workings.
The Fix: Do not pour liquids into the keyhole or latch opening! Instead, clean the exterior thoroughly (Phase 1). Then, use a specialized lubricant like graphite powder or a silicone-based spray lubricant (like WD-40 Specialist Silicone Spray, ensuring it’s safe for your handle material). Spray a very small amount onto a cotton swab and carefully apply it to the moving parts around the latch bolt, working the handle mechanism several times to distribute the lubricant. Wipe away any excess.
Problem 4: My Cleaning Solution Damaged the Finish
The Cause: You used an abrasive cleaner (like Comet powder) or a harsh chemical (like straight ammonia) on a delicate finish.
The Fix: Unfortunately, once a finish like lacquer or plating is stripped, it’s hard to fix perfectly at home. For minor damage, you might try applying a coat of clear acrylic spray sealant designed for metal, but this is a temporary fix. For major damage, replacing the handle hardware is often the best long-term solution.

Frequently Asked Questions (FAQ) About Cleaning Door Handles
Q1: How often should I clean my door handles?
A: For high-traffic handles (front door, kitchen, main bathroom), aim for a quick wipe-down weekly. For less used interior handles, monthly cleaning is usually fine. Deep cleaning or disinfecting should happen quarterly or immediately after illness.
Q2: Can I use bleach wipes on all my door handles?
A: No. Bleach is harsh and can quickly damage lacquered brass, bronze, and some painted surfaces. Only use bleach wipes on durable materials like solid chrome or certain plastics, and always test them first on a hidden spot.
Q3: What is the best way to clean the deadbolt area without damaging the lock?
A: Use a dry or slightly damp cloth for the main body. For the keyhole area, use a dry cotton swab to gently dust the edges. Never spray liquid cleaner directly into the keyway, as this can wash away necessary internal lubrication or cause rust.
Q4: Why do my stainless steel handles look streaky after cleaning?
A: Streaks are usually caused by mineral deposits from hard water or dried soap residue. Always rinse the handle thoroughly with clean water after using soap and ensure you buff it completely dry immediately afterward with a lint-free cloth.
Q5: Is vinegar safe to use on door handles?
A: Yes, diluted white vinegar (50/50 with water) is generally safe and effective on most modern metal handles (stainless steel, chrome) for cutting through grease. However, avoid using vinegar on unsealed brass, copper, or stone accents, as the acid can etch the surface.
Q6: How do I get rid of that sticky film on the knob?
A: The sticky film is usually built-up hand lotion or body oils. A solution of mild dish soap and warm water works best to emulsify (break down) the oil. If that fails, a cloth dampened with rubbing alcohol will dissolve the residue quickly.
Conclusion: Confident Cleaning for a Healthier Home
See? Cleaning door handles doesn’t have to be a complicated chore. By understanding the material of your hardware and sticking to a simple, phased approach—starting mild and only escalating if necessary—you can keep every knob and lever looking fantastic and feeling hygienic.
You now have the blueprint: mild soap for daily maintenance, vinegar or alcohol for tough grime, and careful application for sanitizing sensitive electronics. Remember, these small, frequently touched areas make a huge difference in how clean your whole house feels. Grab your microfiber cloths, take pride in that satisfying shine, and enjoy the confidence of knowing your home is sparkling, right down to the last turn of the handle. Happy cleaning!