
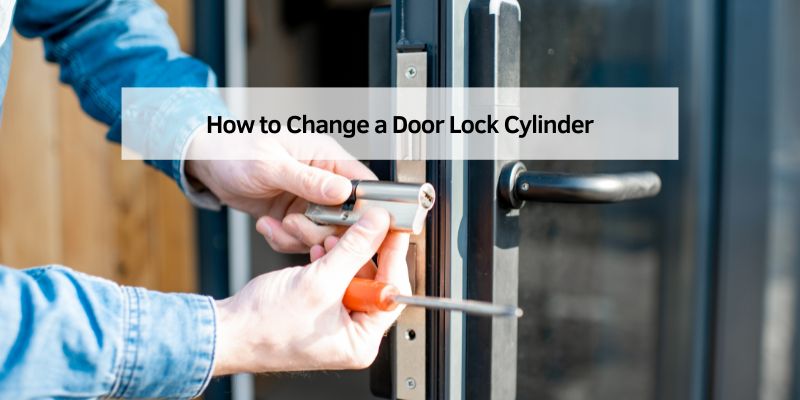
Hey there! If you’re reading this, you’re probably looking to tackle a home improvement project that’s both practical and empowering: changing a door lock cylinder. I’ve done this a few times myself, and let me tell you, it’s one of those tasks that feels incredibly satisfying once it’s done. Whether your lock is old, sticky, or you just want to upgrade your home’s security, swapping out the lock cylinder is a straightforward job you can handle with a little guidance.
In this article, I’m going to walk you through every step of the process, share some tips from my own experience, and make sure you feel confident to get it done. Let’s dive in and make your door lock as good as new!
Why Change a Door Lock Cylinder?
Let’s start with the “why.” Over time, door lock cylinders can wear out. Maybe the key sticks, or it’s tough to turn. Sometimes, you might have lost a key or moved into a new place and want to make sure no one else has access. I’ve been there—when I bought my first home, I didn’t feel secure until I changed the lock cylinders myself. It’s also a great way to upgrade to a more secure lock without replacing the entire mechanism. Plus, doing it yourself saves money compared to hiring a locksmith. It’s a small project with a big impact on your home’s safety and your peace of mind.
Tools and Materials You’ll Need
Before you start, you’ll need a few things. I always like to gather everything first so I’m not scrambling mid-project. Here’s what you’ll need to change a door lock cylinder:
| Item | Purpose |
|---|---|
| Replacement lock cylinder | Matches your door’s brand and size (e.g., Schlage, Kwikset, or Yale). |
| Flathead screwdriver | To remove screws from the door and lock assembly. |
| Phillips screwdriver | For screws holding the lock cylinder in place. |
| Replacement screws (optional) | In case the new cylinder comes with different screws. |
| Measuring tape | To confirm the cylinder size fits your door. |
| Lubricant (like WD-40) | To clean and lubricate the new cylinder for smooth operation. |
| Rag or cloth | For cleaning up any mess or wiping down parts. |
| Small container | To hold screws so they don’t get lost (trust me, this is a lifesaver!). |
Pro tip: Check your door’s brand and measure the cylinder length before buying a replacement. I once bought a cylinder that was too short, and let me tell you, that was a frustrating trip back to the hardware store!
Preparing for the Job
Preparation is key to making this project smooth. First, make sure you’ve got the right replacement cylinder. Most residential doors use standard cylinders like Euro, oval, or pin tumbler types, but brands like Schlage or Kwikset have specific designs. I learned this the hard way when I tried to fit a mismatched cylinder into my front door. If you’re unsure, take the old cylinder to the store or check the brand stamped on your key.
Next, set up a clean workspace. I usually lay down an old towel on a nearby table to keep screws and tools organized. Make sure you have good lighting—working in dim light makes it easy to drop tiny screws (and trust me, they’re experts at rolling under furniture). Finally, double-check that you have the new keys that come with the replacement cylinder. It sounds obvious, but I’ve started projects only to realize I didn’t check the key compatibility!
Step-by-Step Guide to Changing the Door Lock Cylinder
Now, let’s get to the fun part: actually changing the lock cylinder. I’ll break this down into clear steps so you can follow along easily. I’ve done this on both my front door and a back patio door, and the process is pretty similar for most standard locks.
Step 1: Remove the Door Handle or Knob
Start by removing the door handle or knob to access the cylinder. On the inside of the door, look for a small screw or clip holding the handle in place. For most knobs, you’ll need a Phillips screwdriver. I usually turn the screw counterclockwise to loosen it. If it’s a lever handle, there might be a tiny pin or clip—use a flathead screwdriver to gently pry it out. Once the screw or clip is removed, pull the handle off both sides of the door. Be gentle; sometimes the parts are snug.
Step 2: Unscrew the Lock Faceplate
With the handle off, you’ll see a faceplate on the edge of the door (where the latch comes out). This usually has two screws. Use your Phillips screwdriver to remove them. I like to keep a small container nearby for these screws because they’re easy to lose. Once the screws are out, the faceplate should come off, exposing the lock cylinder inside the door.
Step 3: Remove the Old Cylinder
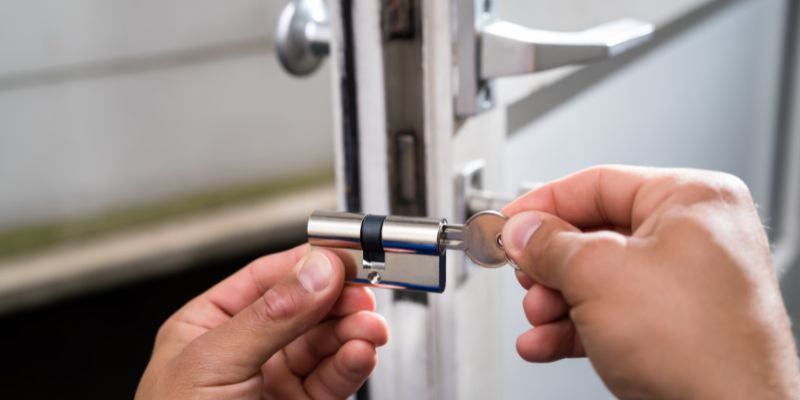
Here’s where you get to the cylinder itself. Look for a screw on the edge of the door, near where the cylinder sits. This is called the retaining screw, and it holds the cylinder in place. Use your Phillips screwdriver to remove it. Once it’s out, insert your key into the old cylinder and turn it slightly (about a quarter turn) to align the cam (the part that moves the bolt). This makes it easier to pull the cylinder out. Gently wiggle and pull the cylinder until it slides out. If it’s stuck, don’t force it—check if the key is properly aligned.
Step 4: Measure and Compare the New Cylinder
Before installing the new cylinder, compare it to the old one. They should be the same length and type. I once skipped this step and ended up with a cylinder that didn’t fit properly, which caused the lock to jam. If the new cylinder is too long or short, it won’t sit flush with the door, which can make it look sloppy or even compromise security. If everything matches, you’re good to go!
Step 5: Install the New Cylinder
Insert the new cylinder into the door, making sure the cam is aligned (just like when you removed the old one). Use the key to turn it slightly if needed. Once it’s in place, secure it with the retaining screw you removed earlier. Tighten it snugly, but don’t overtighten—I’ve stripped screws before, and it’s not fun. Then, reattach the faceplate with its screws.
Step 6: Reattach the Door Handle
Put the door handle or knob back on, starting with the exterior side. Line up the spindle (the part that connects the handles) and push the handle into place. Secure it with the screw or clip you removed earlier. Do the same for the interior handle. Test the handle to make sure it turns smoothly and the latch moves in and out.
Step 7: Test the Lock
Now comes the moment of truth! Insert the new key and test the lock. Turn it both ways to make sure it locks and unlocks smoothly. Open and close the door to check that the bolt catches properly in the strike plate. I always test it a few times to be sure everything feels right. If the key sticks or the lock feels off, double-check the cylinder alignment or screws.
Step 8: Lubricate and Clean Up
To keep your new lock in top shape, spray a little lubricant like WD-40 into the keyhole. Wipe away any excess with a rag. This helps the lock turn smoothly and prevents wear. Clean up your workspace, and give yourself a pat on the back—you just changed a lock cylinder!
Common Mistakes to Avoid
I’ve made my fair share of mistakes, so let me save you some trouble. First, don’t force the cylinder out or in—it can damage the door or lock mechanism. If it’s not moving, check the retaining screw or cam alignment. Second, don’t skip measuring the cylinder size. A mismatch can cause all sorts of problems. Finally, don’t overtighten screws. It can strip them or crack the lock parts. Take your time, and you’ll avoid these headaches.
When to Call a Professional
Most of the time, changing a lock cylinder is a DIY job. But there are times when it’s better to call a locksmith. If your door has a high-security lock, a double-cylinder deadbolt, or a smart lock, the process can be trickier. I once tried to tackle a smart lock cylinder and quickly realized it was over my head. Also, if your door is damaged or the lock mechanism is rusted, a pro can fix the root issue. If you’re unsure, it’s worth the cost for peace of mind.
Maintaining Your New Lock Cylinder
To make your new lock last, a little maintenance goes a long way. Every few months, lubricate the keyhole with a graphite-based or silicone lubricant (avoid oil-based ones, as they attract dirt). Clean the lock with a damp cloth to remove grime. And if you notice the key sticking, don’t ignore it—lubricate or check for loose screws. I’ve found that a quick check every season keeps my locks working like new.
Why This Project Matters
Changing a lock cylinder isn’t just about fixing a problem—it’s about taking control of your home’s security. Every time I complete a project like this, I feel a little more confident as a homeowner. It’s empowering to know you can handle something that seems intimidating at first. Plus, it’s a practical skill you can use again and again, whether you’re upgrading locks or helping a friend.
Conclusion
There you have it—a complete guide to changing a door lock cylinder! I hope you’re feeling ready to tackle this project with confidence. From gathering your tools to testing the new lock, you’ve got all the steps to make your door secure and functional. This is one of those home improvement tasks that’s not only practical but also gives you a real sense of accomplishment. So grab your screwdriver, pick up that new cylinder, and get to work. You’ll be amazed at how easy it is to make your home safer. And if you run into any snags, don’t worry—you’ve got this, and I’m rooting for you!
Frequently Asked Questions
Can I Change a Lock Cylinder Without Changing the Entire Lock?
Yes, you can! The cylinder is the part that holds the key mechanism, so replacing it is like giving your lock a new brain. As long as the new cylinder matches your lock’s brand and size, you don’t need to replace the whole thing. It’s a cost-effective way to upgrade security.
How Do I Know If My New Cylinder Fits My Door?
Check the brand and measure the old cylinder’s length. Most cylinders are standard, but brands like Schlage or Kwikset have specific designs. Take the old cylinder to the store or compare measurements to avoid a mismatch.
What If My Key Gets Stuck in the New Cylinder?
If the key sticks, try lubricating the cylinder with WD-40 or graphite spray. If that doesn’t help, the cylinder might be misaligned or the screws might be too tight. Loosen the retaining screw slightly and test again.
How Long Does It Take to Change a Lock Cylinder?
For a beginner, it takes about 20-30 minutes. If you’ve done it before, you can probably finish in 15 minutes. The key is to go slow and make sure everything is aligned properly.
Can I Use the Same Key for Multiple Locks?
Yes, if you buy cylinders that are “keyed alike” from the same brand. I did this for my front and back doors to keep things simple. Just make sure the package says “keyed alike” when you buy them.
Is It Safe to Change a Lock Cylinder Myself?
Absolutely, as long as you follow the steps and use the right tools. It’s a straightforward DIY job for most standard locks. But if you have a high-security or smart lock, you might want to call a locksmith to be safe.