
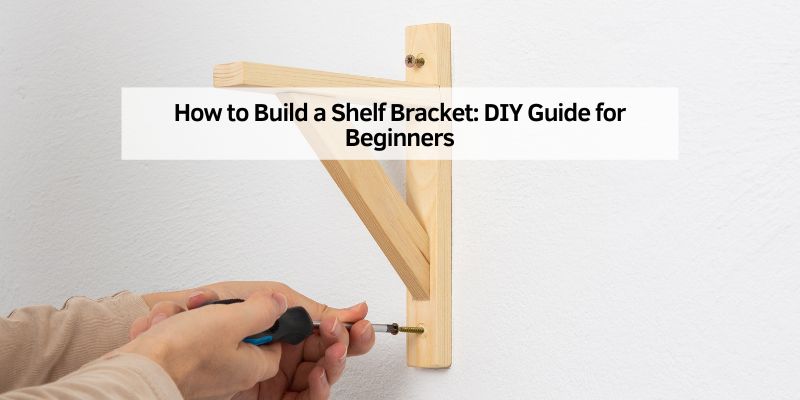
Are you tired of clutter and looking for a creative way to organize your space? Building your own shelf bracket might just be the perfect DIY project for you.
Imagine the satisfaction of showcasing your favorite items on a sturdy shelf that you crafted with your own hands. By the end of this article, you’ll know exactly how to transform a simple piece of wood or metal into a functional and stylish shelf bracket.
Whether you’re a seasoned DIY enthusiast or a beginner eager to learn, this guide will walk you through each step, ensuring your project is not only successful but also enjoyable. You’ll discover tips and tricks that make the process easier, giving you the confidence to tackle more DIY projects in the future. Are you ready to unlock your creativity and add a personal touch to your home? Let’s dive in and start building!
Credit: www.charlestoncrafted.com
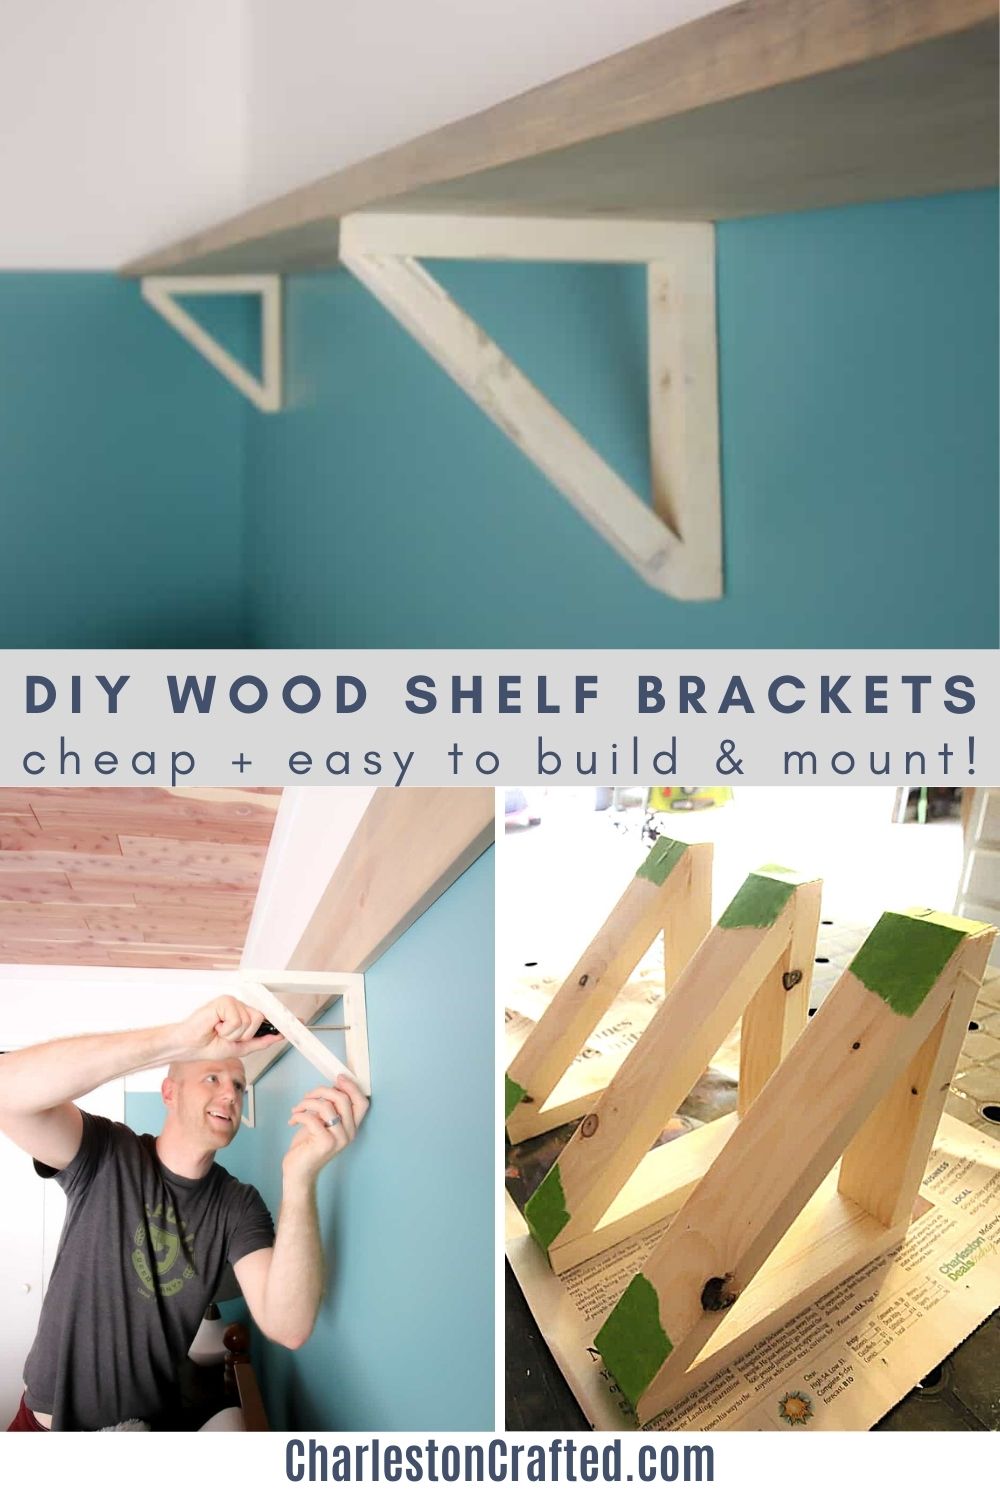
Materials And Tools
Wood is needed for the shelf bracket. Choose a strong type of wood. Plywood or pine wood works well. Use wood glue for sticking parts. Get some screws too. They hold things together tightly. Sandpaper is useful. It makes wood smooth. Paint or varnish can finish the look. It protects the wood too.
A saw cuts wood into pieces. A drill makes holes for screws. Use a screwdriver to twist in screws. Get a ruler to measure the wood. A pencil is good for marking. A clamp helps hold wood still. It keeps your hands safe. Safety goggles protect your eyes from dust.
Credit: www.tylermorriswoodworking.com
Choosing The Right Wood
Wood choice is important for shelf brackets. Pine is a soft wood. It is easy to cut. Oak is strong and lasts long. Maple is good for heavy things. Cedar resists bugs and rot. Choose wisely!
Strong wood is best for holding weight. Hardwood like oak and maple is very tough. Softwood can bend or break. Thickness of the wood matters too. Thicker wood can hold more. Always check how strong the wood is. This is important for safety.
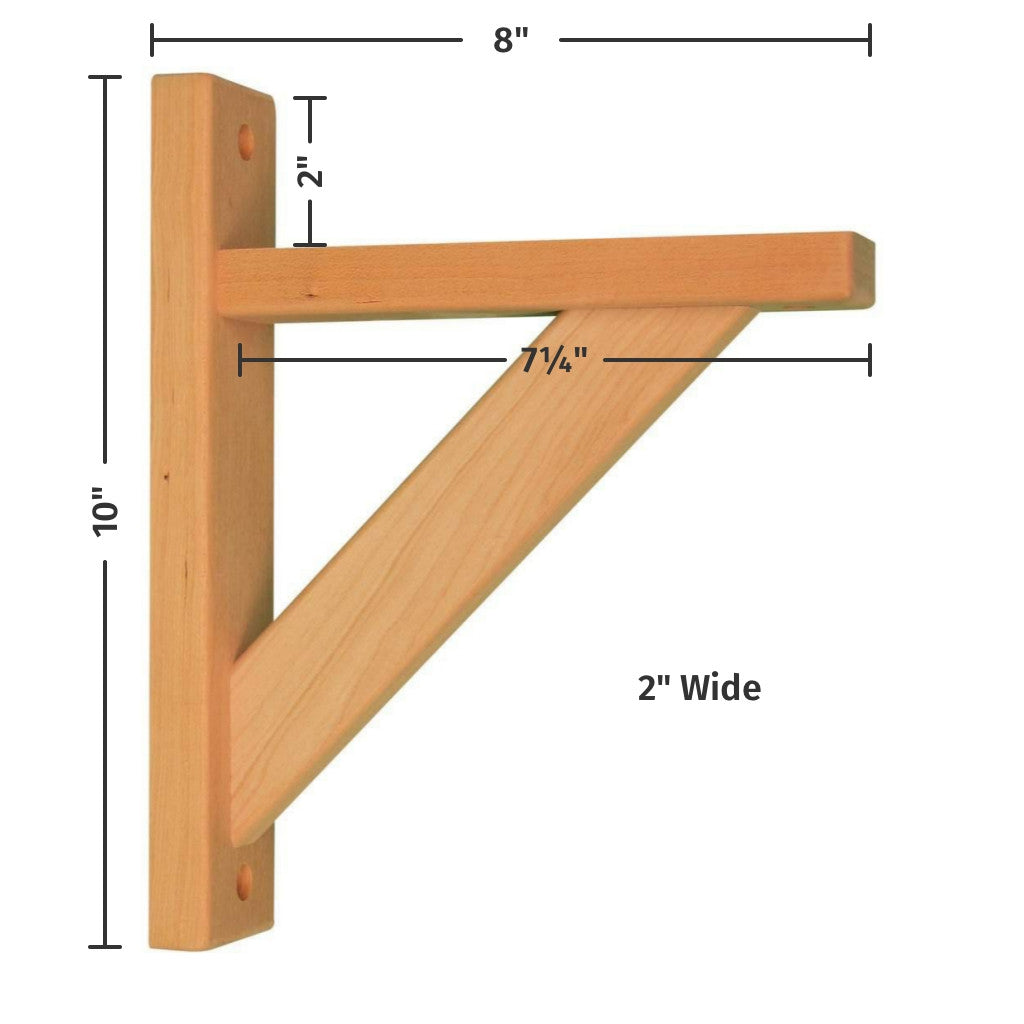
Design And Measurements
First, find the right place for the shelf. Check the height of the wall. Use a ruler or tape measure. Make sure it is straight. Measure from the floor to the spot. Record the measurement in inches or centimeters.
Think about the style of the bracket. Choose the right material. Wood, metal, and plastic are options. Decide on the color. Match it with the room. The bracket should be strong to hold weight. Thick brackets hold more items. Check the length and width before buying. This helps in planning the design. Make sure it fits well in the space.
Cutting The Wood
Always wear safety goggles to protect your eyes. Use gloves to keep your hands safe.
Ensure your work area is clean and free of clutter. Keep your fingers away from the blade.
Use clamps to hold the wood firmly in place. Check your tools for any damage before starting.
Measure the wood twice before cutting. Use a ruler or tape for accuracy. Mark the wood with a pencil.
Follow the lines closely with the saw. Use a hand saw for simple cuts. For curves, use a jigsaw.
Keep your saw steady for straight cuts.
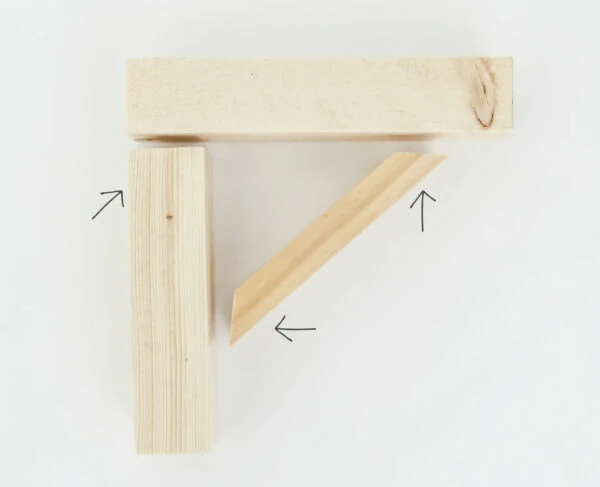
Assembling The Bracket
Make sure all parts fit well. Place the bracket pieces together. Use a strong glue to hold them. Screws can make it stronger. Tighten them with a screwdriver. Check that each part is in place. The edges should line up neatly.
Stability is very important. Test the bracket’s strength by pressing down. It should not wobble. If it moves, tighten the screws again. A level tool can help keep it straight. Make sure it can hold the weight. You can add extra support if needed.
Credit: www.lovelyetc.com
Finishing Touches
Crafting your own shelf bracket adds a personal touch to home projects. Use sturdy materials for strength. Ensure precise measurements for a perfect fit. A smooth finish enhances the bracket’s appearance. Personalize with paint or stain for a unique look.
Sanding And Smoothing
Start by sanding the surface of your shelf bracket. Use fine-grit sandpaper for a smooth finish. Sand all edges to avoid splinters. Check for any rough areas. Sand them until they feel smooth. Clean the dust with a damp cloth. Ensure every part is smooth to touch.
Applying Finish
Choose a finish that suits your style. You can use paint, varnish, or oil. Apply the finish evenly using a brush. Let it dry completely before using the shelf. A second coat might be needed for a better look. Check the instructions on the finish product. It will help you get the best result.
Installation Tips
Choose a spot that is strong. Walls should be solid and not hollow. Look for studs in the wall. Use a stud finder for help. Mark the spot with a pencil. Ensure the shelf will be level.
Hold the bracket on the marked spot. Drill holes where the screws will go. Use a drill that fits the screw size. Insert anchors if the wall is not solid. Screw the bracket to the wall tightly. Check that the bracket is secure. Repeat for the other bracket.
Troubleshooting Common Issues
Crafting a shelf bracket involves solving common issues like uneven cuts and unstable joints. Use accurate measurements and sturdy materials to ensure reliability. Adjust tools and techniques for smooth assembly and secure attachment to the wall.
Fixing Misalignments
Aligning shelf brackets can be tricky. Check if holes are drilled correctly. Misalignment happens often. Adjust holes or reposition brackets as needed. Use a level to ensure straight lines. This helps prevent slanting shelves. Sometimes brackets are too close or too far apart. Measure carefully. Make sure brackets are evenly spaced. Tighten screws properly to hold brackets firmly. Loose screws can cause wobbling and instability. This affects shelf strength. Double-check all measurements before finalizing installation.
Ensuring Weight Support
Shelves must hold weight safely. Choose brackets that are strong enough. Metal brackets are often best. They provide solid support. Check weight limits for each bracket. Overloading can cause brackets to bend or break. Distribute weight evenly across the shelf. Heavy items should be near the center. This prevents tipping. Regularly inspect brackets for damage. Replace any broken parts immediately. Proper care ensures long-lasting support. Safety is important when storing items.
Frequently Asked Questions
What Can I Use Instead Of Brackets For Shelves?
Use floating shelf hardware, cleats, or invisible brackets for a sleek look. Consider using decorative corbels or pipe fittings for a unique design. Heavy-duty adhesive strips work for lightweight shelves.
How Far Should A Shelf Overhang A Bracket?
A shelf should overhang a bracket by no more than 6 inches for stability and safety. Ensure even weight distribution to prevent tipping. Proper support is essential for heavier items.
Do Shelf Brackets Need To Be In Studs?
Shelf brackets should be anchored in studs for maximum stability. Studs provide strong support, preventing shelves from sagging. Use a stud finder to locate studs before installation. If studs aren’t available, use heavy-duty wall anchors to ensure proper weight distribution and safety.
Proper installation enhances shelf durability and safety.
What Is The Rule Of Thumb For Shelf Brackets?
The rule of thumb for shelf brackets is to place them every 16 to 24 inches. Ensure brackets align with wall studs for maximum support and stability.
Conclusion
Building a shelf bracket is simple and rewarding. You need basic tools and materials. Follow the steps carefully. Measure, cut, and assemble with precision. Safety is crucial, so wear protective gear. This project enhances your space with style. Personalize your shelf to match your decor.
You save money and gain skills. Enjoy the satisfaction of DIY success. Share your creation with friends. Inspire others to try it too. Building a shelf bracket is a fun, creative project. Perfect for any home.