
Acrylic vs Enamel Paint: The Key Differences You Need to Know for Your Next Project
Choosing the right paint can make all the difference in your DIY projects. Acrylic and enamel paints are popular choices, but understanding their unique properties is crucial. Acrylic paints are water-based, quick-drying, and flexible, ideal for general home use and crafts. Enamel paints, often oil-based, offer superior hardness, durability, and a glossy finish, perfect for high-traffic areas and items needing tough protection. Knowing which to use saves time and ensures a professional, lasting result.
Hello there, DIY enthusiasts! Md Meraj here, your friendly guide to making your home improvement and woodworking projects a success. Ever stood in the paint aisle, staring at rows of cans, wondering which one is the right one for your project? You’re not alone! It can feel a bit overwhelming, especially when you see terms like “acrylic” and “enamel.” These two types of paint are workhorses in the DIY world, but they’re not interchangeable. Getting it wrong can lead to peeling paint, a finish that doesn’t last, or a messy application. But don’t worry! Today, we’re going to break down the essential differences between acrylic and enamel paints in a way that’s super easy to understand. We’ll cover what they are, where to use them, and how to pick the perfect can for your next great idea. Let’s dive in and demystify paint choices so you can tackle your projects with confidence!
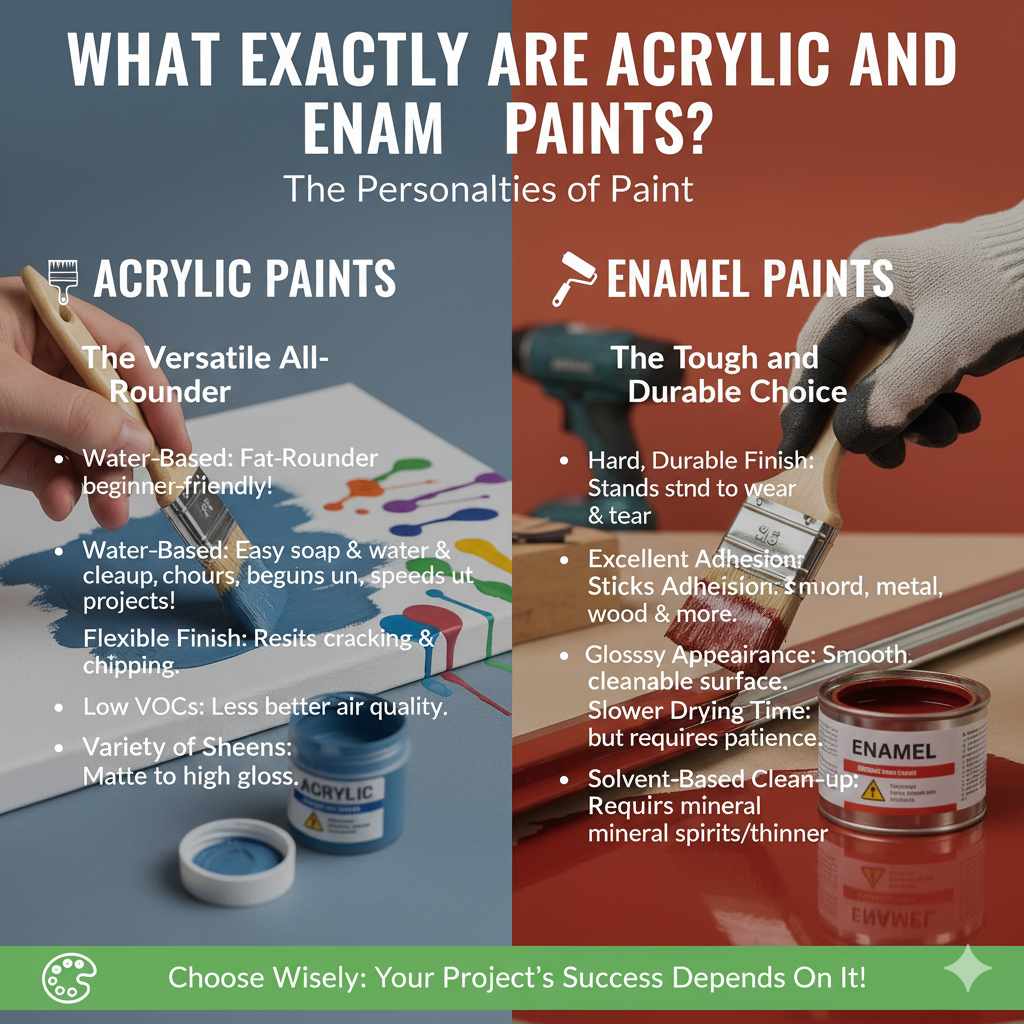
What Exactly Are Acrylic and Enamel Paints?
Think of paints as having different personalities. Acrylic and enamel paints have distinct characteristics that make them shine in different situations. Understanding these basics will help you choose wisely.
Acrylic Paints: The Versatile All-Rounder
Acrylic paints are a type of paint made with a binder (the sticky stuff that holds the pigment together) that is an acrylic polymer emulsion. This means they are water-based, which is a big deal for DIYers!
Water-Based: This is their defining feature. Clean-up is a breeze – usually just soap and water. This makes them incredibly beginner-friendly.
Fast Drying: Acrylics dry much faster than oil-based paints. This means you can often apply a second coat within an hour or two, speeding up your project.
Flexible Finish: Once dry, acrylic paint forms a flexible film. This makes it less prone to cracking or chipping, especially on surfaces that might expand or contract slightly with temperature changes.
Low VOCs (Volatile Organic Compounds): Many acrylic paints have lower VOC levels compared to oil-based paints, meaning less of that strong paint smell and better for indoor air quality. You can learn more about VOCs from the Environmental Protection Agency (EPA).
Variety of Sheens: Acrylics come in everything from matte to high gloss, offering a wide range of aesthetic options.
Enamel Paints: The Tough and Durable Choice
Enamel paints are known for their toughness and smooth, hard finish. Traditionally, these were oil-based, but modern formulations include water-based enamels as well. For this discussion, when we say “enamel,” we’re often referring to the more traditional, durable finishes.
Hard, Durable Finish: Enamel paints create a very hard, durable surface once cured. This makes them excellent for surfaces that get a lot of wear and tear.
Excellent Adhesion: They tend to stick very well to a variety of surfaces, including metal, wood, and previously painted surfaces.
Glossy Appearance: Enamels are often associated with a high-gloss finish, which is not only attractive but also easier to clean. However, they are also available in satin and semi-gloss sheens.
Slower Drying Time (Traditional Enamels): Traditional oil-based enamels take longer to dry and cure. This can be a pro (allowing more working time) or a con (requiring more patience between coats).
Solvent-Based Clean-up (Traditional Enamels): Clean-up for traditional oil-based enamels requires mineral spirits or paint thinner, which can be a bit more involved than soap and water.
Key Differences: Acrylic vs. Enamel
Let’s break down the core differences side-by-side. This will help you see at a glance which paint might be better suited for your specific needs.
Durability and Hardness
Acrylic: Offers good durability and flexibility. It’s tough enough for most home surfaces but might show wear more quickly in very high-traffic areas compared to enamel.
Enamel: Known for its exceptional hardness and scratch resistance. This makes it ideal for doors, trim, cabinets, and furniture that get handled frequently or are prone to bumps and scuffs.
Drying Time
Acrylic: Dries to the touch relatively quickly, often within 30 minutes to an hour. You can usually recoat in 1-4 hours.
Enamel: Traditional oil-based enamels have a longer drying time. They might be dry to the touch in 6-8 hours but can take 24 hours or more for recoating and several days or even weeks to fully cure and reach maximum hardness. Water-based enamels offer a faster drying time, closer to acrylics.
Clean-up
Acrylic: Easy! Soap and water for both brushes and spills.
Enamel: Traditional oil-based enamels require mineral spirits or paint thinner for clean-up. This can be messy and requires good ventilation. Water-based enamels clean up with soap and water.
Flexibility and Cracking
Acrylic: Its flexibility means it’s less likely to crack or peel when the surface it’s on expands or contracts due to temperature or humidity changes.
Enamel: The hardness of enamel can sometimes make it more brittle. On surfaces that move a lot, it might be more prone to cracking over time if not properly applied or if the surface is too flexible.
Odor and VOCs
Acrylic: Generally has a low odor and lower VOC content, making it a better choice for indoor use, especially in poorly ventilated areas.
Enamel: Traditional oil-based enamels have a strong, lingering odor and higher VOC content due to the solvents used. This requires good ventilation during application and drying. Water-based enamels have much lower odors.
Finish and Sheen
Acrylic: Available in a vast range of sheens, from ultra-matte to high-gloss, and a huge spectrum of colors.
Enamel: Typically known for a smooth, often glossy or semi-gloss finish. While colors are abundant, the type of finish is often more uniform and hard.
Where to Use Acrylic Paint
Acrylic paints are your go-to for many common household projects due to their ease of use and versatility.
Interior Walls and Ceilings
Most interior walls and ceilings are perfect candidates for acrylic latex paint. It’s easy to apply, dries quickly, and offers a wide variety of finishes. For high-traffic areas like hallways or kids’ rooms, a satin or semi-gloss finish is recommended for easier cleaning.
Furniture (General Use)
If you’re painting a piece of furniture that won’t get heavy daily use, like a decorative side table or a bookshelf, acrylic is a great choice. It’s easy to work with and comes in endless colors to match your decor.
Crafts and Hobby Projects
For small craft projects, model painting, or DIY decor items, acrylics are the standard. They adhere well to wood, paper, canvas, and many plastics.
Trim and Doors (with caution)
While acrylics can be used on trim and doors, especially in low-traffic areas, they might not hold up as well to constant bumps and scuffs as enamel. If you choose acrylic for these areas, opt for a semi-gloss or gloss finish for better washability.
When to Consider Other Options for Interior Use
For high-traffic areas that need maximum durability and washability, such as kitchen cabinets, bathroom vanities, or entry doors, a more durable paint might be a better investment.
Where to Use Enamel Paint
Enamel paints are the champions of durability, making them ideal for surfaces that need to withstand a lot of wear and tear.
Doors and Door Frames
These are constantly being touched, bumped, and exposed to scuffs. Enamel’s hard finish resists this damage beautifully, and its smooth surface is easy to wipe clean.
Cabinets and Kitchen Islands
Kitchen cabinets take a beating! Grease, spills, and constant use demand a paint that can stand up to it all. Enamel provides that tough, washable surface.
Trim and Baseboards
Like doors, trim and baseboards are prone to scuffs and dirt. Enamel’s durability ensures they look good for longer and are easy to maintain.
Metal Surfaces
Enamel paints are excellent for painting metal, such as railings, metal furniture, or even radiators. They offer good adhesion and corrosion resistance. Look for specialized metal enamels for best results.
High-Traffic Furniture
If you’re painting a dining table, chairs, or a child’s toy box, enamel will provide a much more durable finish than standard acrylic.
Outdoor Projects (Specific Formulations)
While some acrylics are formulated for exterior use, many enamels are specifically designed for outdoor applications, offering superior weather resistance and durability on items like garden furniture or outdoor trim.
Comparing Acrylic and Enamel in a Table
To make things even clearer, here’s a handy comparison table.
| Feature | Acrylic Paint | Enamel Paint (Traditional Oil-Based) |
|---|---|---|
| Base | Water | Oil/Solvent |
| Durability | Good, flexible | Excellent, very hard |
| Drying Time (Touch) | 30 min – 1 hour | 6-8 hours |
| Recoat Time | 1-4 hours | 24+ hours |
| Clean-up | Soap and water | Mineral spirits/paint thinner |
| Odor/VOCs | Low | High |
| Flexibility | High | Low (can be brittle) |
| Best For | Walls, ceilings, crafts, general furniture | Doors, trim, cabinets, high-traffic furniture, metal |
It’s worth noting that “enamel” is sometimes used to describe any paint that dries to a hard, glossy finish. Modern water-based “enamels” bridge the gap, offering durability with easier cleanup and lower VOCs. Always check the product label to understand its specific base and properties.
Choosing the Right Paint: Key Considerations
Now that you know the differences, how do you make the final call for your project? Here are a few questions to ask yourself:
1. What surface am I painting? Is it a wall, a door, a metal object, or a piece of furniture?
2. How much traffic or wear will it get? Will it be constantly touched, bumped, or exposed to moisture?
3. What kind of finish do I want? Matte, satin, semi-gloss, or high-gloss?
4. How important is quick drying and easy cleanup?
5. What is my ventilation situation?
For most walls and ceilings: Acrylic latex paint is usually the best choice.
For doors, trim, and cabinets: Enamel (either oil-based for maximum durability or a high-quality water-based enamel) is often preferred.
For furniture that needs to be tough: Enamel is a strong contender.
For crafts and quick decor updates: Acrylics are fantastic.
Preparing Your Surface: The Secret to a Great Finish
No matter which paint you choose, proper surface preparation is crucial for a lasting, professional-looking result. This is a step many DIYers skip, but it’s the foundation of a great paint job.
1. Clean the Surface Thoroughly
Remove all dirt, grease, dust, and grime. For oil-based paints or stubborn grease, you might need a degreaser. For acrylics, a good household cleaner is often sufficient. A clean surface ensures the paint adheres properly.
2. Repair Imperfections
Fill any holes or cracks with spackle or wood filler. Sand them smooth once dry.
Sand down any rough spots or peeling paint.
3. Sand Lightly (If Needed)
For glossy surfaces or wood, a light sanding (using fine-grit sandpaper, around 120-220 grit) can create a “tooth” for the paint to grip onto, improving adhesion. Wipe away all dust afterward. For some surfaces, like fresh drywall, you might not need to sand before priming.
4. Prime the Surface
Primer is like a base coat that helps the paint adhere better, covers stains, and ensures a more even color. Use a primer appropriate for your surface and the type of paint you’ll be using. For example, a stain-blocking primer is excellent for wood knots or water stains. For metal, use a metal primer. You can find primers for almost any situation. According to Family Handyman, “Primer is essential for good adhesion and a smooth, uniform finish.”
5. Allow to Dry Completely
Ensure the primer is completely dry according to the manufacturer’s instructions before you start painting.
Applying Paint: Tips for Success
Once your surface is prepped and primed, it’s time to paint!
For Acrylic Paints:
Tools: Use synthetic brushes (nylon or polyester) or high-quality rollers designed for latex paints.
Application: Stir the paint gently; don’t shake it, as this can create bubbles. Apply in thin, even coats. Work in a consistent direction.
Drying: Allow adequate drying time between coats as per the manufacturer’s instructions. You can often recoat within a few hours.
Ventilation: While acrylics have low VOCs, good ventilation is always recommended for comfort and faster drying.
For Enamel Paints (Traditional Oil-Based):
Tools: Use natural bristle brushes or high-quality solvent-resistant rollers.
Application: Stir the paint thoroughly. Enamels can sometimes be thicker, so you might need to thin them slightly with the recommended solvent if the manufacturer advises. Apply in thin, even coats.
Drying: Be patient! Oil-based enamels take much longer to dry and cure. Rushing this process can lead to smudges or an uneven finish.
Ventilation: This is critical. Ensure the area is very well-ventilated during application and drying due to the strong fumes.
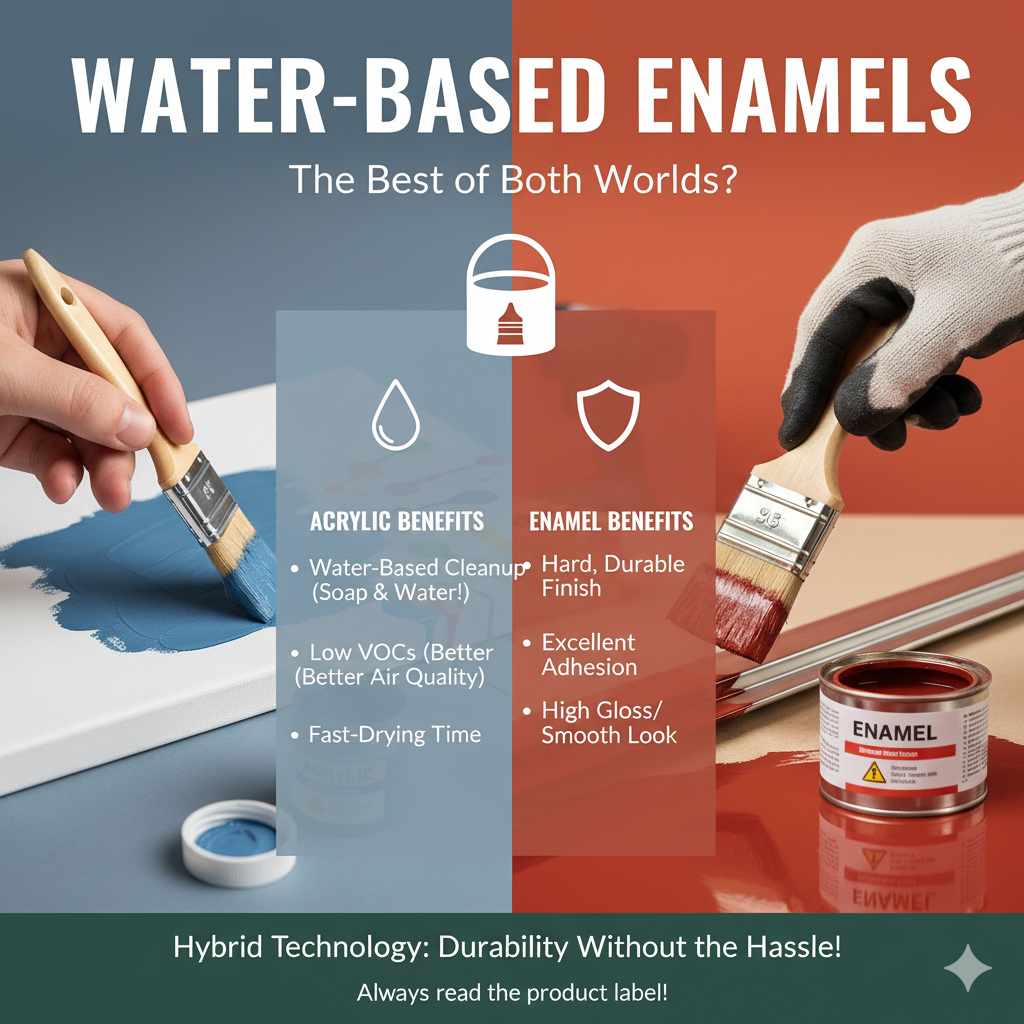
Water-Based Enamels: The Best of Both Worlds?
It’s important to mention that the paint industry has evolved. You’ll now find “water-based enamels” or “enamel-like acrylics” that offer many of the benefits of both types. These paints provide a hard, durable finish similar to traditional enamel but clean up with soap and water and have lower VOCs. They are an excellent option for many projects where you want durability without the hassle of oil-based solvents. Always read the product description carefully to understand its base and performance.
Frequently Asked Questions About Acrylic vs. Enamel Paint
Q1: Can I paint over acrylic paint with enamel paint?
Yes, generally you can paint over acrylic paint with enamel paint. The key is proper preparation. Clean the acrylic surface, lightly sand it to create a smooth surface for the enamel to adhere to, and then apply a suitable primer before applying the enamel paint. This ensures the best adhesion and a durable finish.
Q2: Can I paint over enamel paint with acrylic paint?
Yes, you can paint over enamel paint with acrylic paint, but it requires careful preparation. Enamel paint creates a very hard and sometimes slick surface. You’ll need to thoroughly clean the enamel surface, then sand it well with a medium-grit sandpaper (around 100-150 grit) to create a “tooth” for the acrylic to grip. After sanding, wipe away all dust and apply a high-quality primer designed for adhesion to glossy surfaces before applying your acrylic paint. Skipping the sanding and priming can lead to the acrylic paint peeling or chipping off the slick enamel surface.
Q3: Which paint is better for kitchen cabinets?
For kitchen cabinets, durability and washability are paramount. Enamel paint (either traditional oil-based or a high-quality water-based enamel) is generally the preferred choice. It provides a hard, scrubbable finish that can withstand grease, moisture, and frequent cleaning. Acrylic paints can be used, but they might not hold up as well to heavy use and may require a more durable topcoat.
Q4: Is acrylic paint suitable for outdoor use?
Yes, many acrylic paints are specifically formulated for exterior use. These exterior acrylics are designed to withstand UV rays, moisture, and temperature fluctuations. Always look for labels that specify “exterior” or “all-weather” when purchasing paint for outdoor projects. Standard interior acrylics are not recommended for outdoor use as they will likely peel, fade, and crack quickly.
Q5: How do I clean up paint brushes after using enamel paint?
For traditional oil-based enamel paints, you’ll need mineral spirits or paint thinner. Pour some solvent into a container and swirl your brushes in it until the paint loosens. You may need to repeat this process with fresh solvent. Once most of the paint is out, wash the brushes with warm, soapy water, rinse thoroughly, and reshape them before allowing them to dry. Always dispose of solvent-soaked rags properly, as they can be a fire hazard.
Q6: What is “enamel finish” if it’s not always oil-based?
The term “enamel finish” refers to the hard, smooth, and often glossy surface that the paint dries to. While traditionally this was achieved with oil-based paints, modern technology allows for water-based paints to achieve similar hard, durable, and glossy finishes. These are often marketed as “water-based enamels” or “enamel-like acrylics.” They offer the benefits of easier cleanup and lower VOCs while still providing excellent durability.
Conclusion
So there you have it – the essential differences between acrylic and enamel paints revealed! You’ve learned that acrylic paints are your friendly, water-based sidekicks for most general painting tasks, offering easy cleanup and flexibility. Enamel paints, on the other hand, are your tough, durable champions, perfect for high-traffic areas that need a hard, long-lasting finish.
Remember, the best paint for your project depends on what you’re painting, how it will be used, and the look you want to achieve. Don’t be afraid to read the labels on the paint cans and choose the product that best matches your needs. And always, always remember that proper surface preparation is the key to a beautiful, lasting result, no matter which type of paint you choose.
With this knowledge, you can confidently walk into that paint aisle and select the perfect can to make your next DIY project a resounding success. Happy painting, and enjoy the satisfaction of creating something wonderful with your own two hands!